
Introduction
As of 2021, 39% of websites around the world are built by WordPress. WordPress is so popular due to the fact that it has many themes and plugins to get non developers starting. However, in order to get started with WordPress, you must first install WordPress either on a server or on a local machine. Installing WordPress on a local machine brings you many benefits. It allows you to start playing with WordPress without worrying about server costs and your site will remain visible only to you until you are ready to publish it to the cloud. In this tutorial we will show you how you can install WordPress on your local machine by following the simple steps discussed in this tutorial.
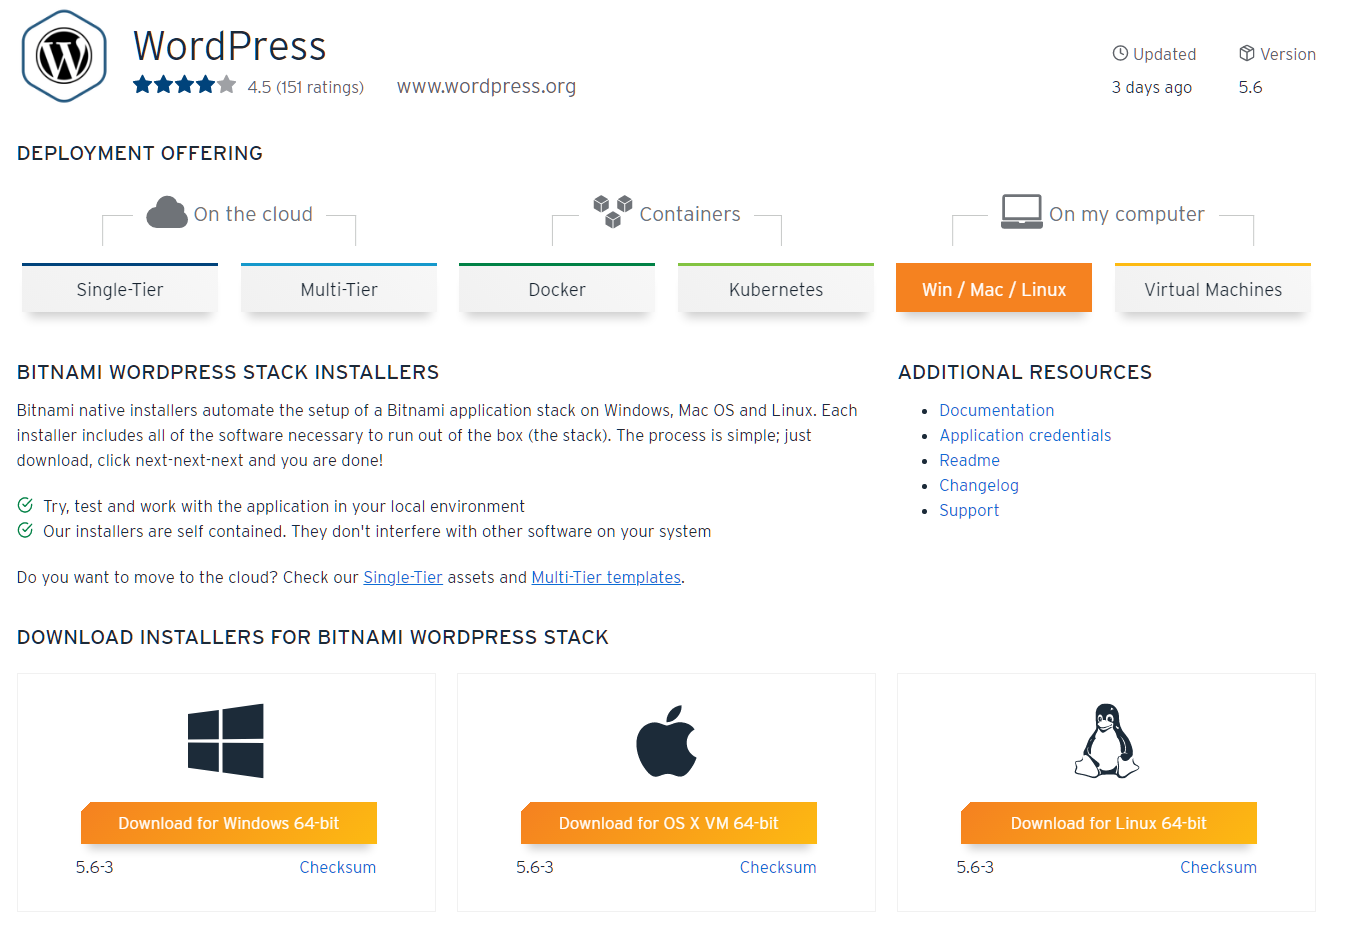
Step 1 – Download WordPress
Go to the bitnami website (https://bitnami.com/stack/wordpress) to download the latest copy of WordPress.
Step 2 – Install WordPress
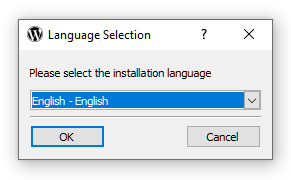
When the download is complete, run the installer to get started.
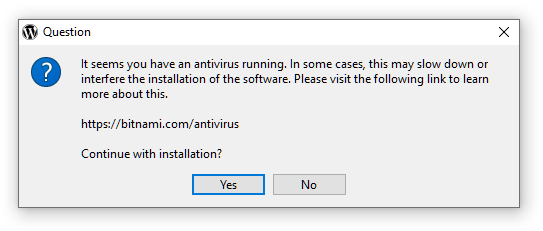
If you have antivirus programs running, it may popup the warning message dialog. (Some antivirus programs might sometimes miss-treat programs as viruses and prevent them from installing). If you could, it’s best to temporarily stop your antivirus programs during the WordPress installation.
When you are ready, click on Yes to continue with the installation.
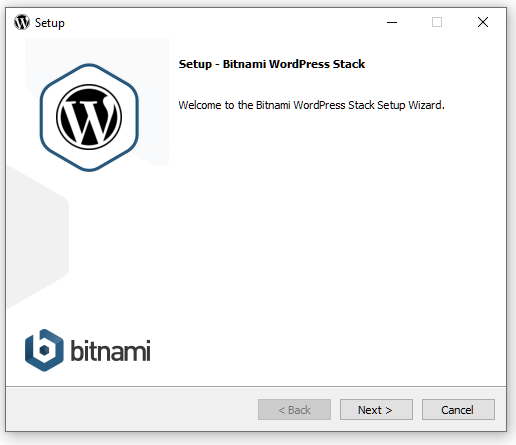
Click on Next
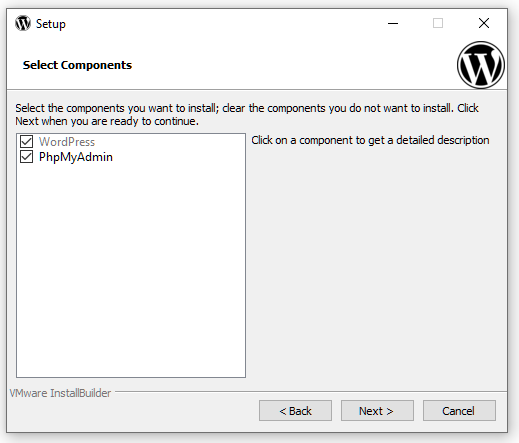
Besides from WordPress, you might notice the installation is trying to install another component called PhpMyAdmin. Don’t worry, it is the database that WordPress will be using to store all its contents.
Simply click on Next to move on to the next step.
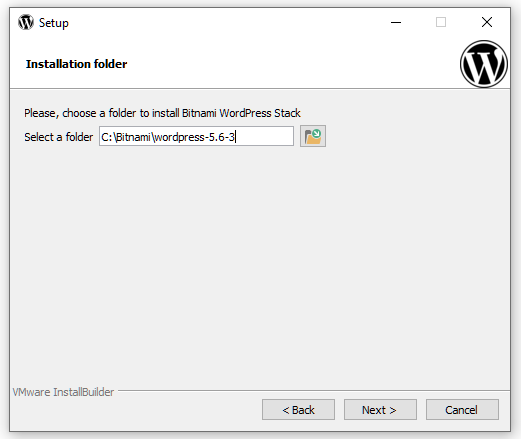
Select a directory in which you want to install your WordPress and press Next when you are ready.
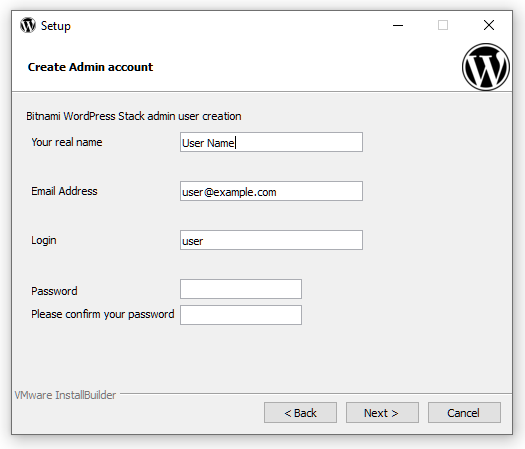
On the Create Admin account page, you will need to type in the name, email address, username and password of the admin account. Make sure to keep a note of the Login username and password as you will need them later in order to log in to your WordPress console.
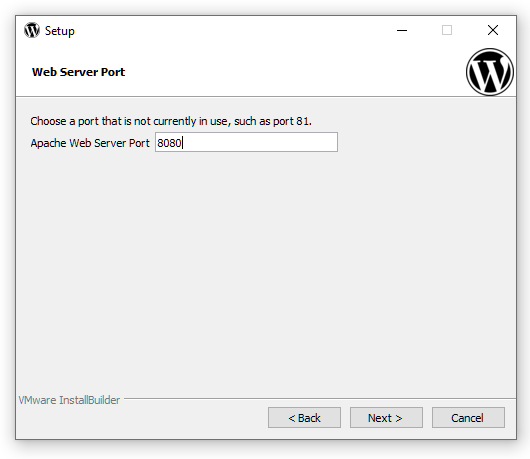
As of WordPress 5.6-3, it asks us to enter a port number that is currently not in use. This will be the default port that WordPress will be running on your local machine. I’m using port 8080 as the default port for my WordPress installation.
Enter the port you want and click on Next when you are ready.
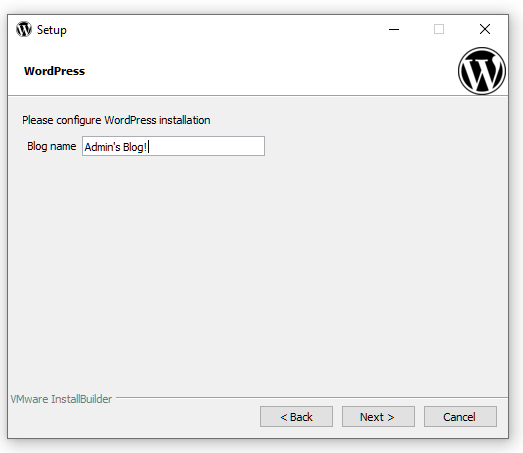
Enter a name for your blog website. (Don’t worry, this name can still be changed after the installation is complete.)
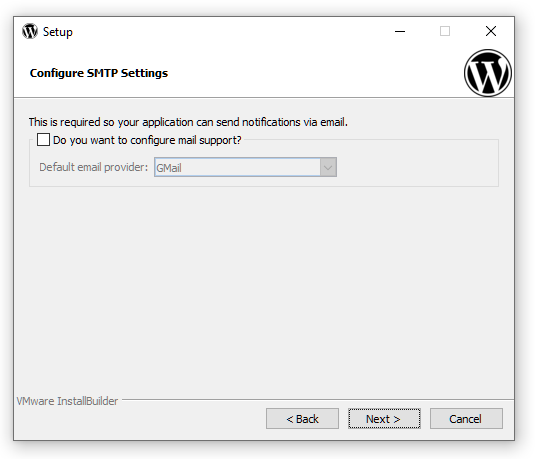
On the Configure SMTP Settings page, it asks us if we want to configure smtp settings now. After the SMTP settings are set, it will allow your WordPress to send email through the email provider you specified. Since we are only installing WordPress on our local machine, we will skip this step for now and come back to it when we move our WordPress to Cloud server in the future.
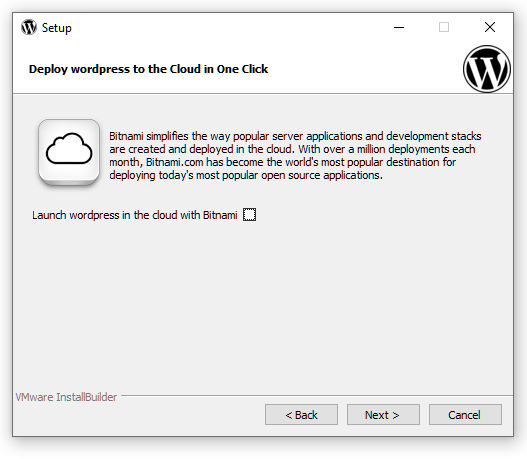
Since we’re installing WordPress on the local machine, we will uncheck the launch with Bitnami checkbox.
Click on Next.
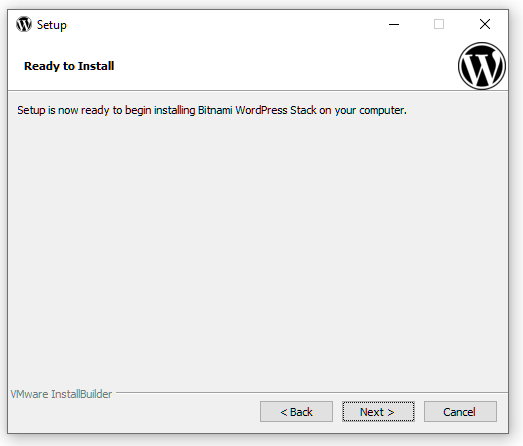
Click on Next again to start the installation.
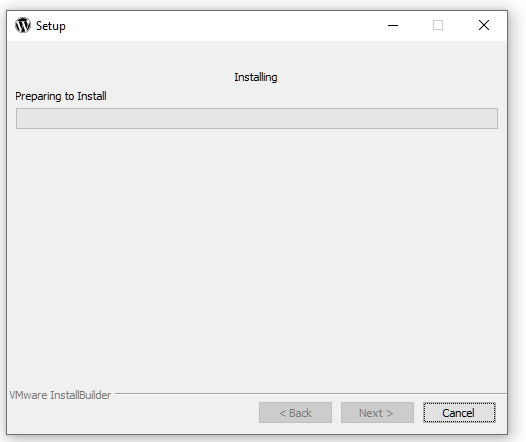
Wait for the installation process to finish.

Click on Allow access when the window pops up and ask for permission. (This will give WordPress permission to store data with MySQL.
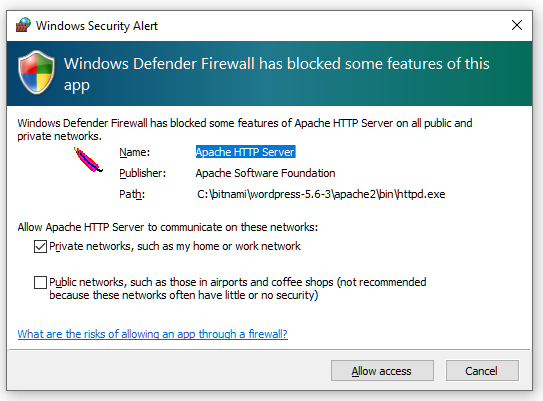
When we run WordPress server on our Windows machine, we will need to give apache server permission, so that it can serve our WordPress website for us.
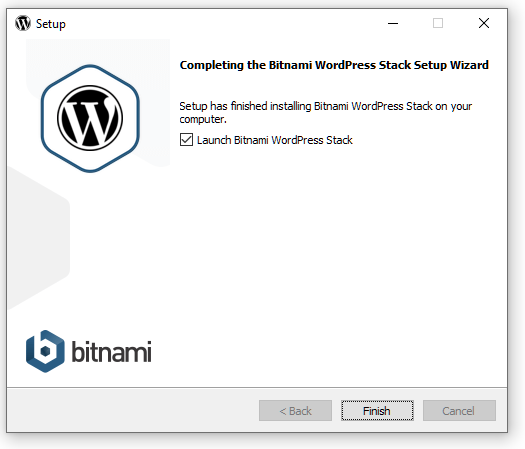
Click on Finish to finish the installation wizard and launch WordPress.
Step 3 – Visit Your WordPress Website

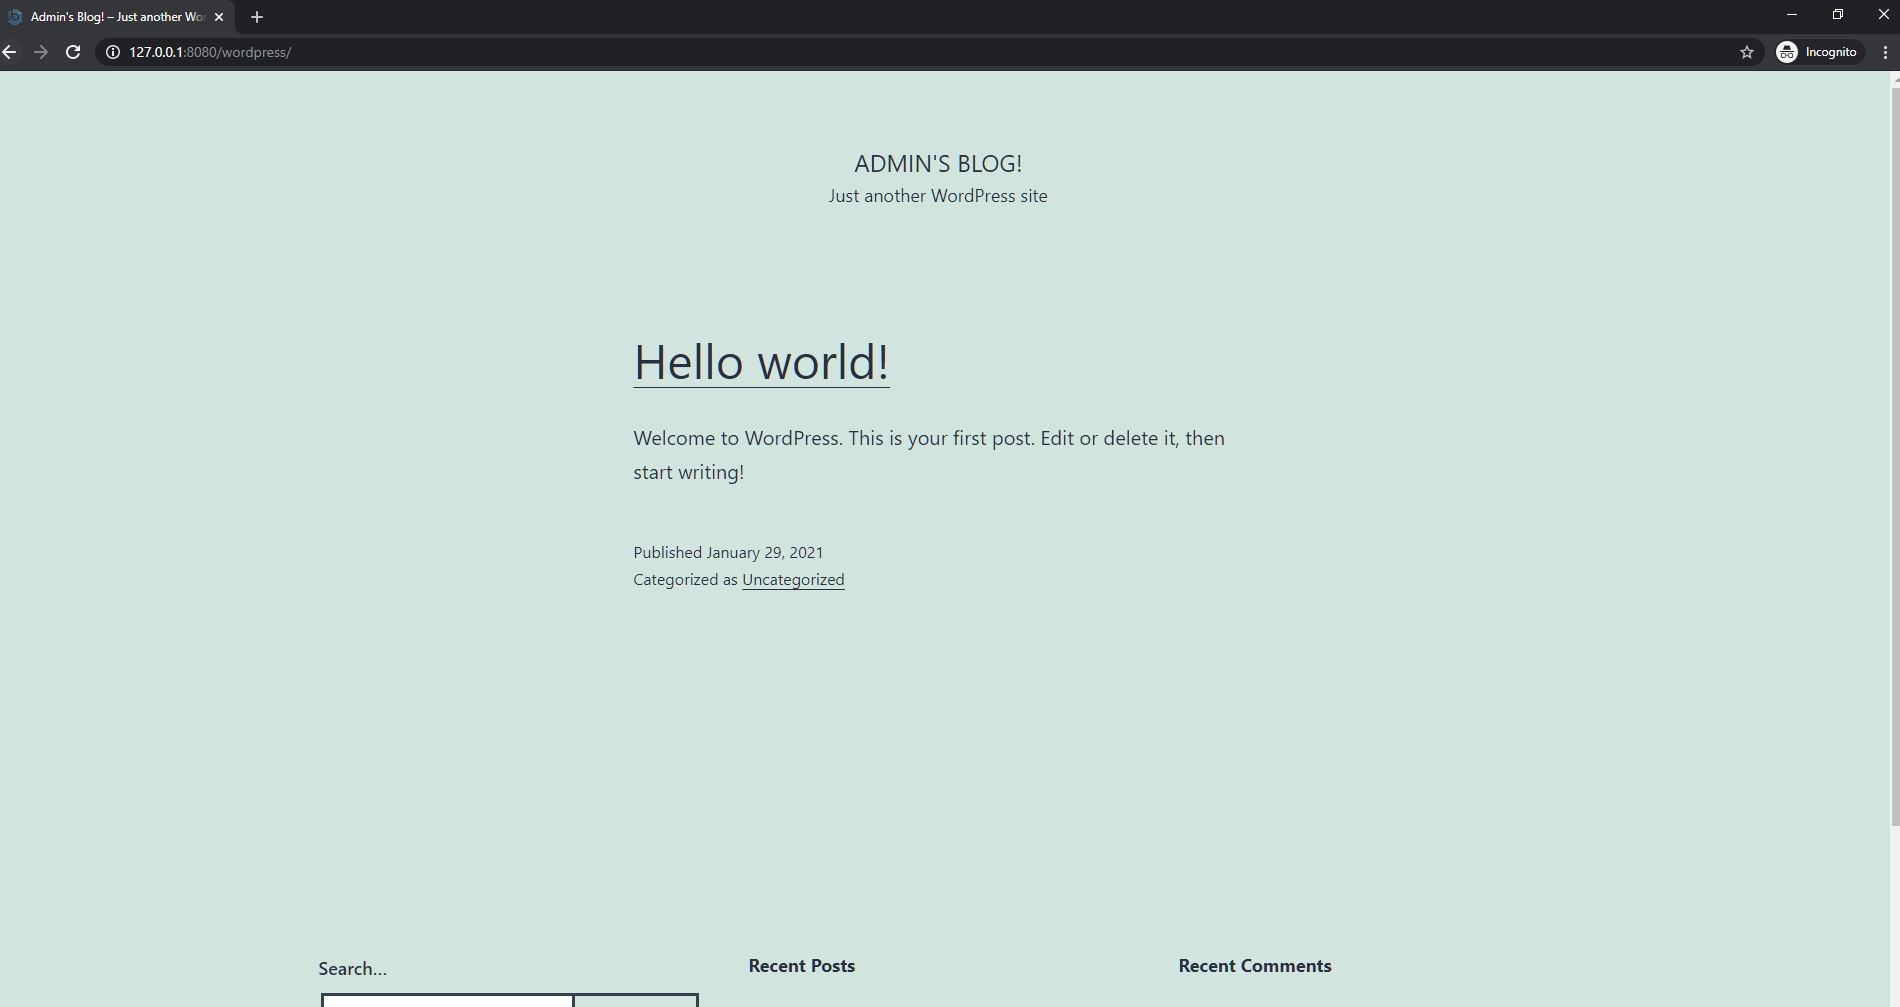
When the installation finishes, it will open a new browser tab and go to our WordPress page. Since we set our default port to 8080, Bitnami will visit the page at localhost:8080.
We can visit our default WordPress website at localhost:8080/wordpress.
You can also visit the WordPress dashboard at localhost:8080/wordpress/wp-admin.
You will be redirected to the login page however, since this is your first time accessing your WordPress website.
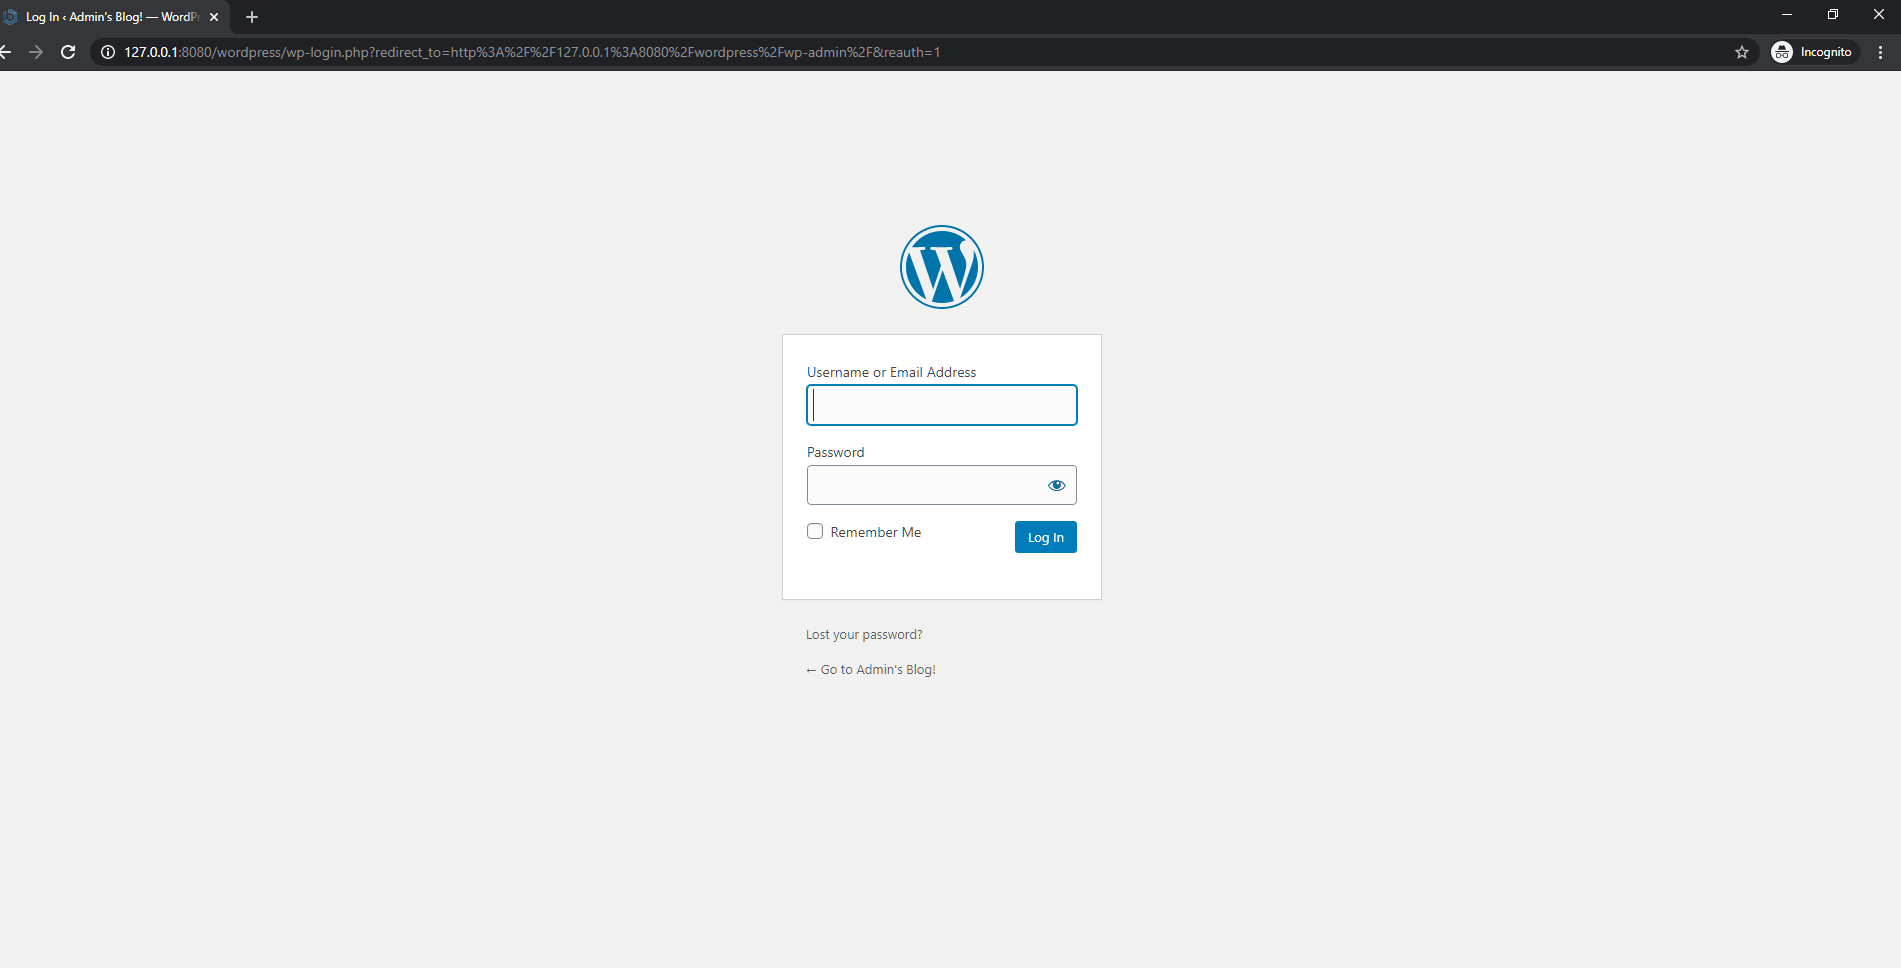
Enter your username and password you entered during the installation process. Then press Log in.
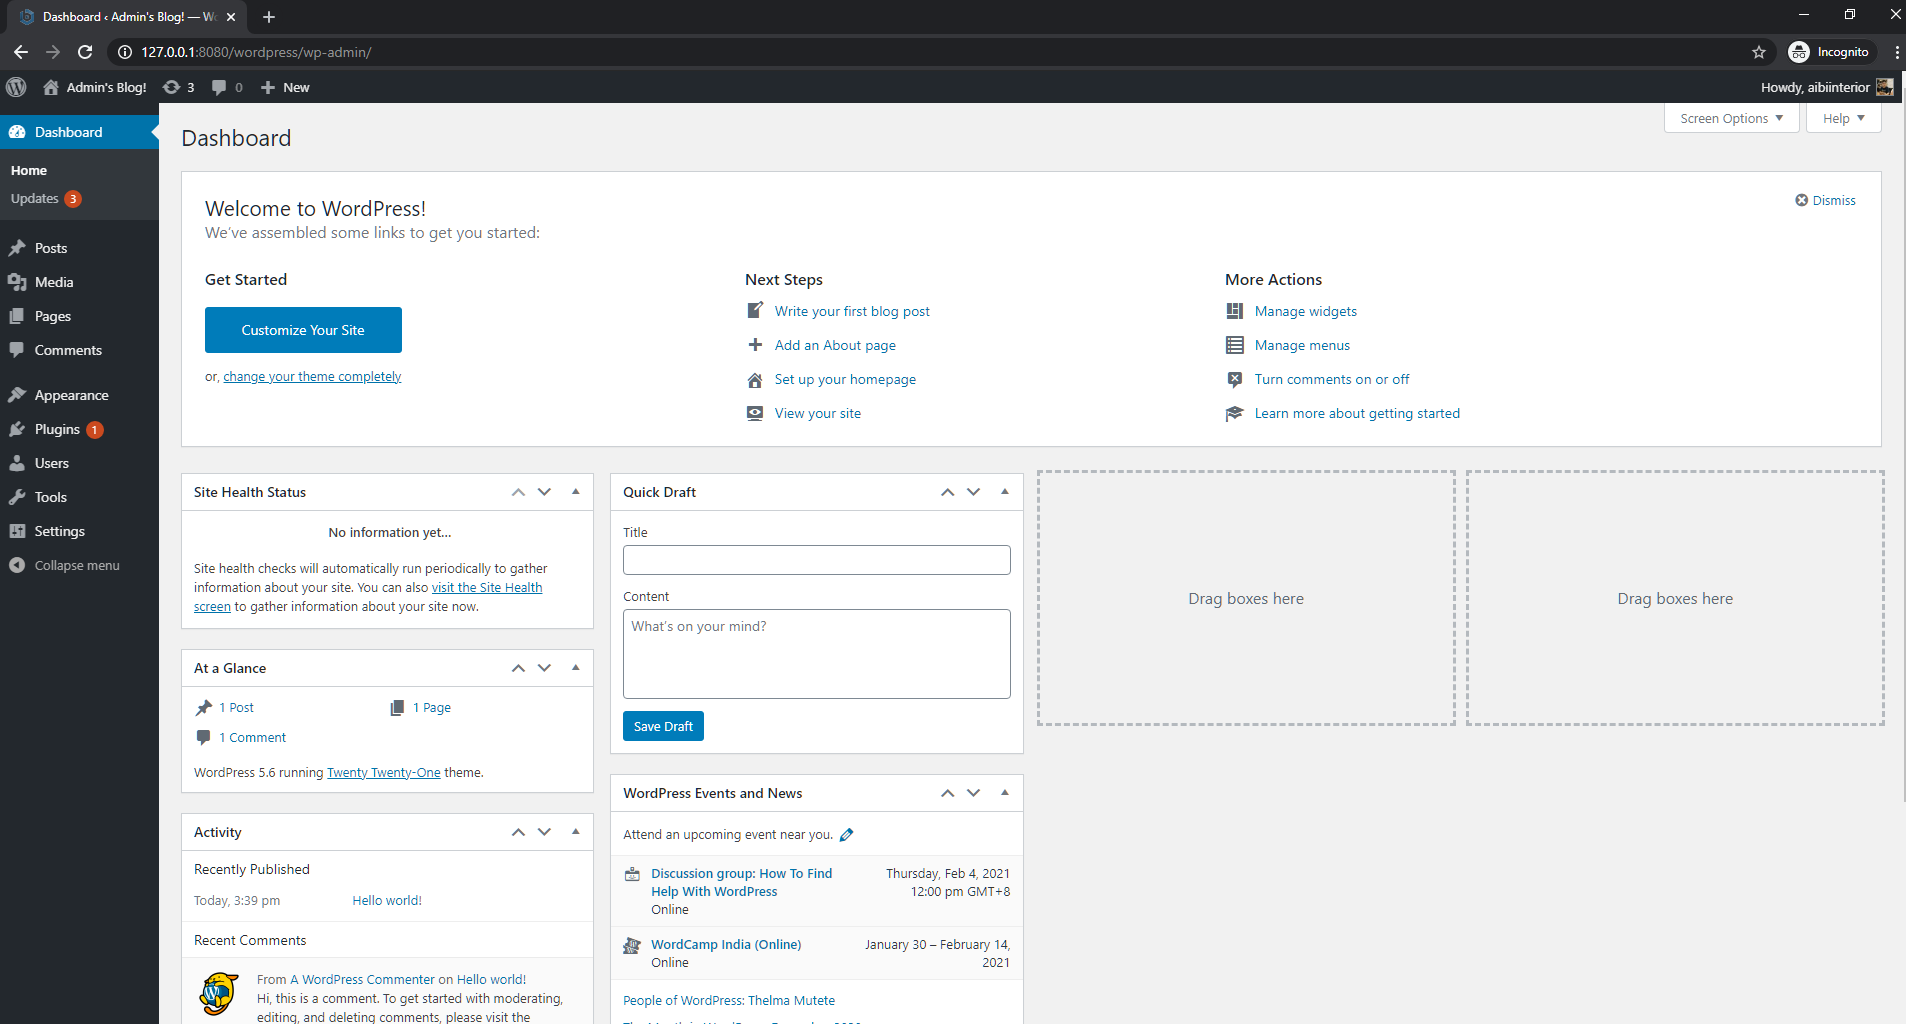
After you login, you will be able to see the WordPress console!
Congratulations! You have successfully installed WordPress on your local machine! Stay tuned for the next WordPress tutorials.