
Introduction
In the previous tutorial Host static websites with S3 we successfully deployed our Frontend application to AWS S3. However we still have two remaining tasks to do: 1. Add custom domain 2. Add HTTPS support. We will finish these two tasks in this tutorial. In addition, we will add global cache to our website so that the loading speed of our website will be faster across the world.
Concept
In the previous tutorial, in order to host websites on S3, we have granted public access to our Bucket. However, granting public access on S3 Bucket is generally a bad practice because you are allowing visitors to access your file object on S3 directly, which can be dangerous. Instead of granting public access to our S3 Bucket, we can make use of the AWS CloudFront service (https://aws.amazon.com/cloudfront/) to add a layer before our S3 Bucket and only allow CloudFront to access our S3 Bucket.

This approach creates a couple benefits:
- Security: all requests to your website have to go through the CloudFront now, which creates a single access point to the Bucket.
- Faster load time – AWS CloudFront works like a CDN (content delivery network). AWS stores our files as cache and delivers them globally. So when a visitor visits our site, they can actually download content from the cache network that is closest to their physical location.
- Smoother transition – Normally when you need to update your website on S3, you’ll need to first remove the old contents then upload the updated version. During this transition, your audiences will experience interruption. However, if you have the additional AWS CloudFront layer before your S3 Bucket, your audiences will still be able to access your website from the CDN cache while you update contents on S3. All you need to do is to refresh the cache when you are done.
Set up CloudFront
Login to AWS console and click on Services from the top left corner. Type in CloudFront and select the first option to enter the CloudFront console.
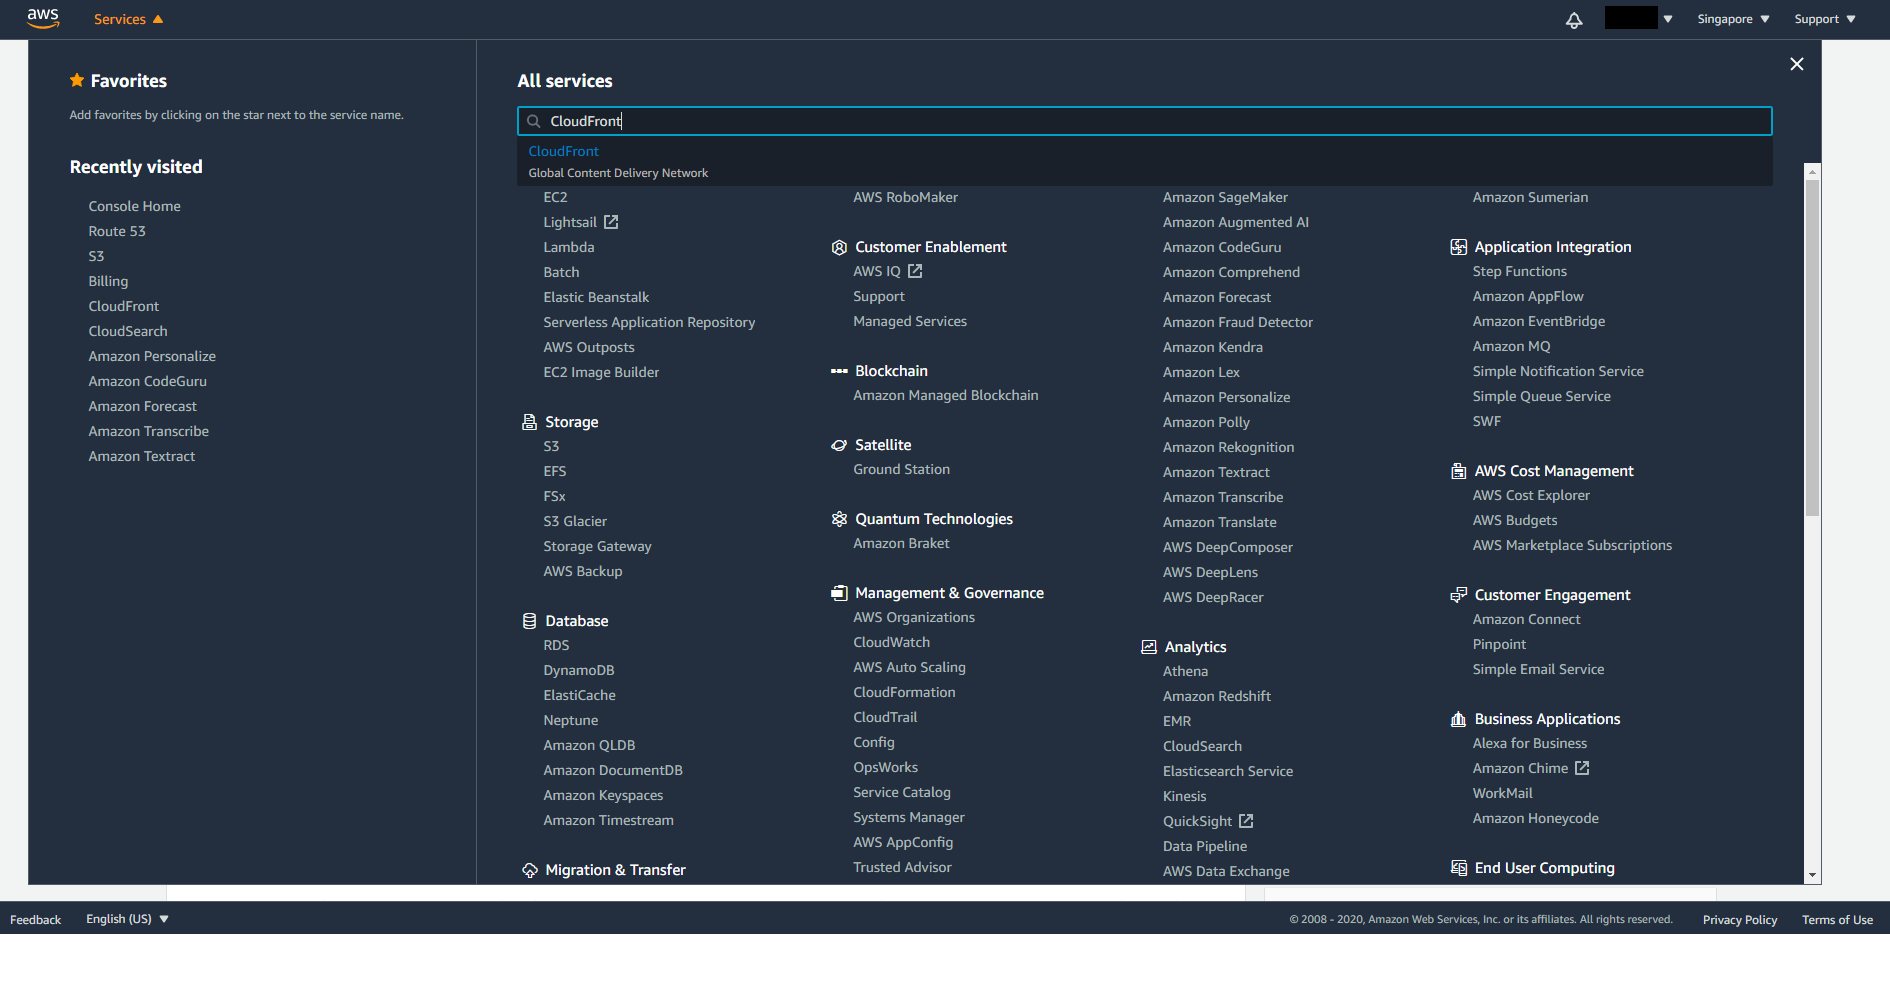
Similar to S3, CloudFront is not region specific, so you will see Global on the top right corner once you enter the CloudFront console.
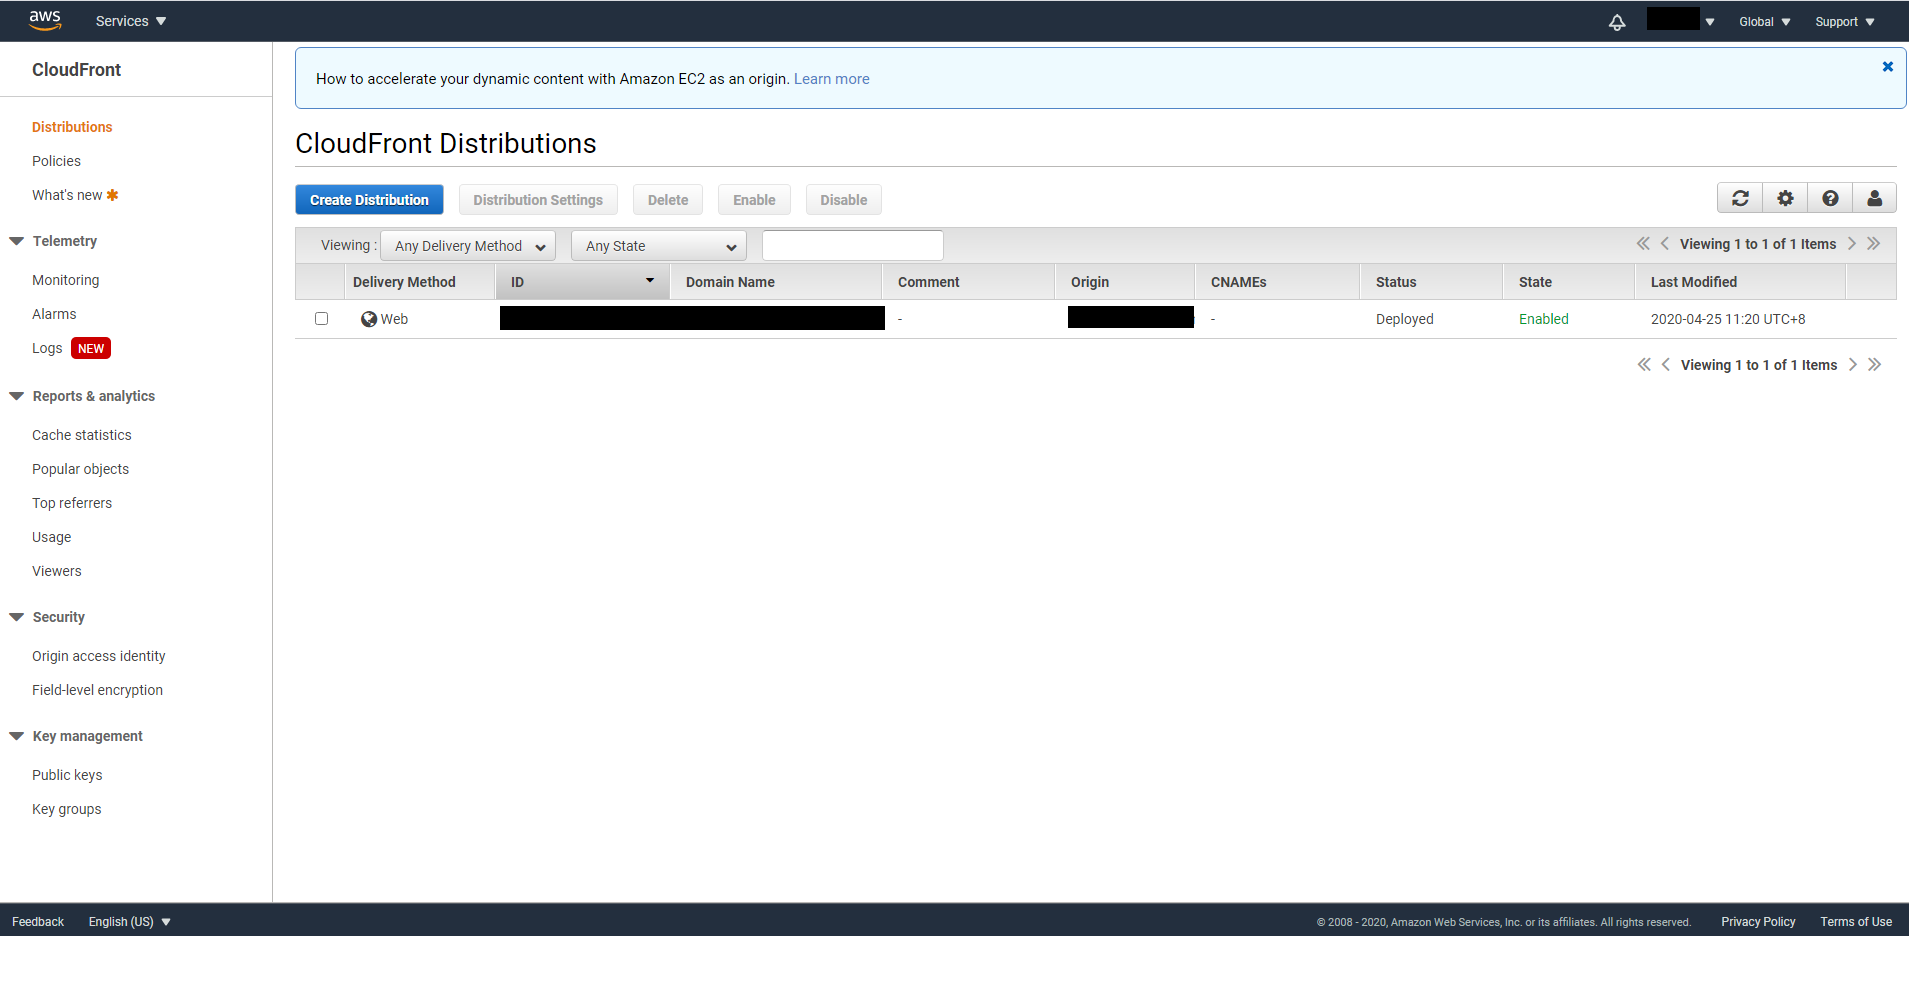
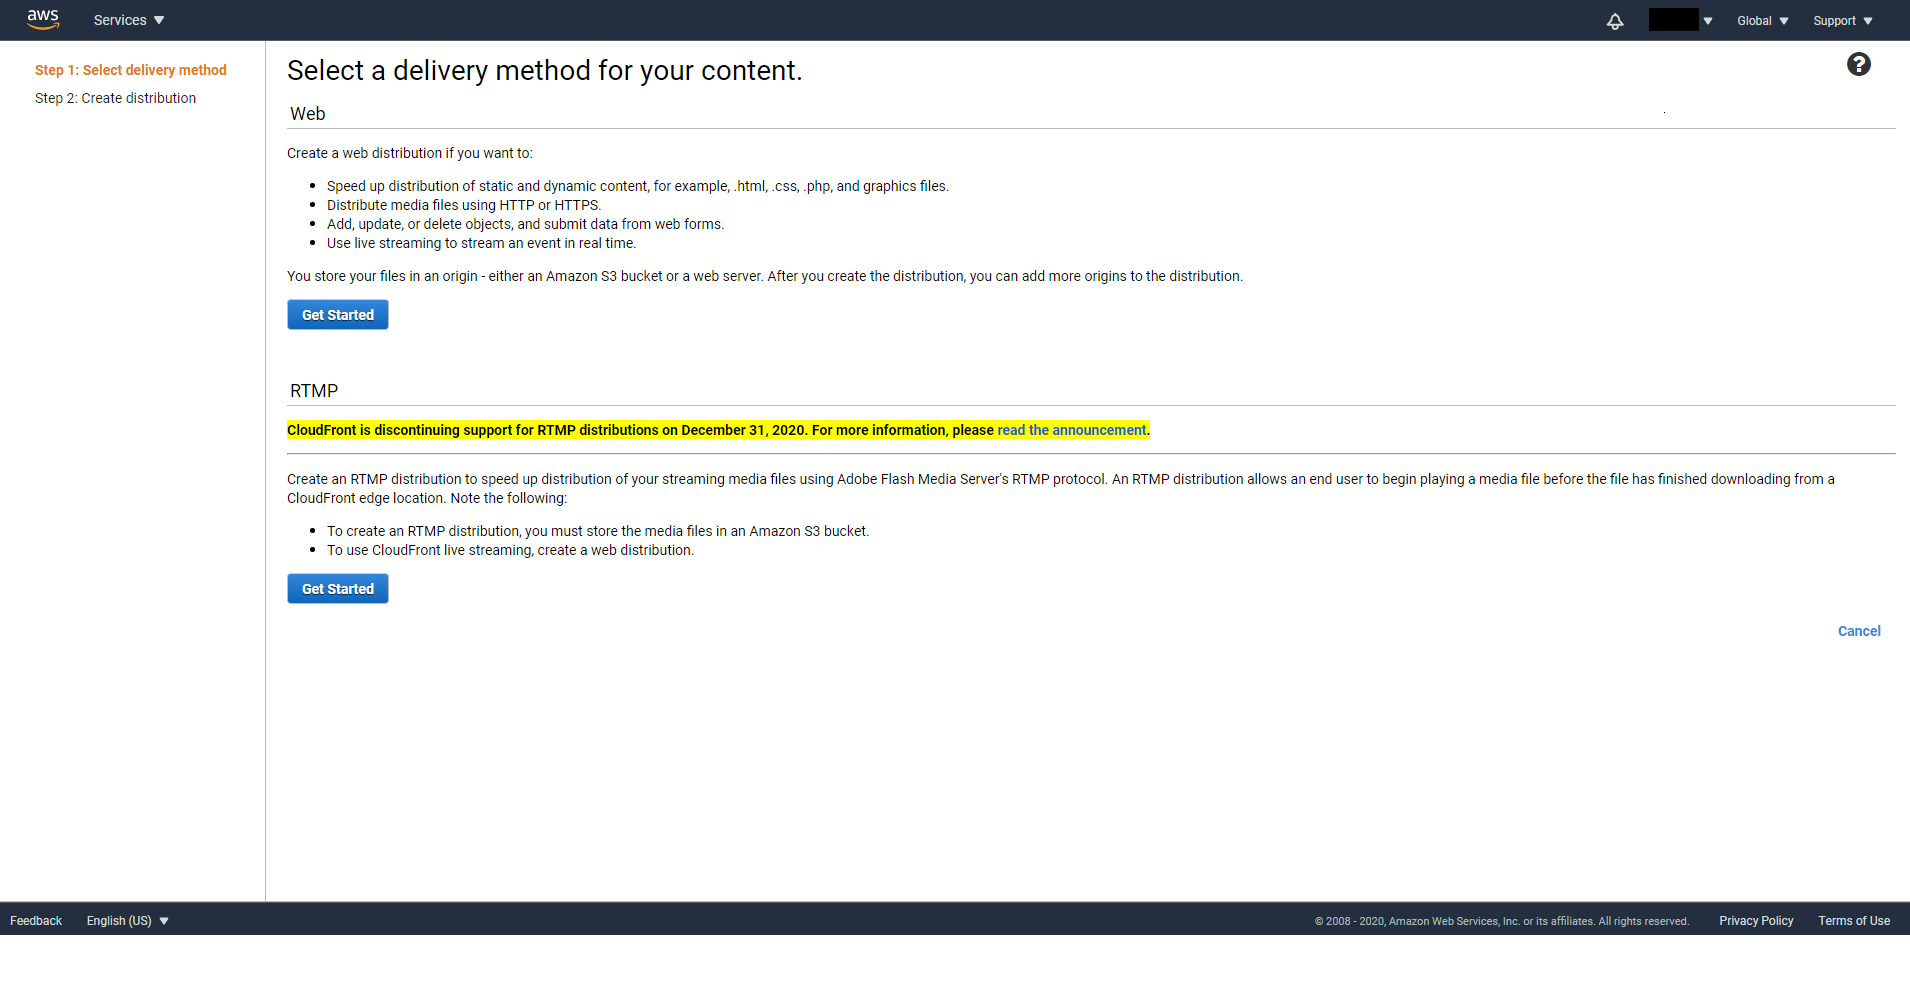
Click on Create Distribution and click on Get Started in the Web section
On step 2, you will see the following form that you need to fill in.
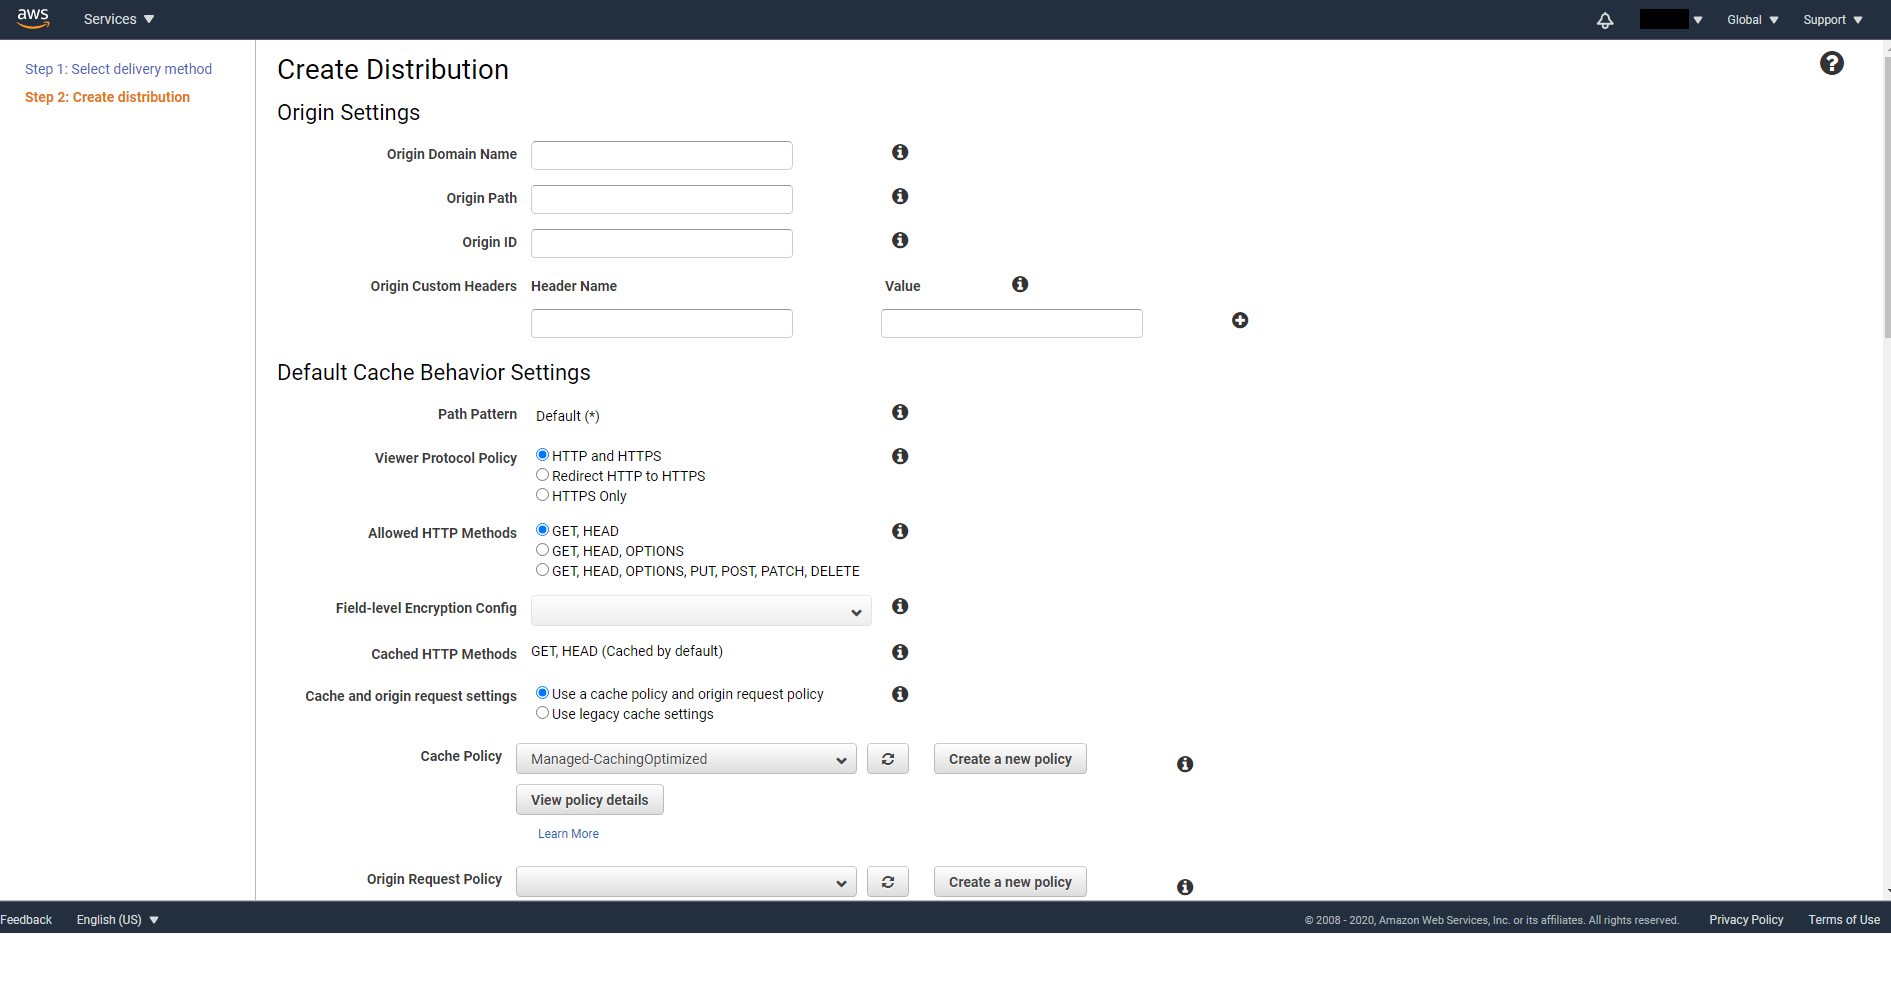
Fill in the following information:
Origin Domain Name: Type in your S3 Bucket Object URL. To find out, on a new browser tab, navigate to your S3 console and to the Bucket you want to deploy. Click on any file and you will be able to find the Object URL. Remember to omit the file path as what we really need is the Object URL of the entire Bucket.
The Object URL should be in the following format
https://{bucket name}.{region name}.amazonaws.com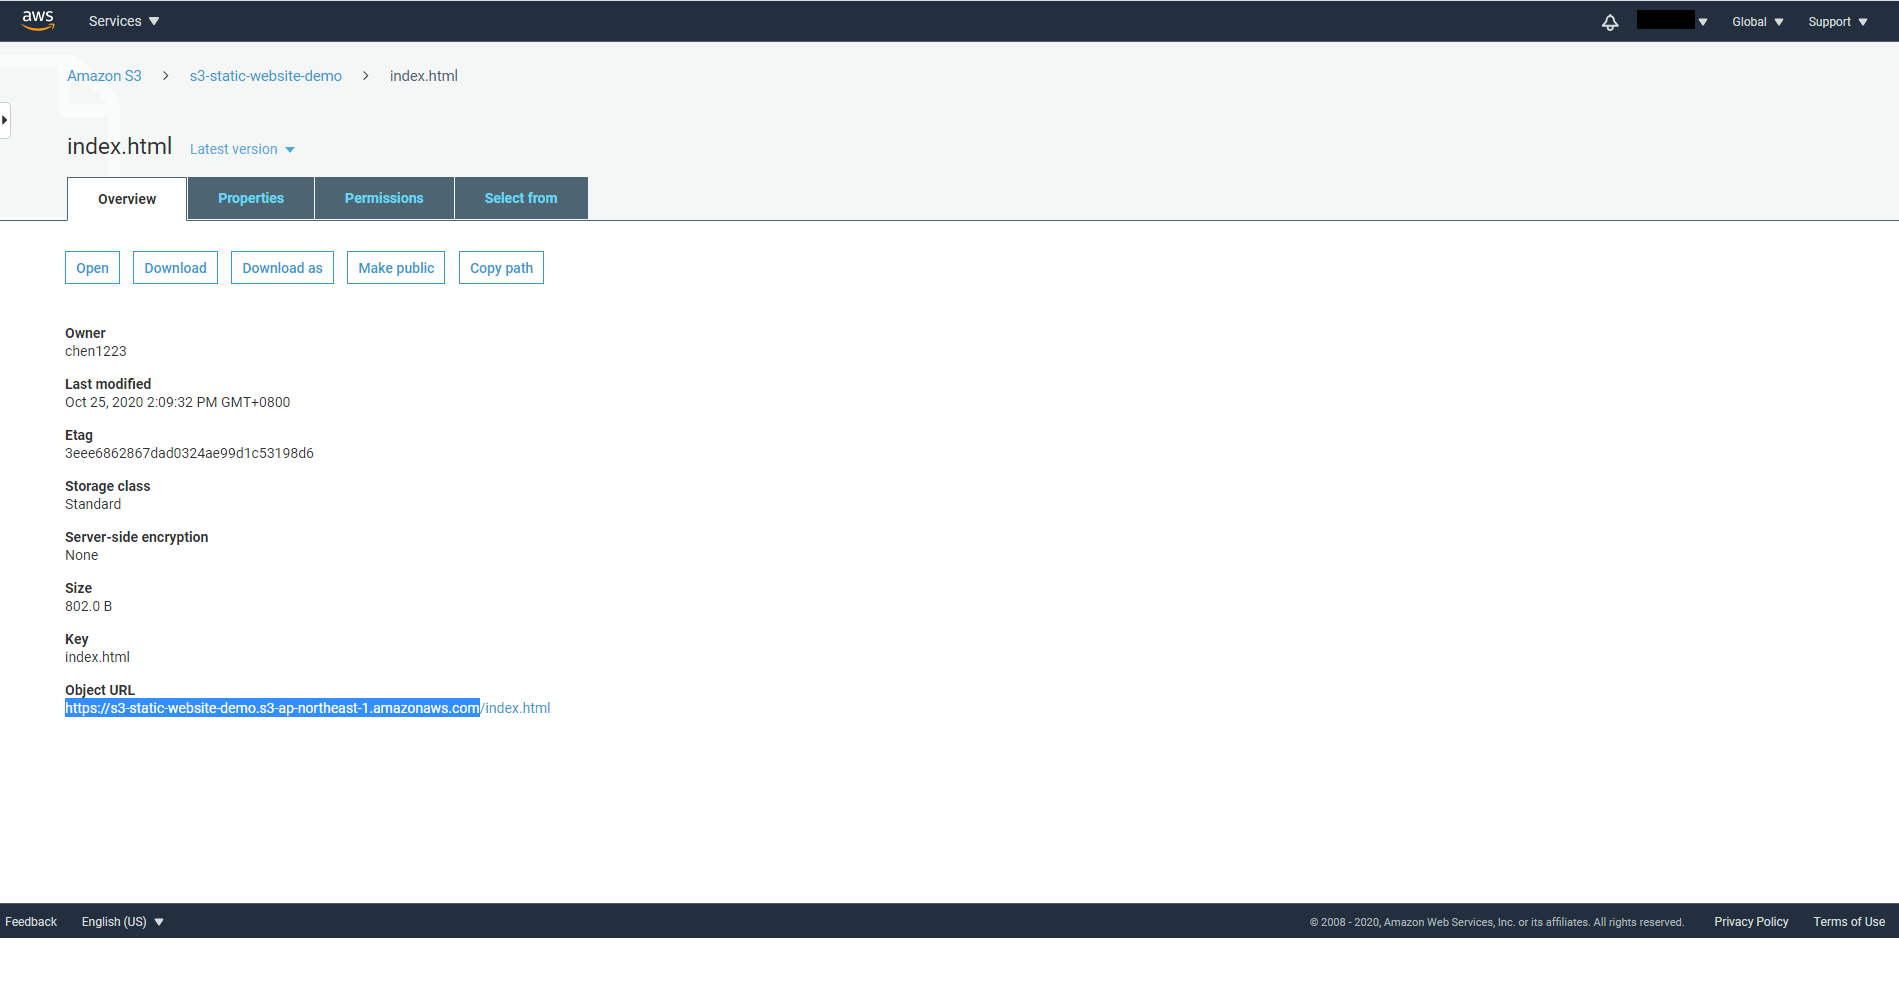
After you paste in this value into Origin Domain Name, Origin ID will automatically be filled in for you.
Note. Don’t select your Bucket from the dropdown menu directly as it is the Bucket ARN not the actual Object URL.
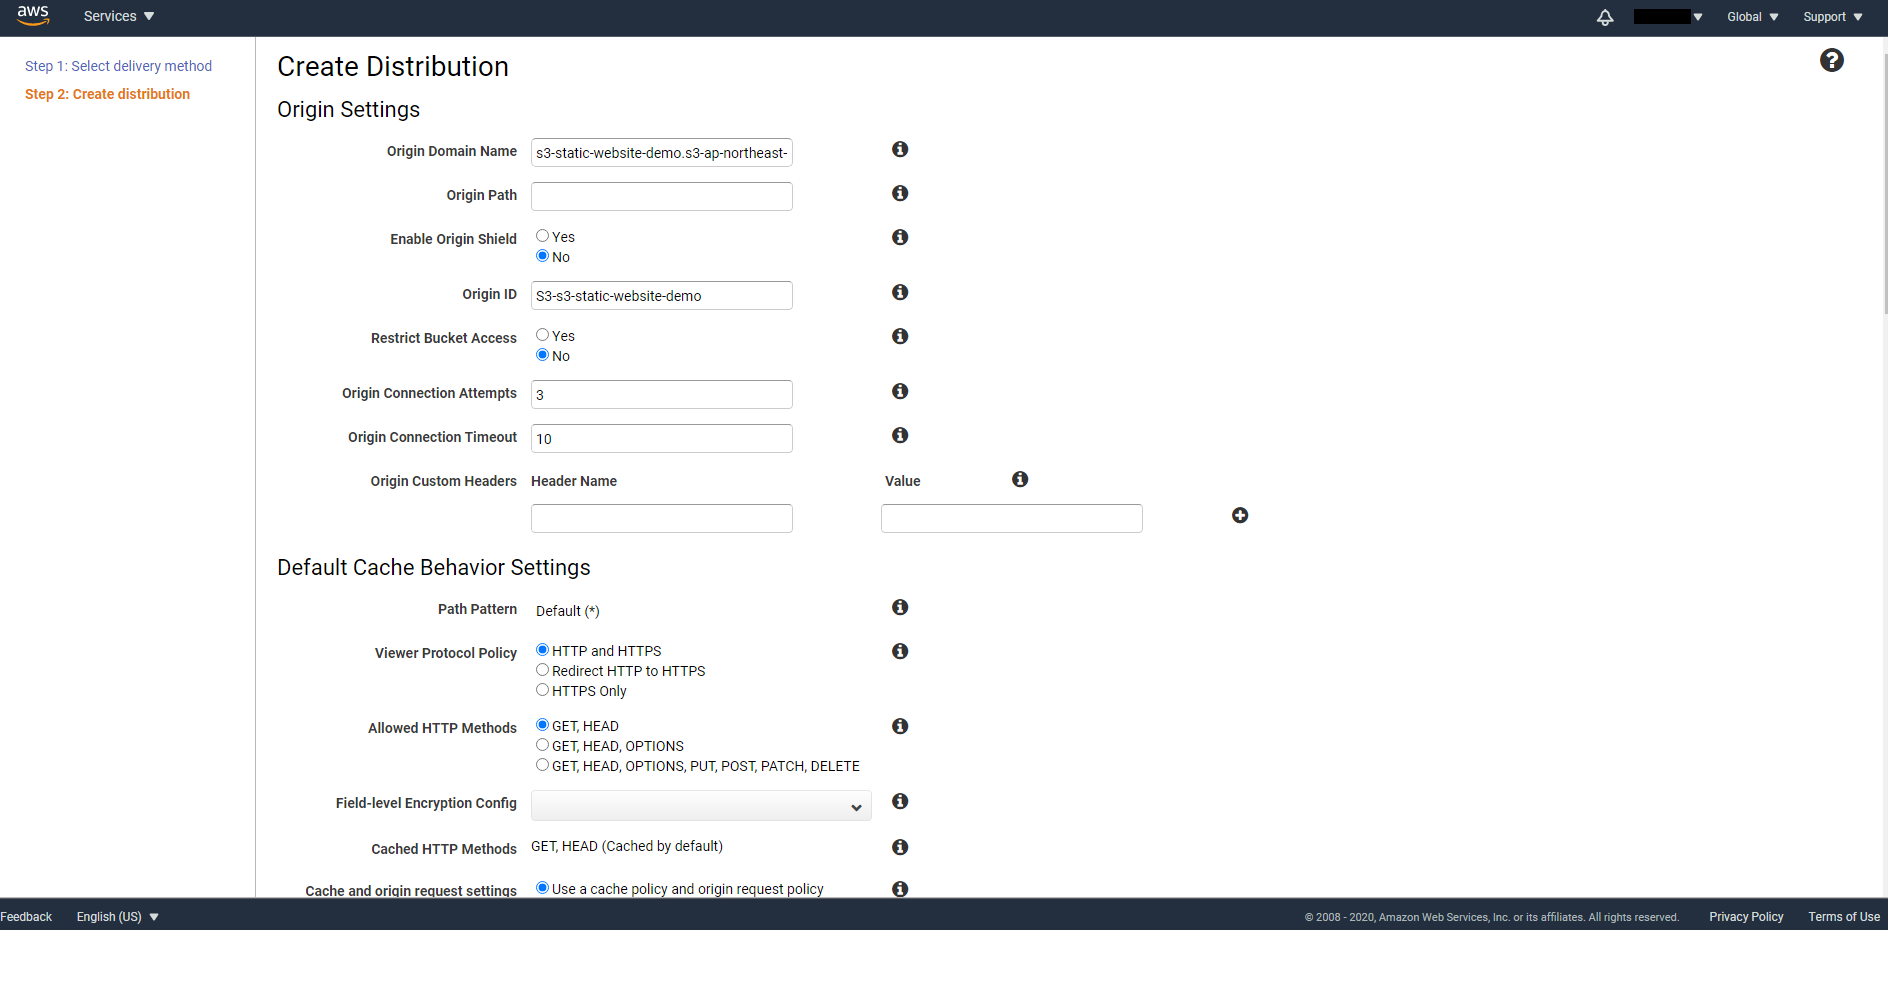
Origin Path: Leave it empty if your index.html sits in the root folder of your Bucket. Otherwise, type in the path starting from the root of your Bucket.
Restrict Bucket Access: Set to Yes
Origin Access Identity: Select Create a New Identity and for the Comment type in Identity for s3 demo site. You can later view all origin access identities you have under CloudFront -> Security -> Origin access identity.
Grant Read Permissions on Bucket: Select Yes, Update Bucket Policy. This will automatically update Bucket Policy for you, so that only CloudFront can access your Bucket and no longer the public.
Default Root Object: Set it to index.html
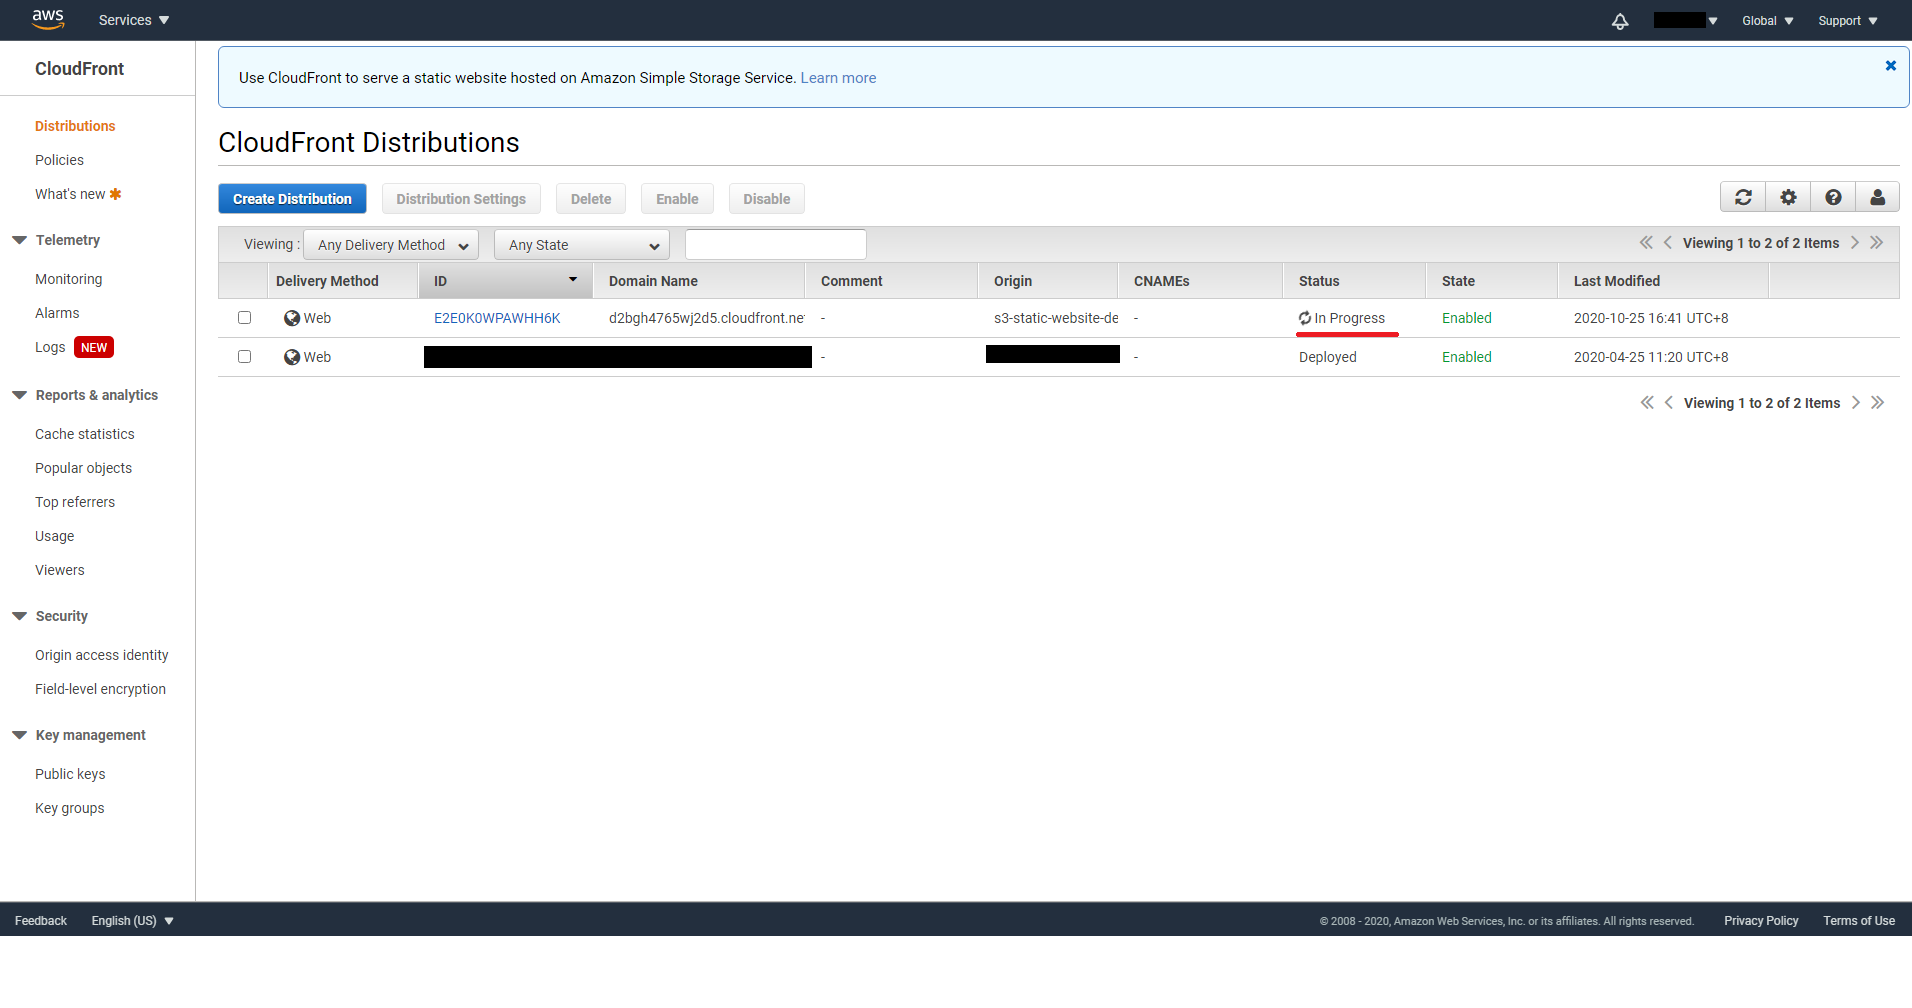
Leave everything the same then click on Create Distribution. We will come back to Distribution Settings later to set custom domain and HTTPS.
You will see your distribution is being created In Progress. When it’s done, the status will change to Deployed.
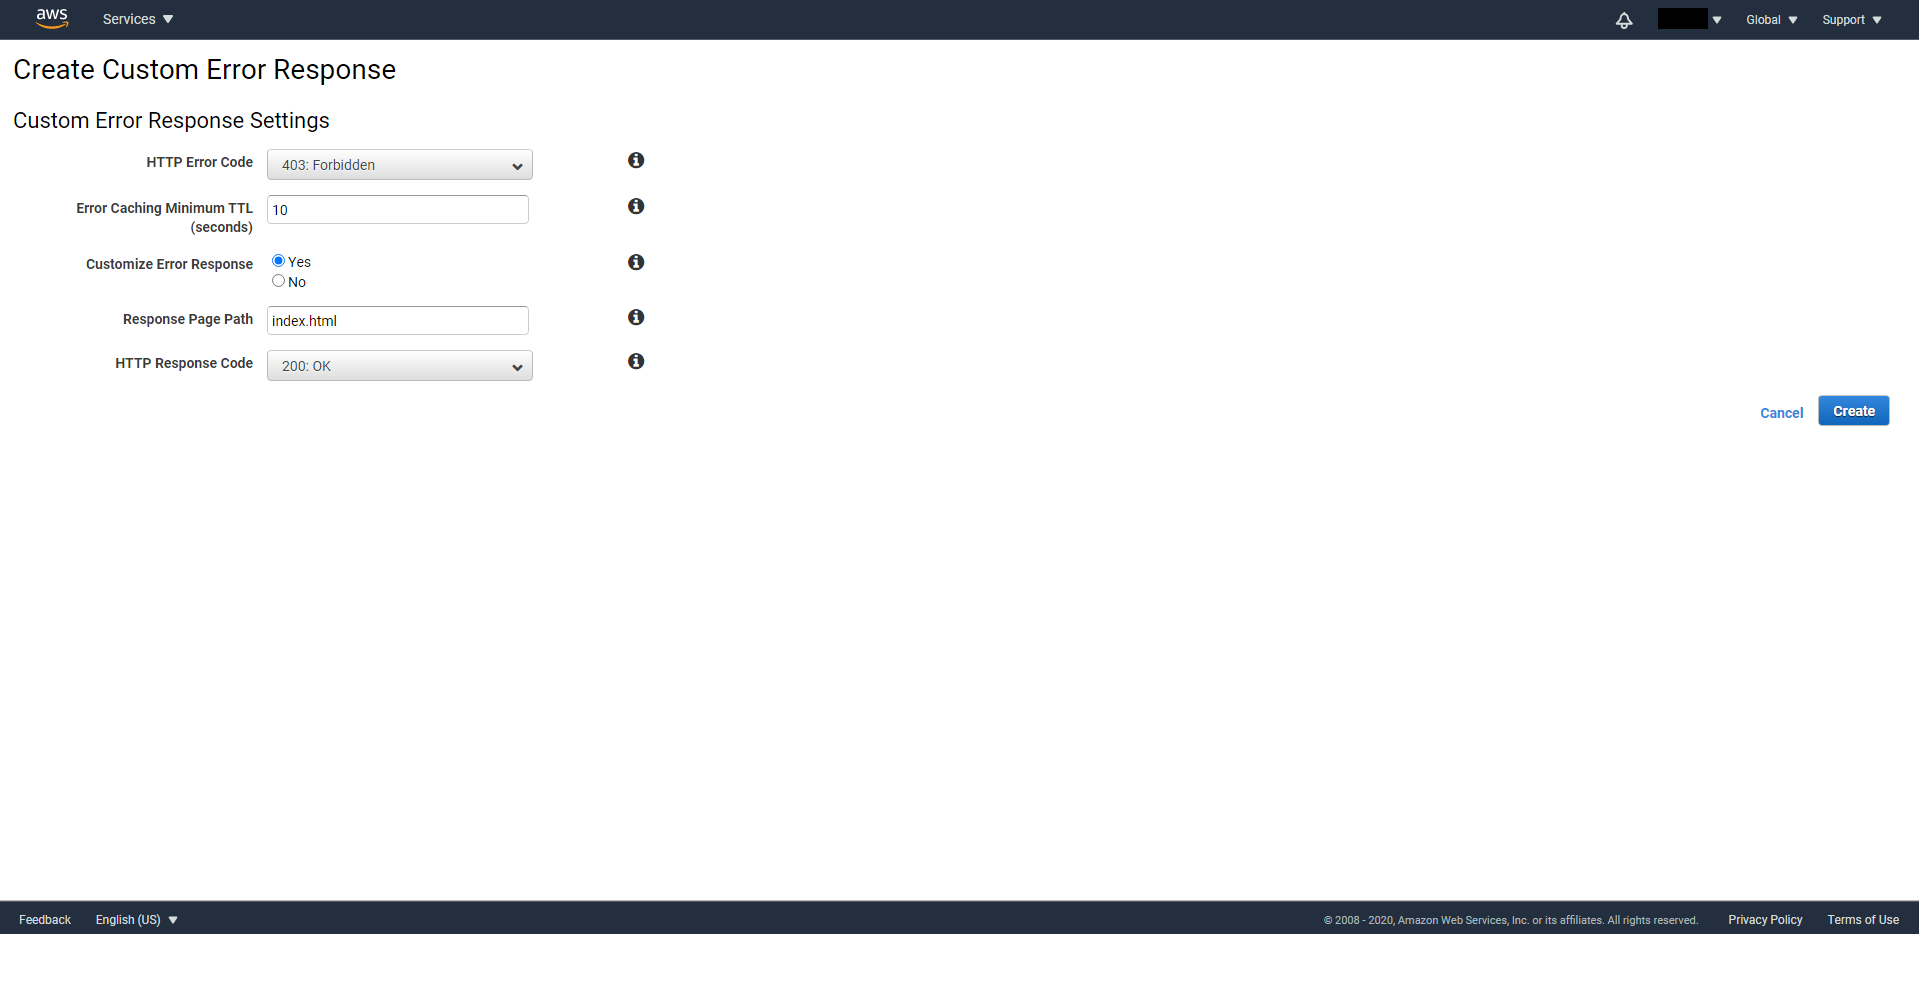
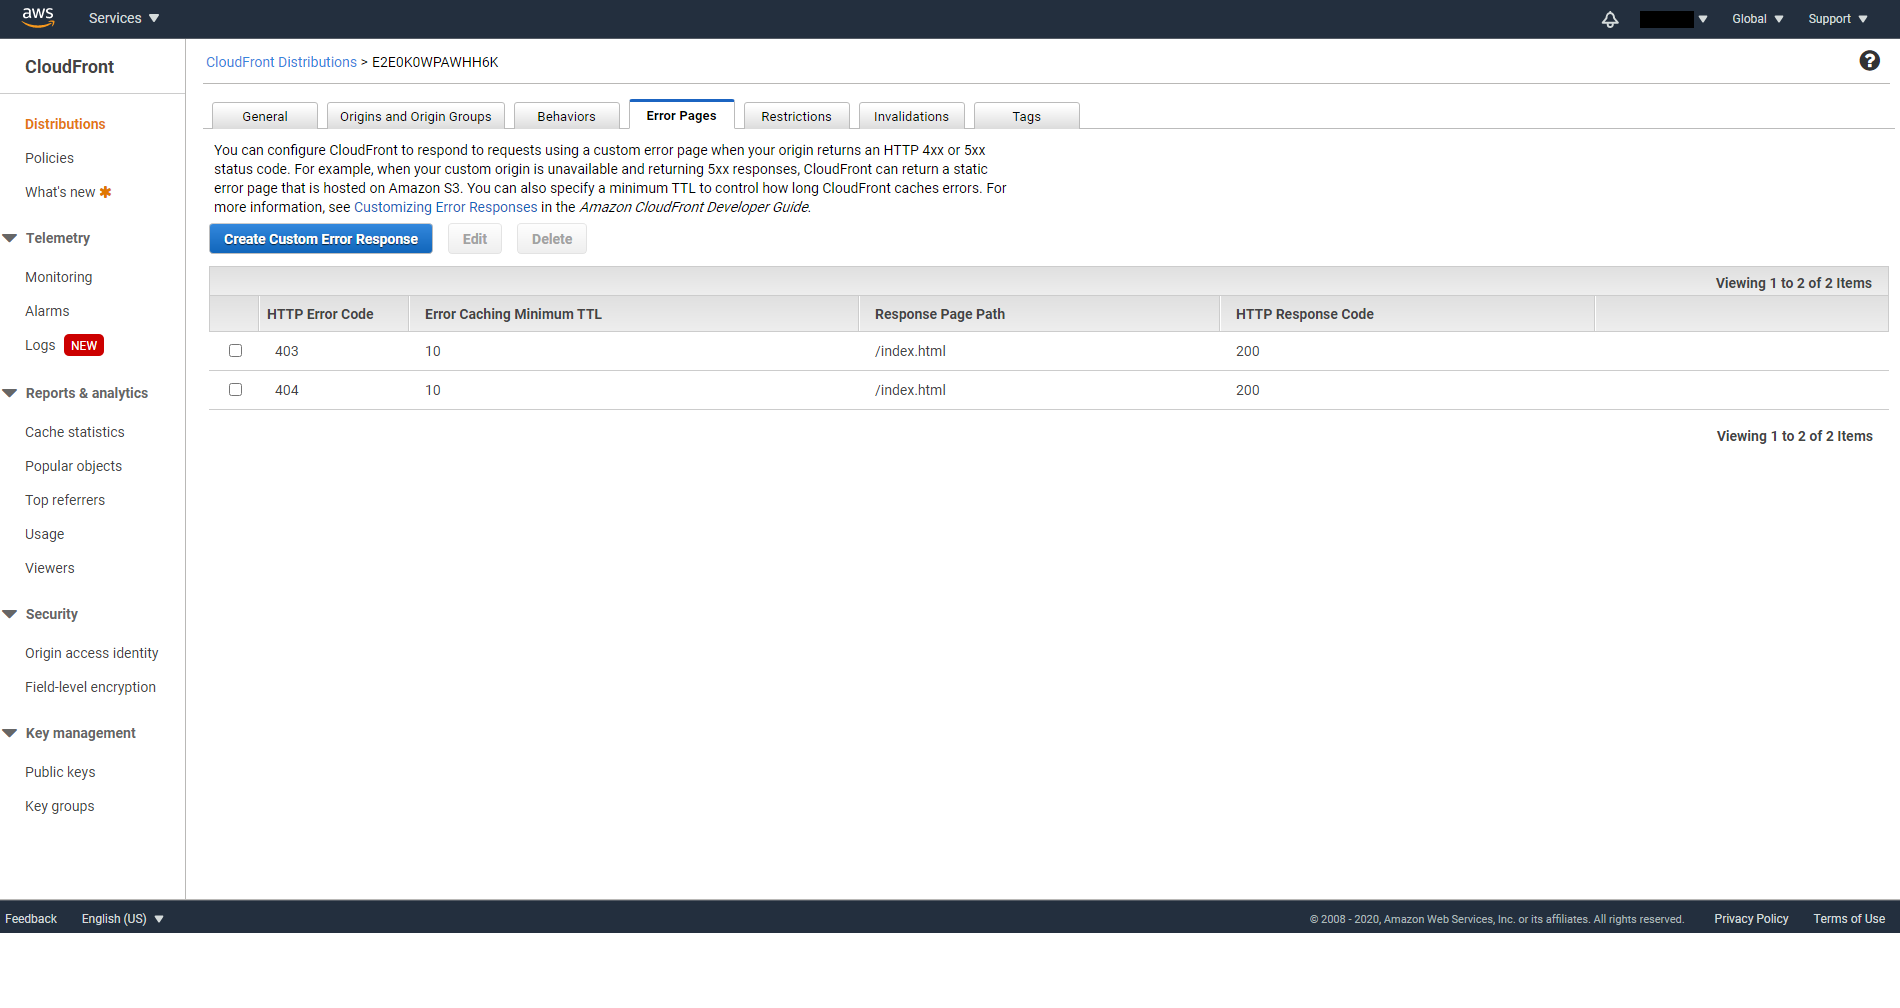
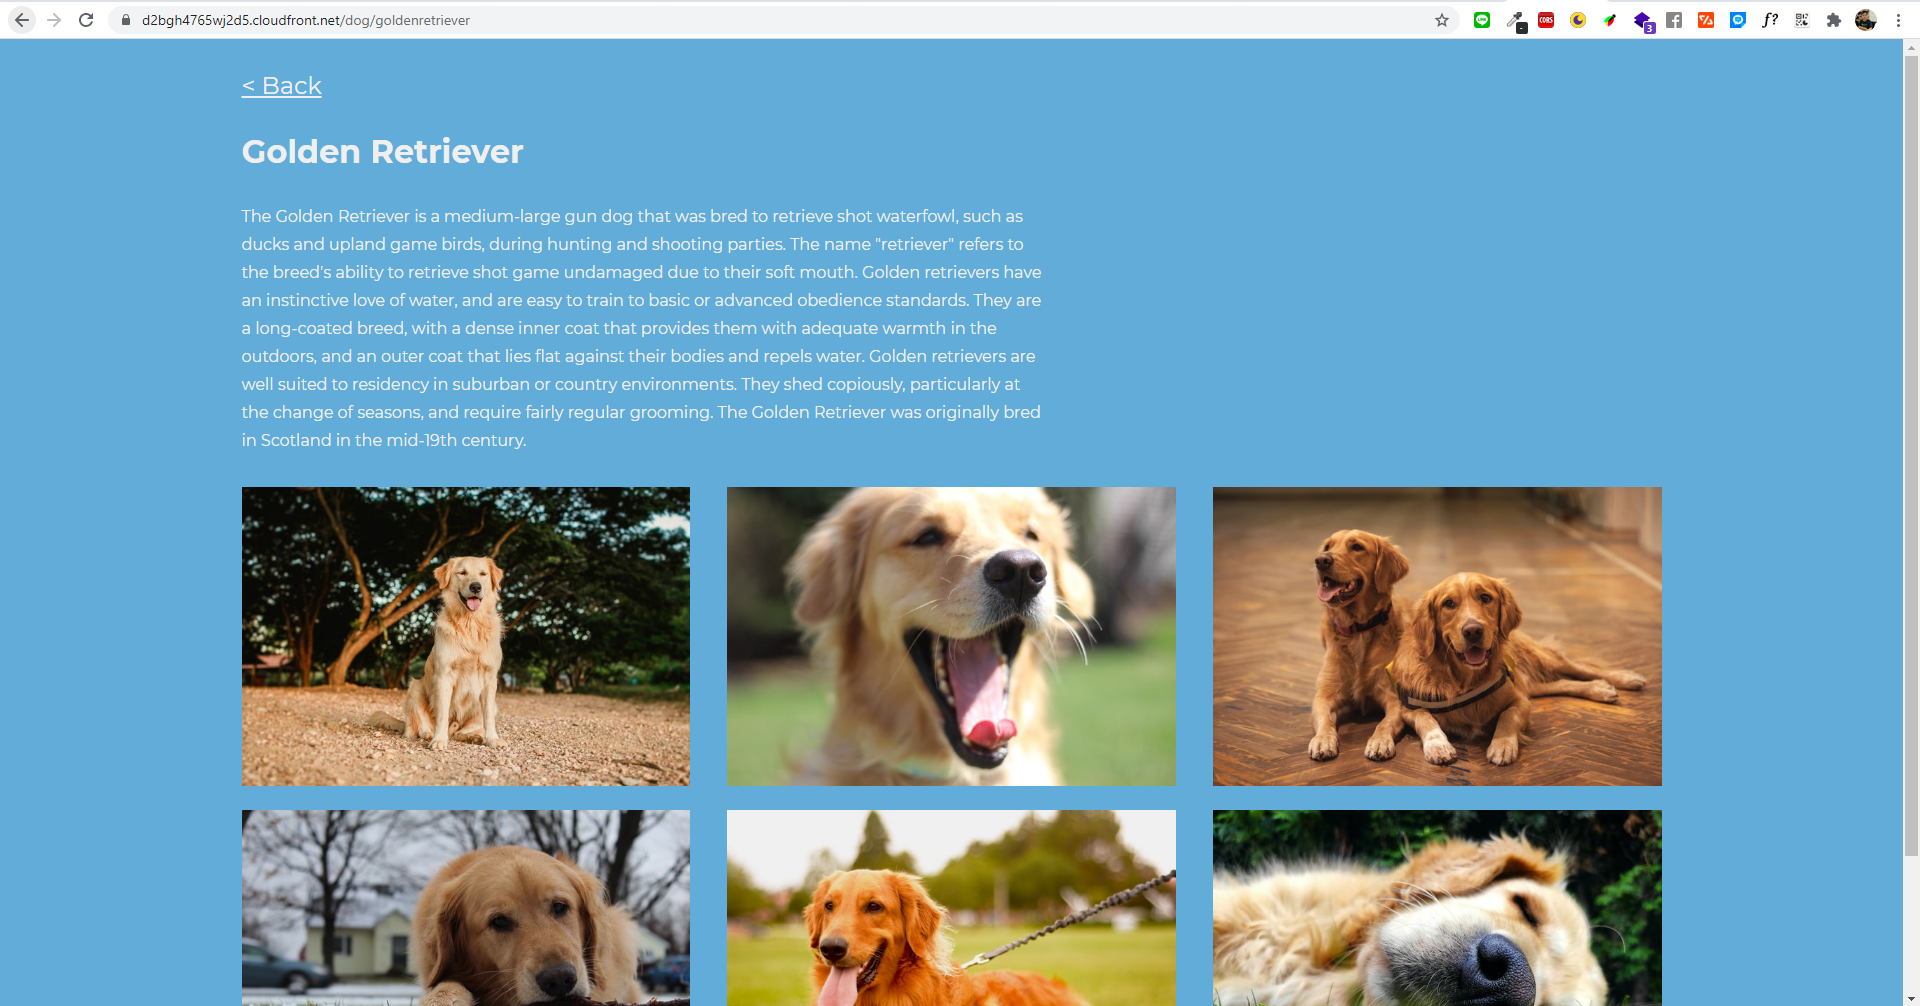
Now we need to set custom error responses, so that instead of 403 or 404, CloudFront will always return our index.html page, which in terms means let our Frontend code handle the routing. (If you use plain HTML and Javascript without any Frontend framework then feel free to skip this step) Go to the Error Pages tab of your distribution, and click on Create Custom Error Responses
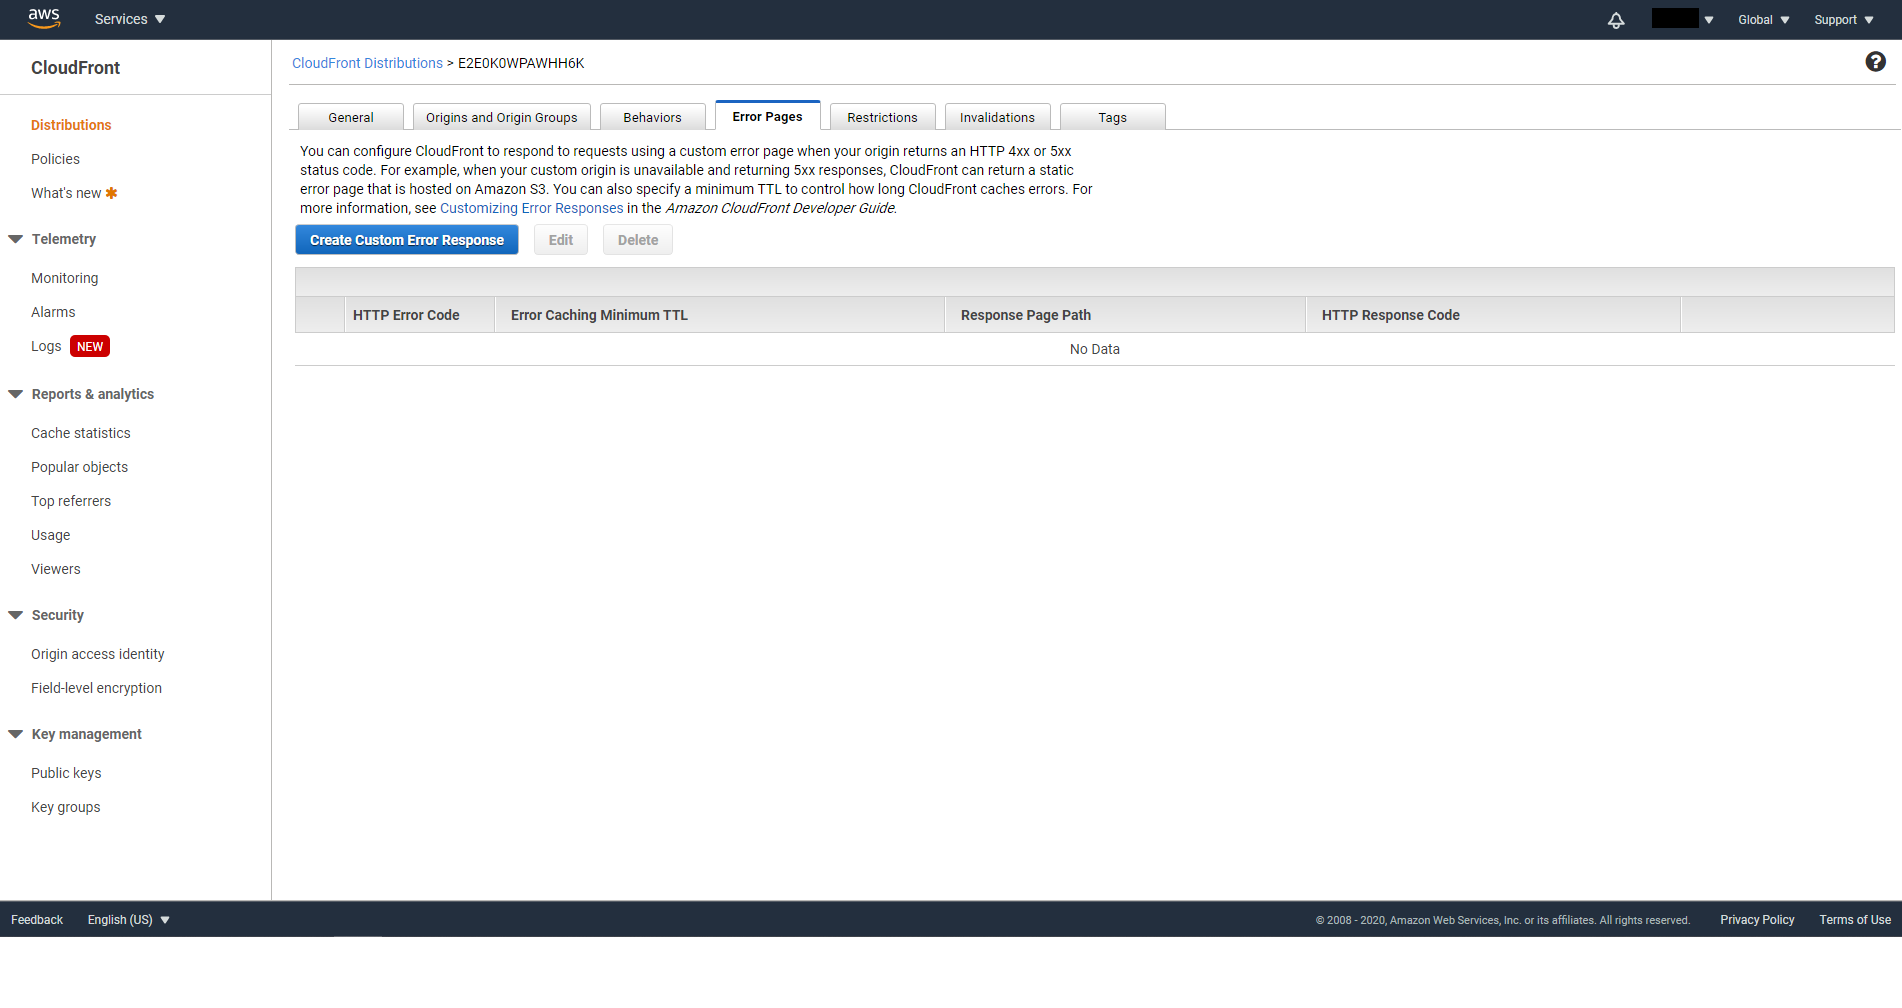
Create custom error responses for http status code 403 and 404. Set Customize Error Response to Yes, Response Page Path to /index.html and Http Response Code to 200: OK
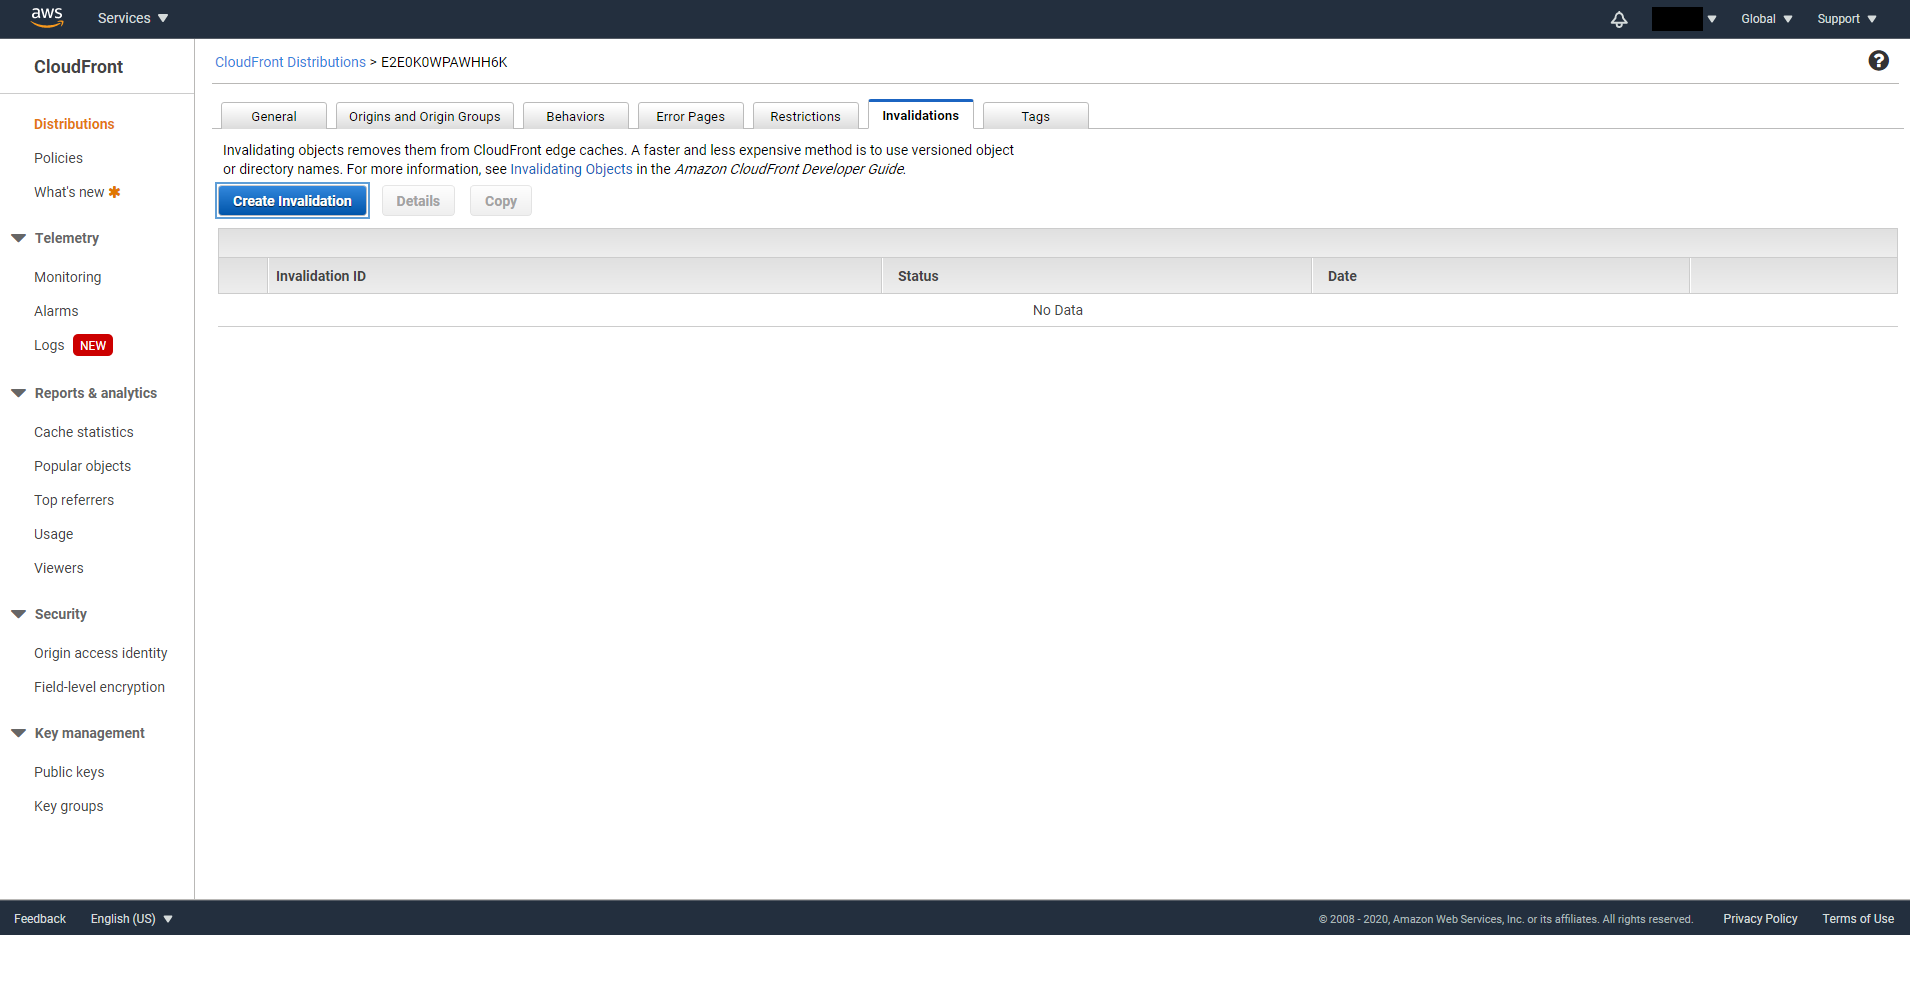
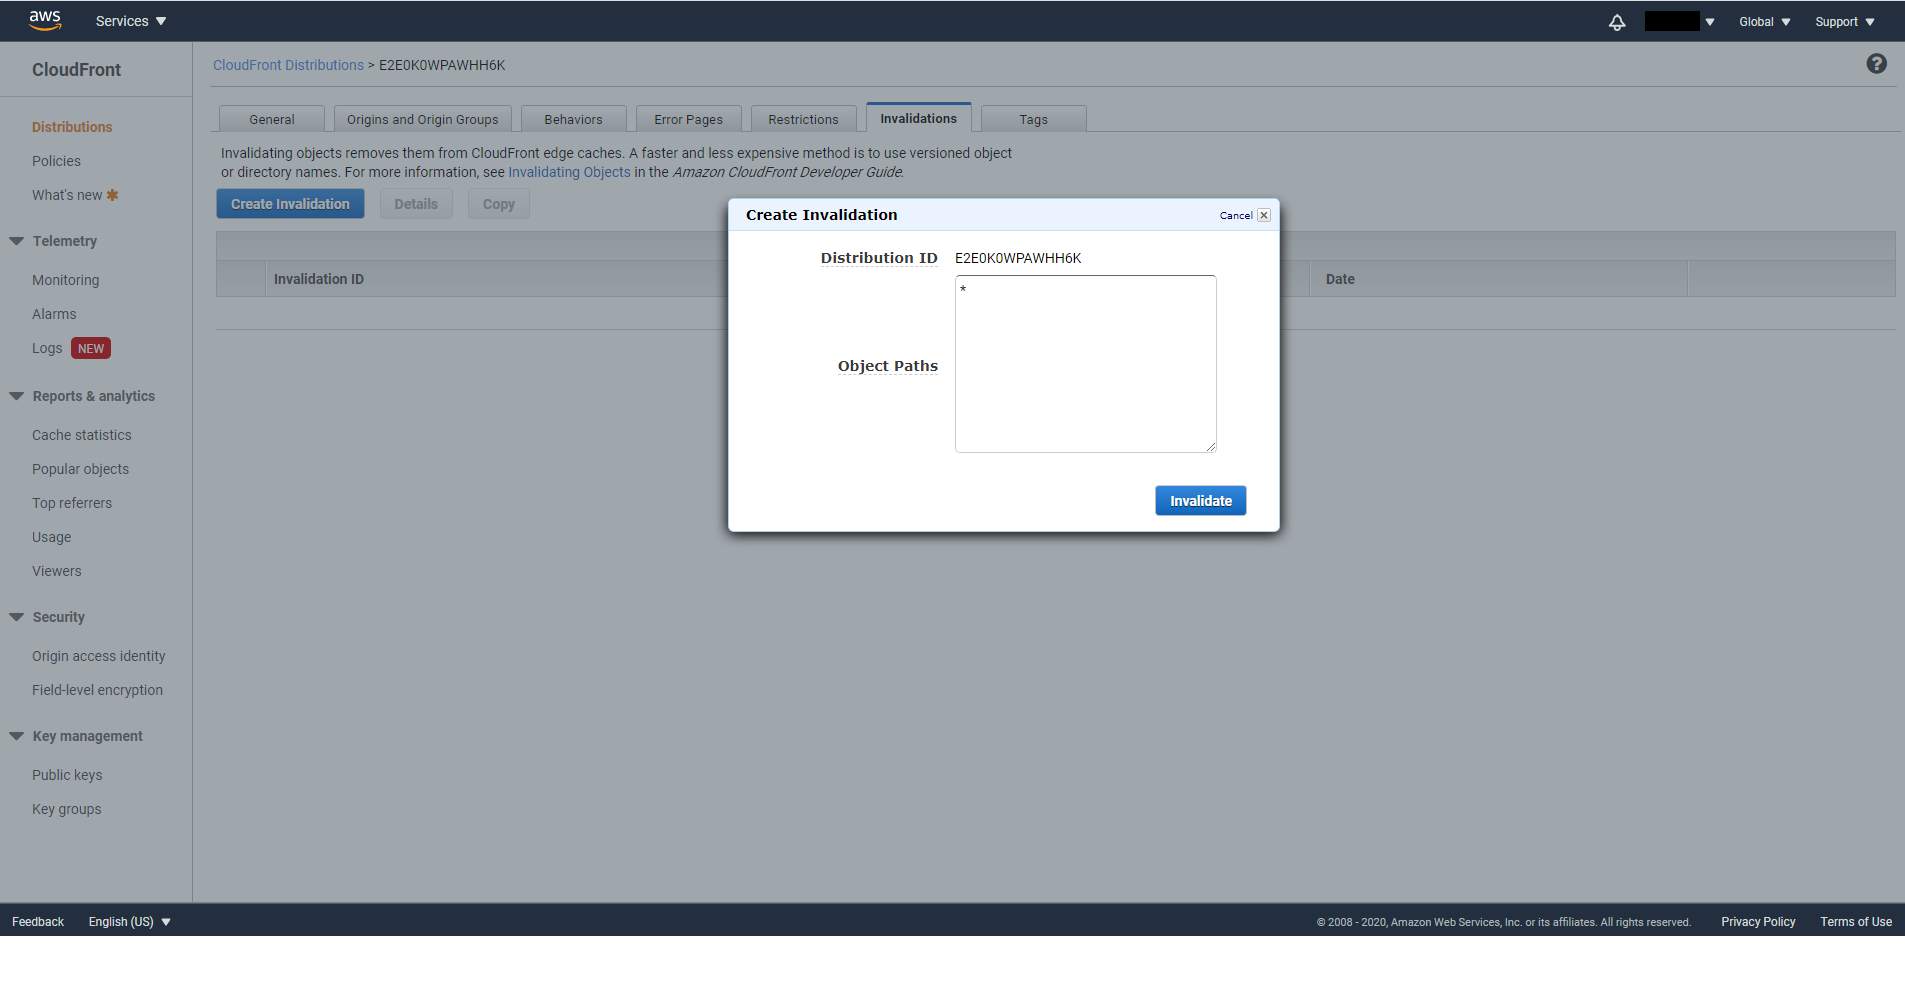
Finally go to the Invalidations tab click on Create Invalidation. Enter * for Object Path then click on Invalidate. In the future, if there’s any update to your S3 Bucket, you will need to perform this step to update the cache.
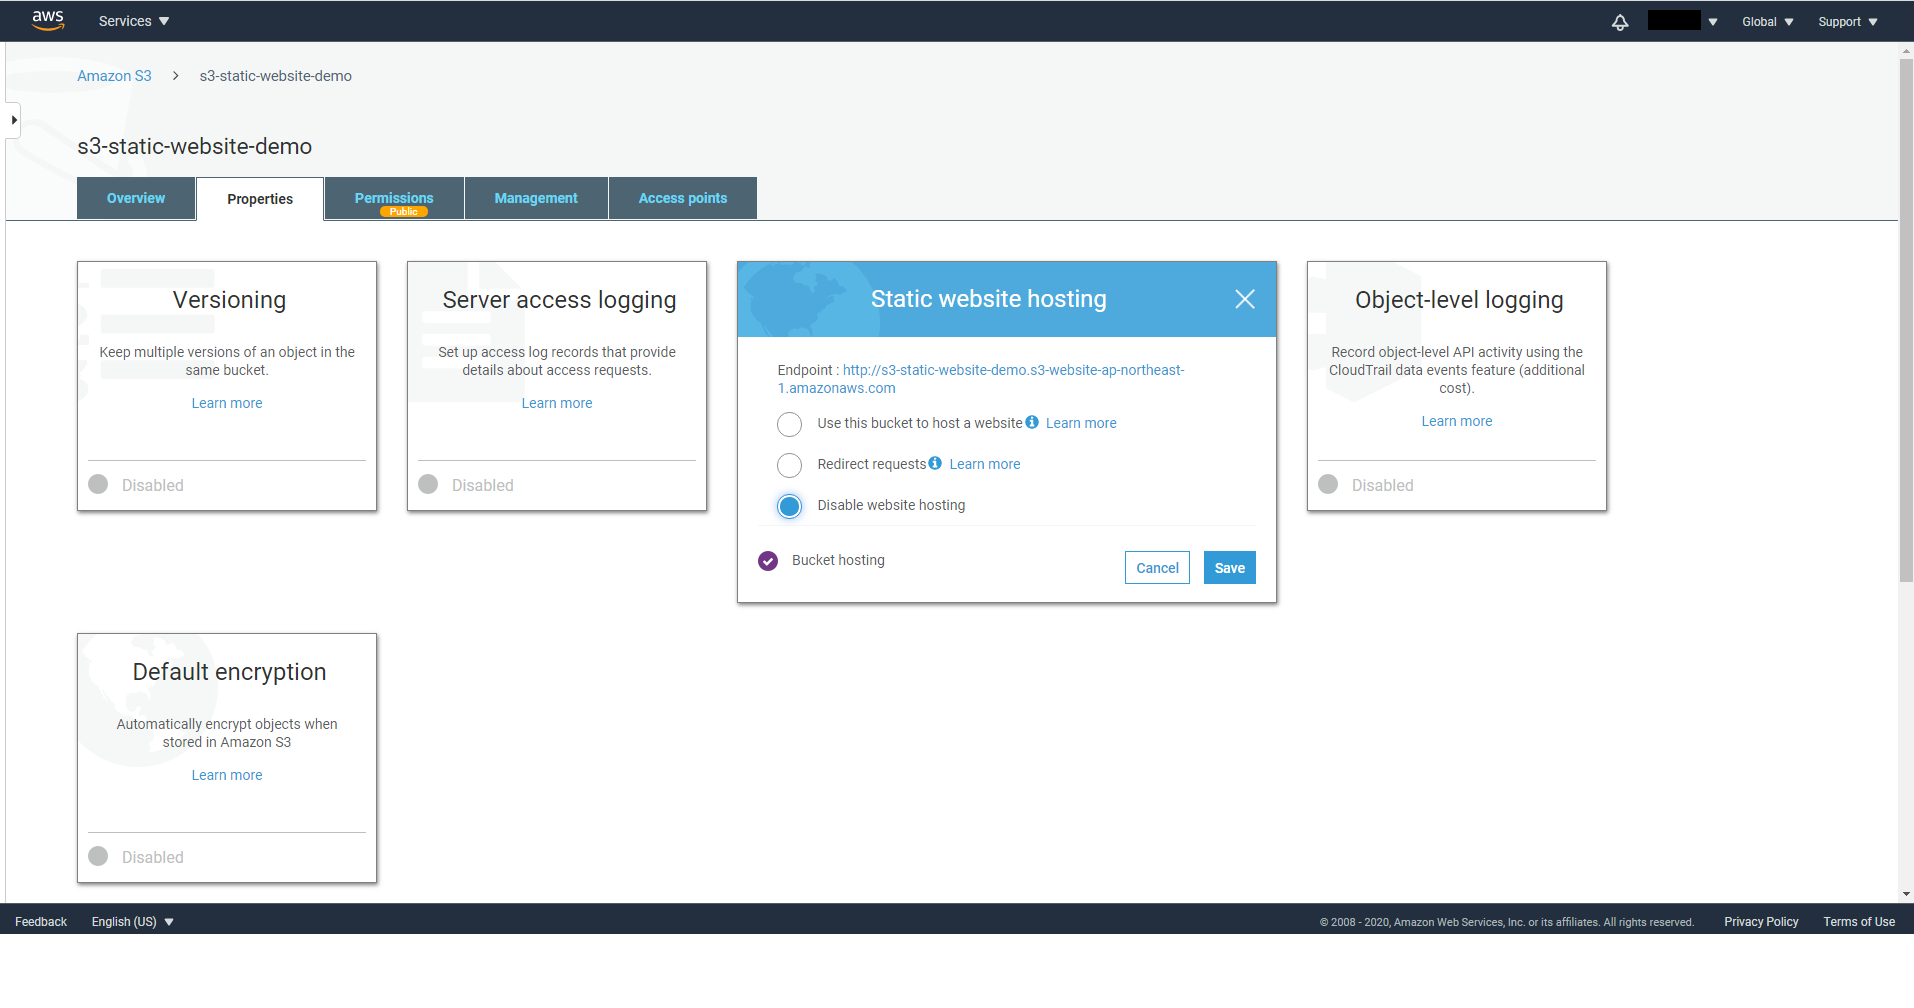
Now go back to S3 console and disable Static website hosting of your Bucket.
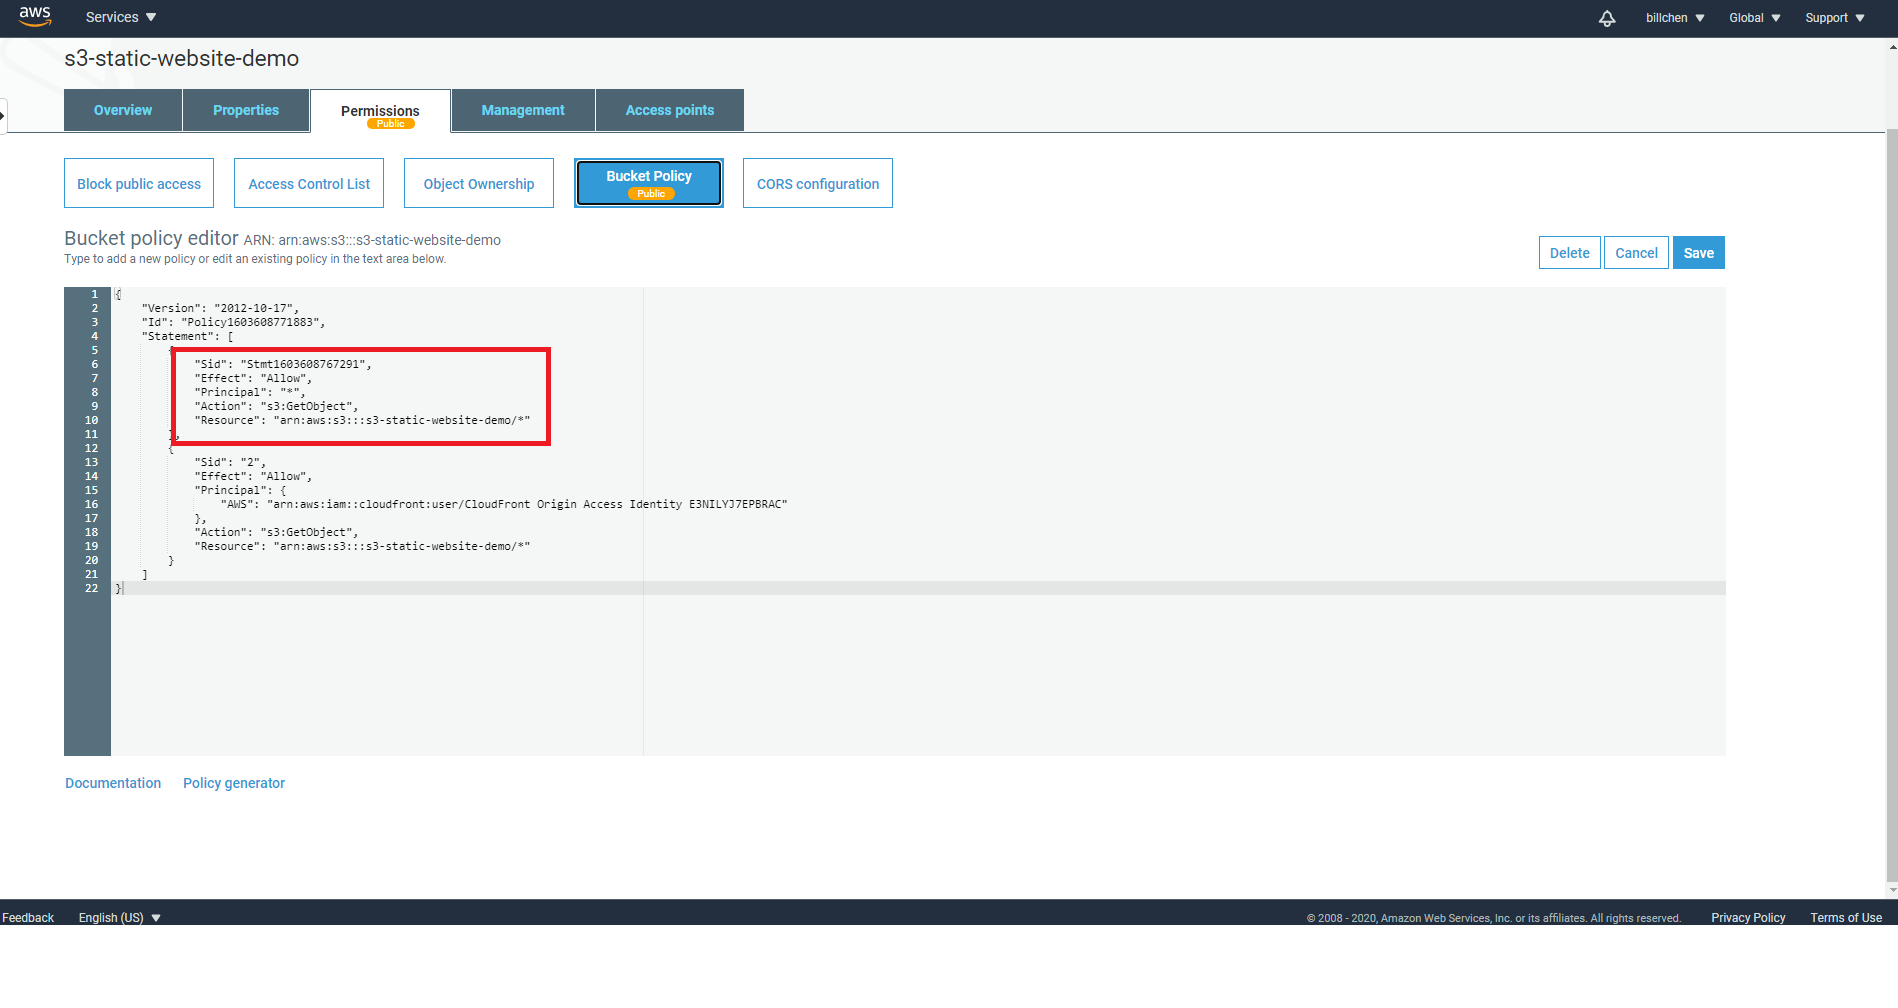
On the Permissions tab of your Bucket, go to Bucket Policy and remove the Bucket Policy we added in previous tutorial that has Principal set to *.
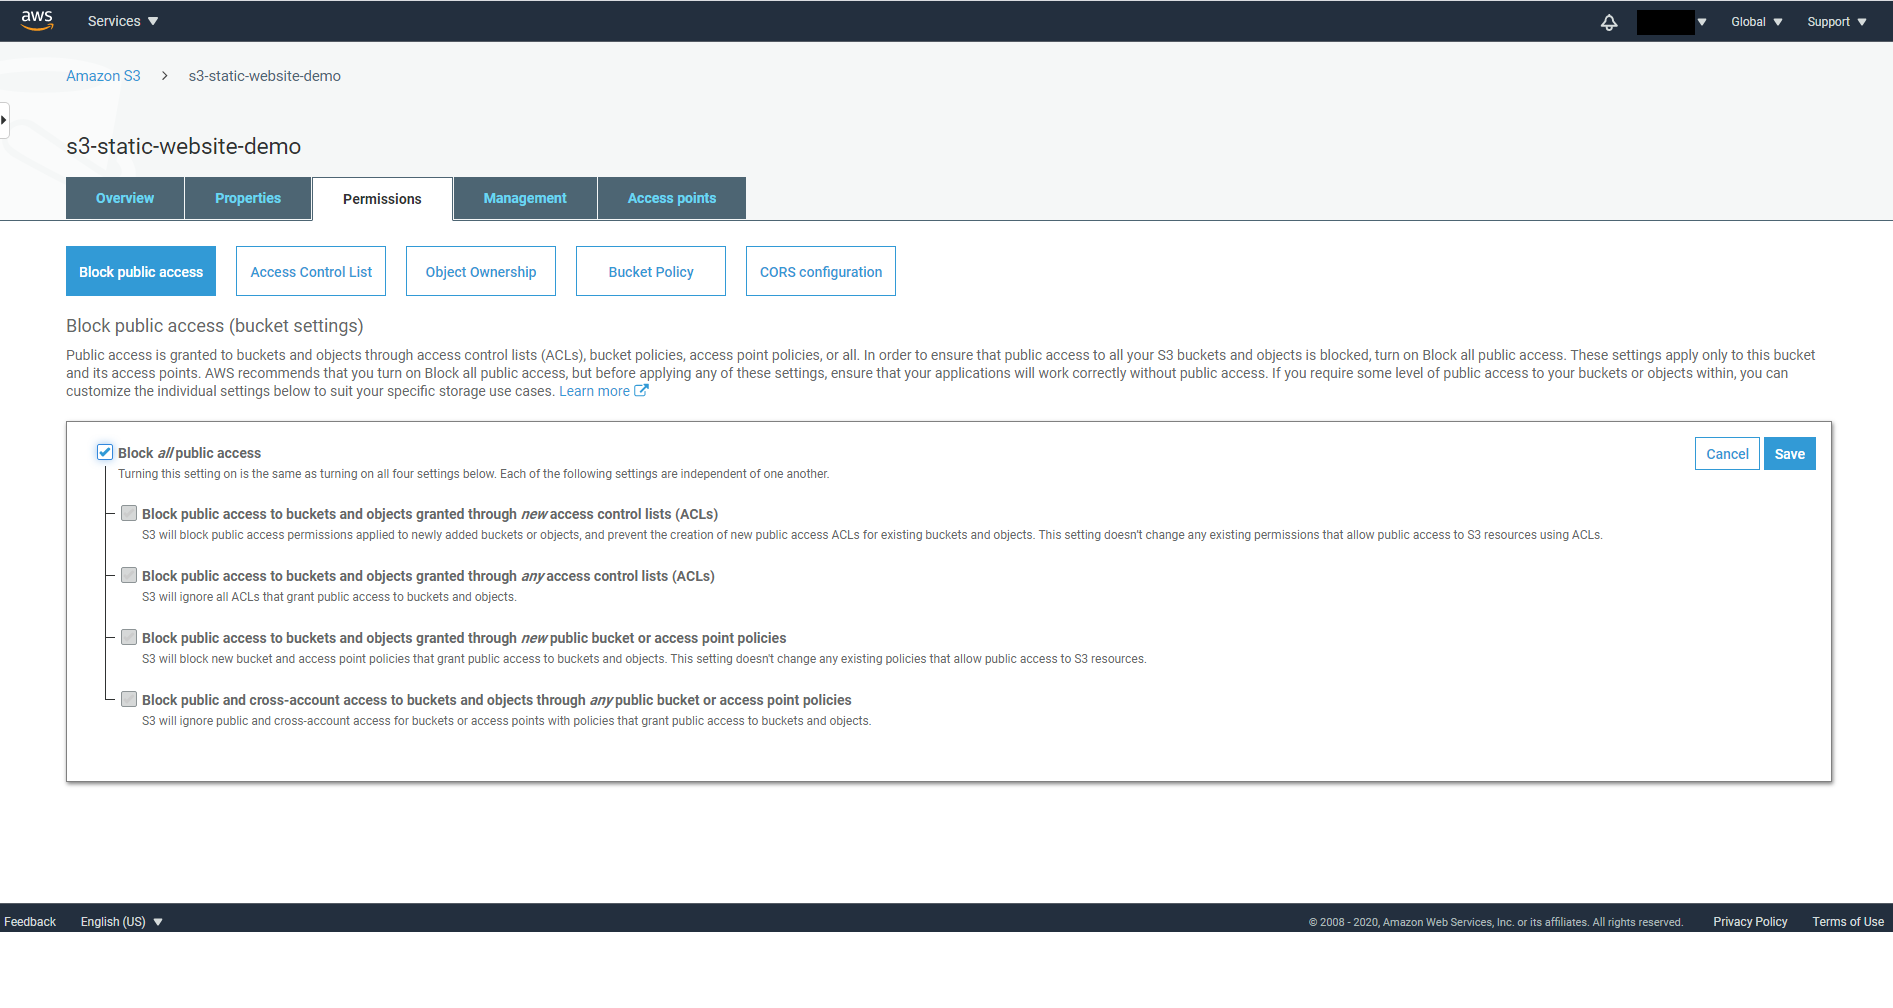
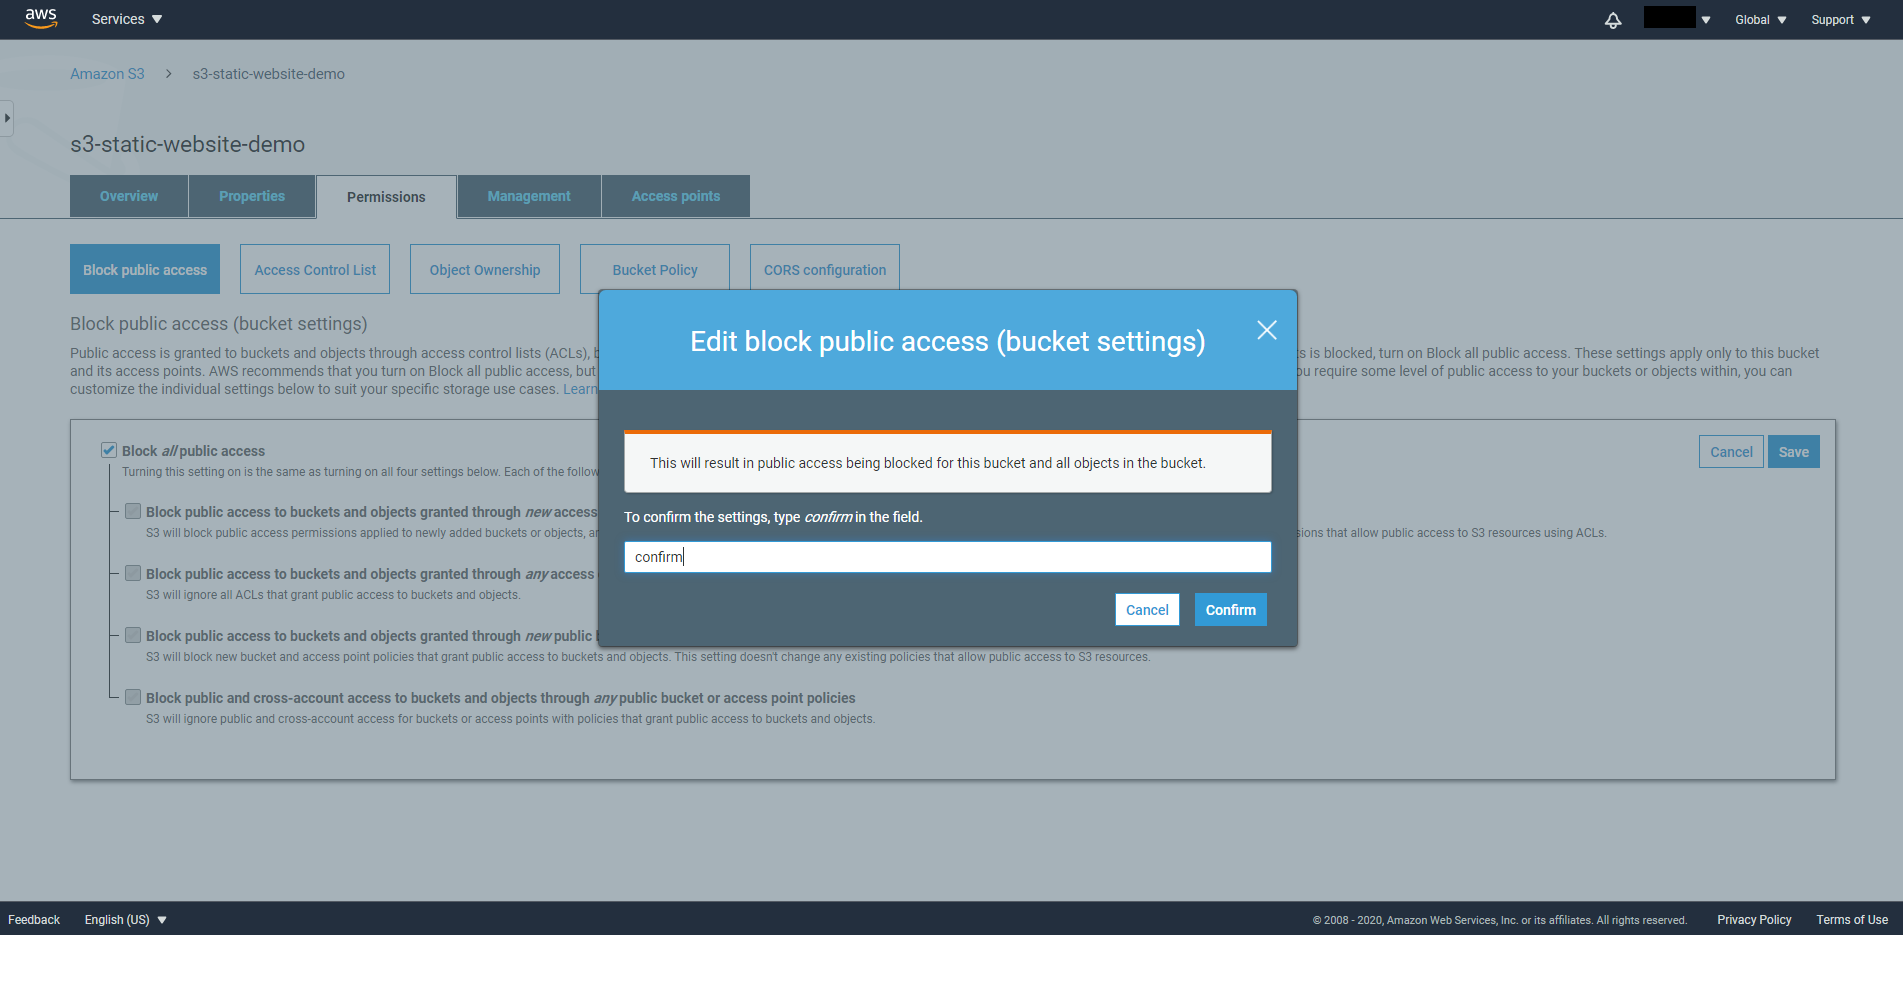
On the Block public access tab, set it to On then click on Save.
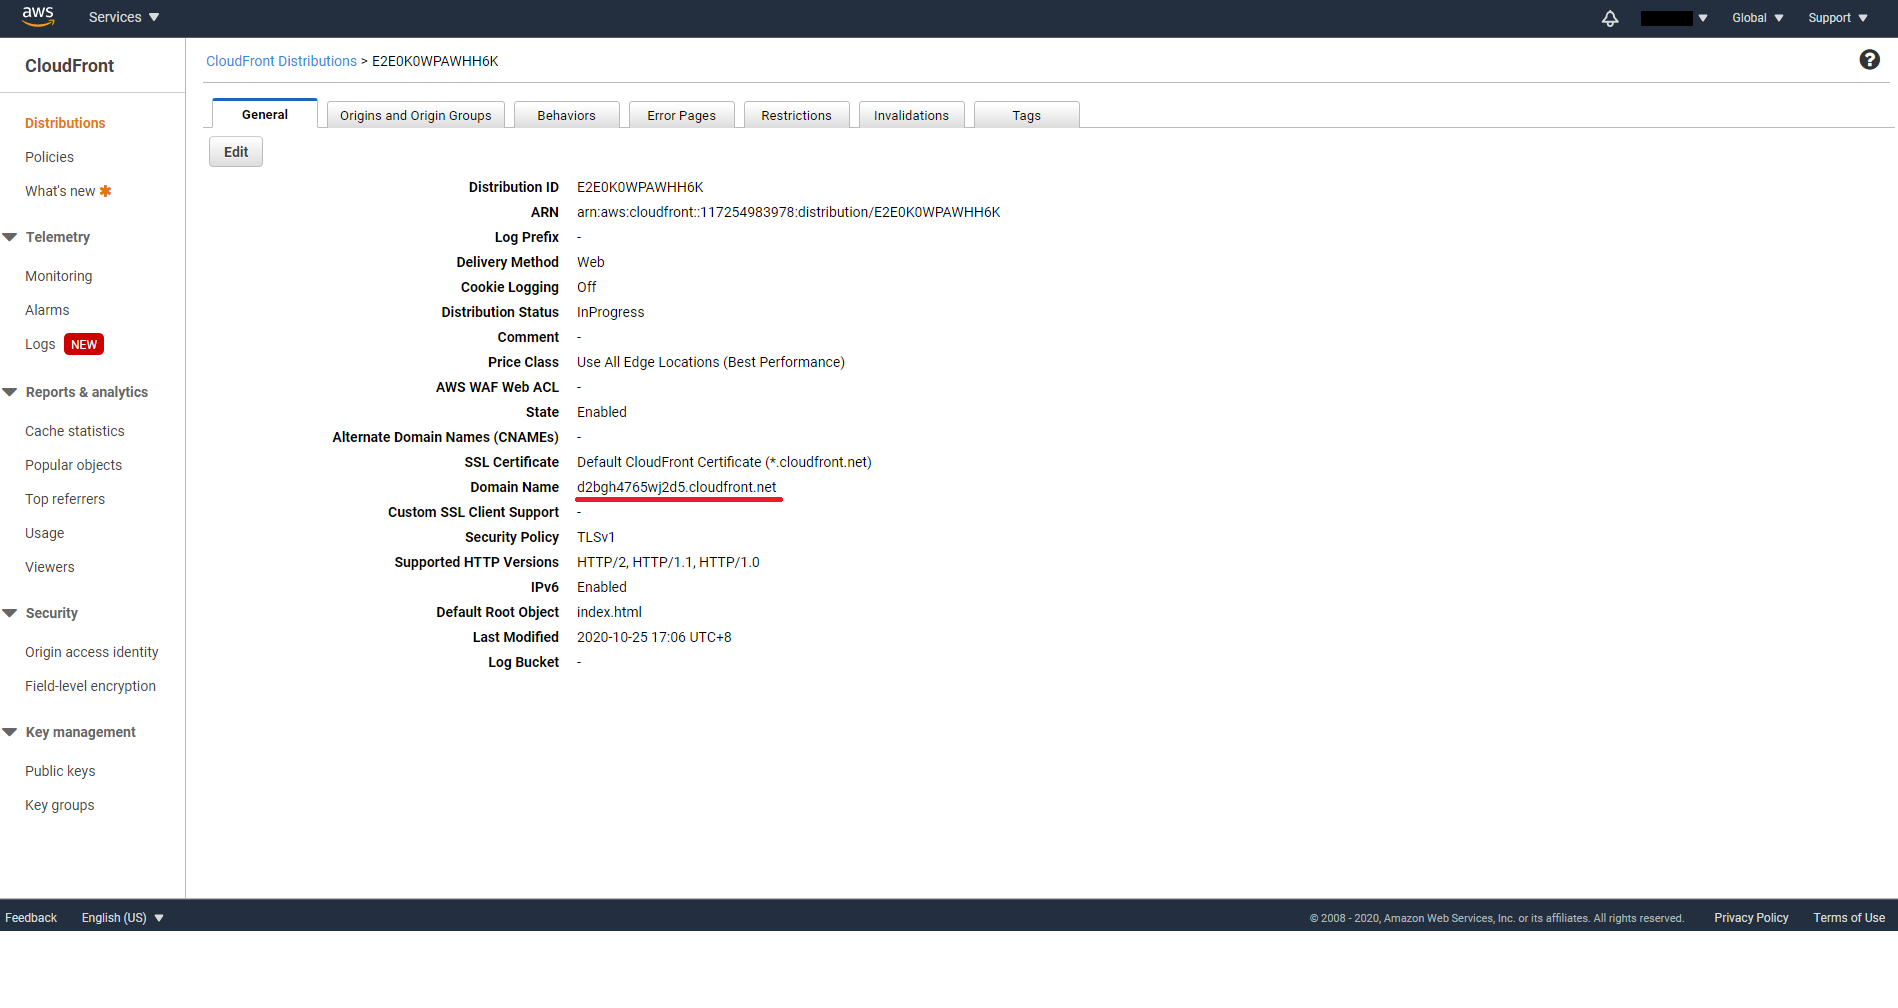
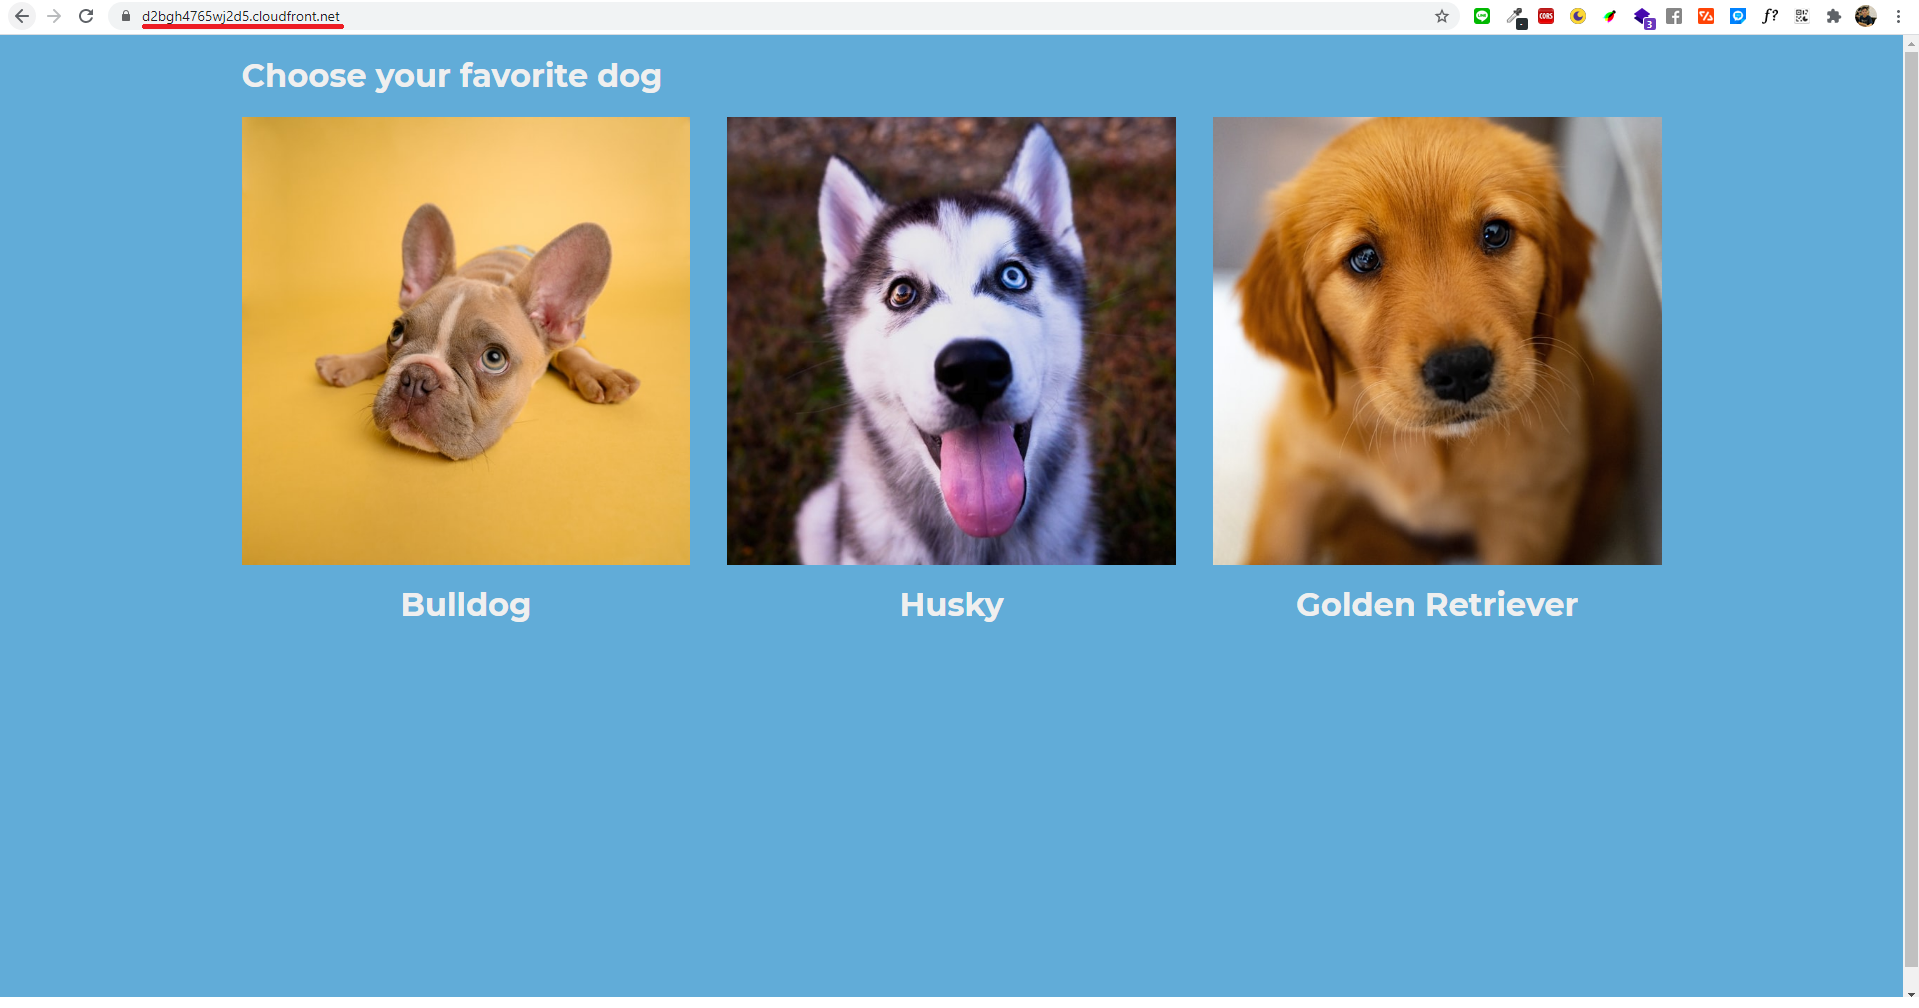
When you are done, you will be able to access your S3 Bucket from the CloudFront URL, which can be found on the General tab at the Domain Name property.
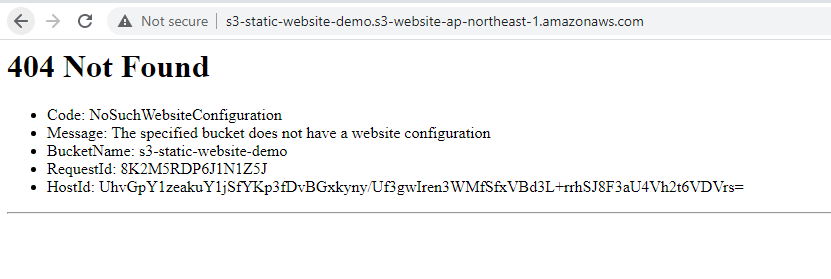
If you visit the URL from S3 again, you will see that you indeed can no longer access the website from S3.
Register domain name on AWS
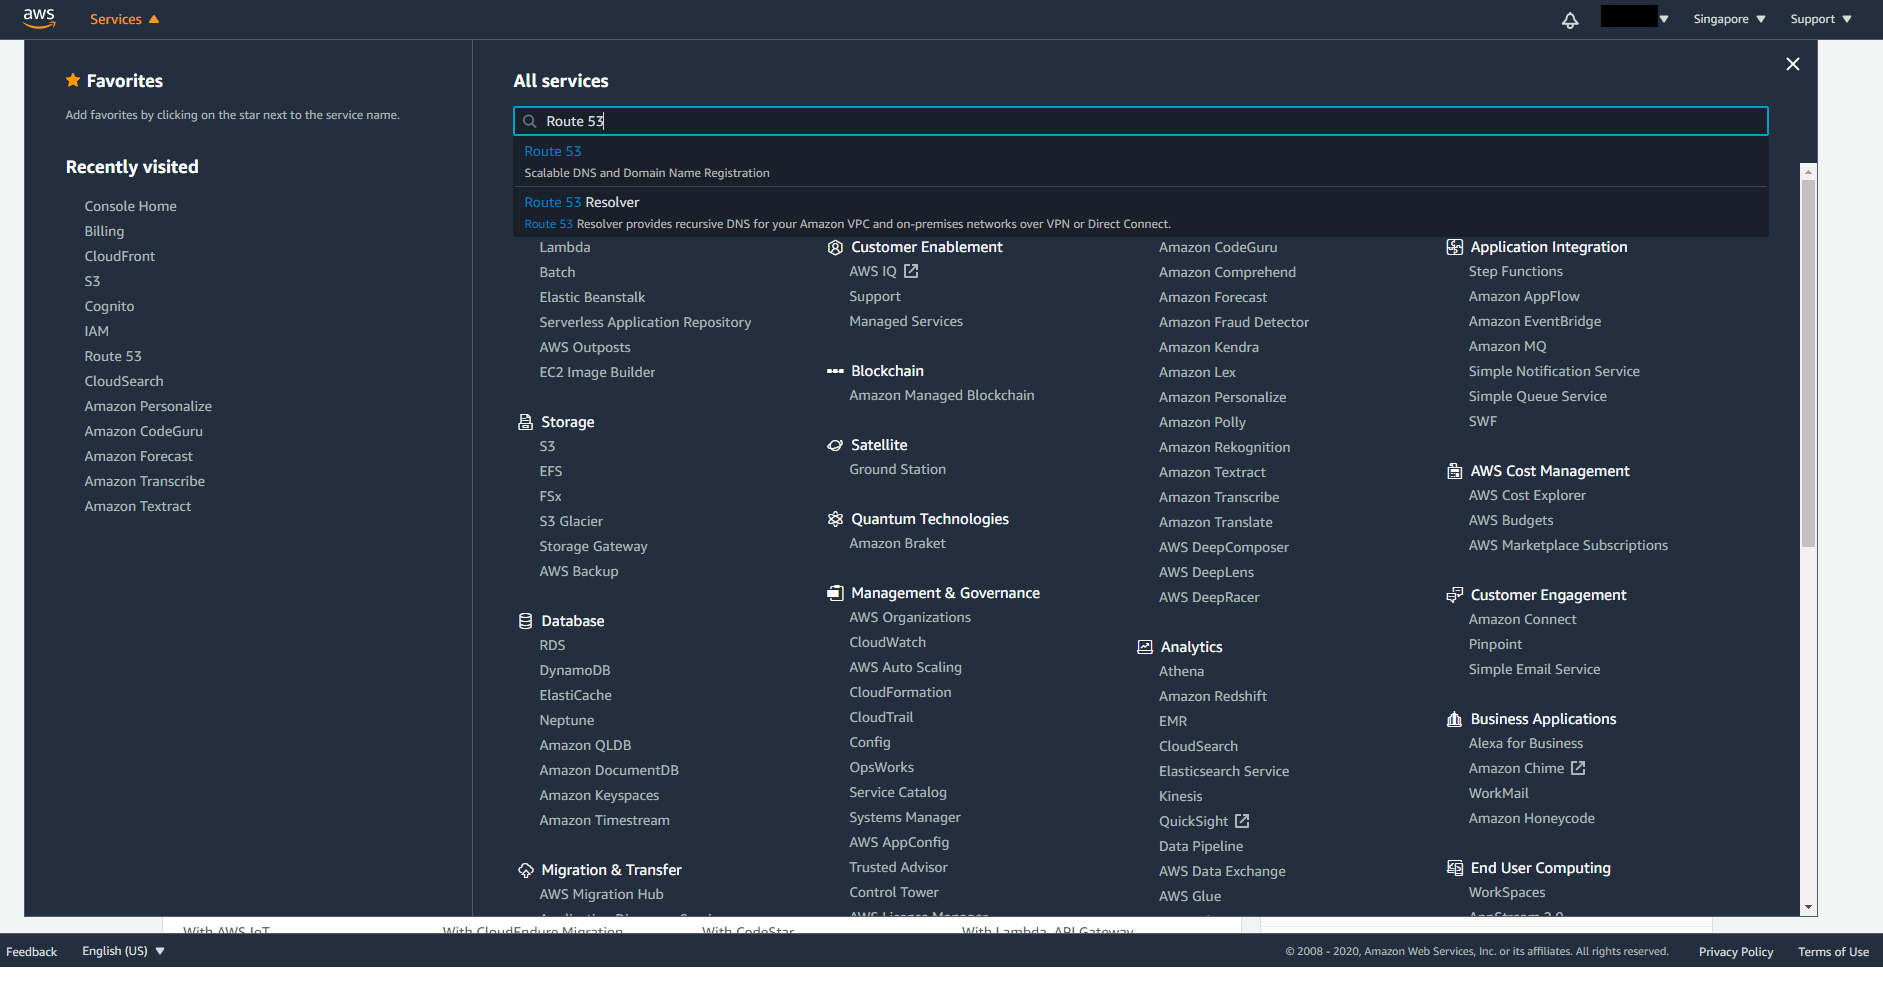
From the top left corner of AWS console, click on Services and look for Route 53.
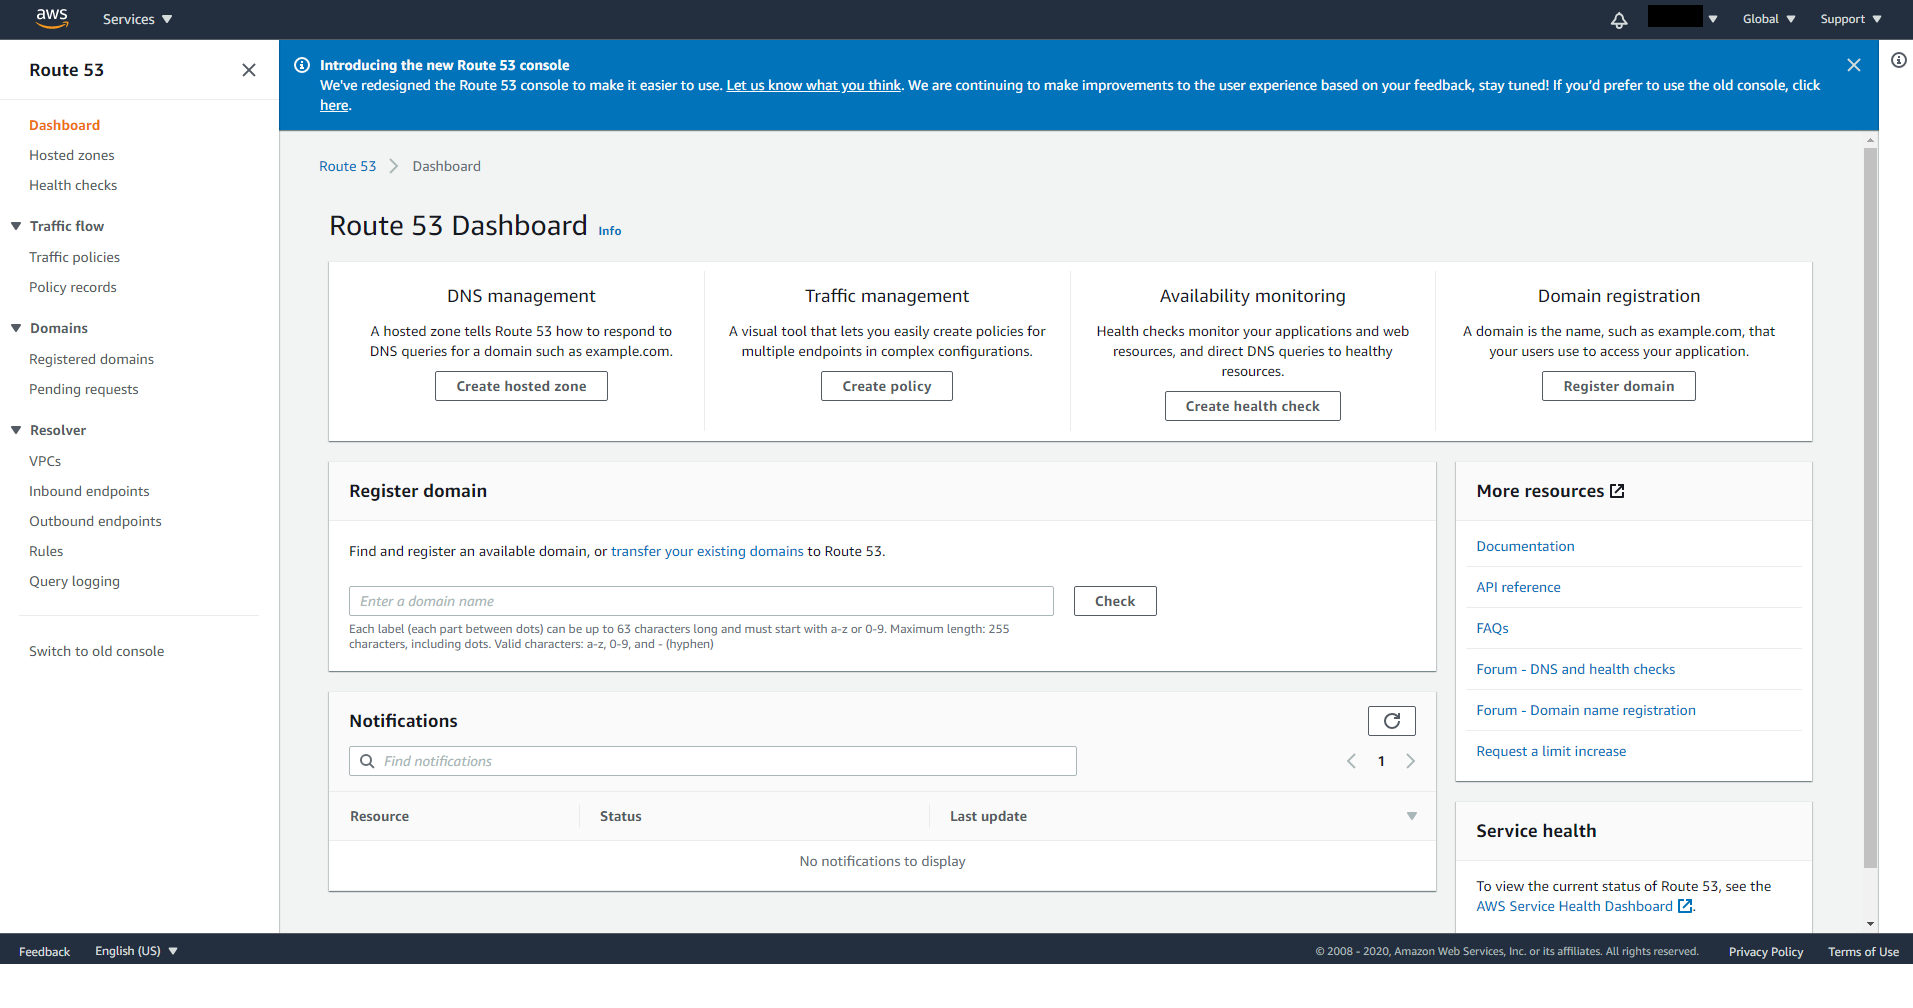
On the left panel, click on Registered domains
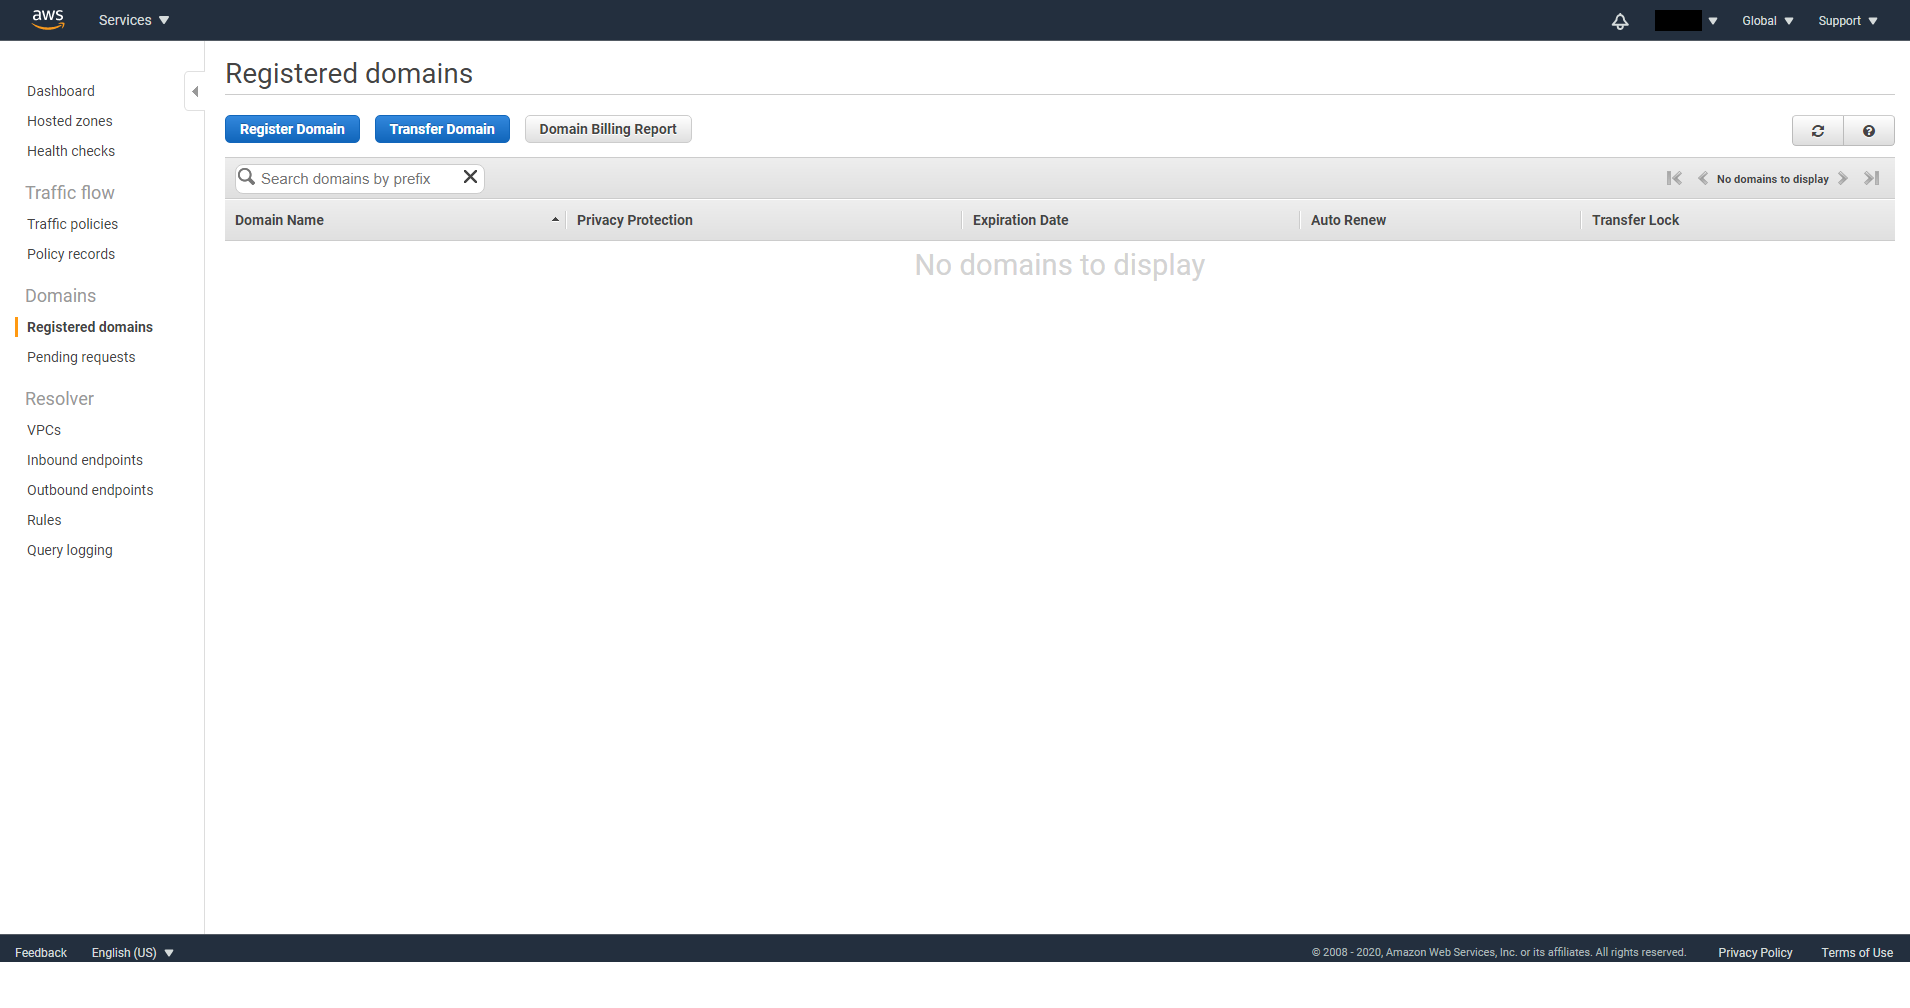
Click on the Register Domain button
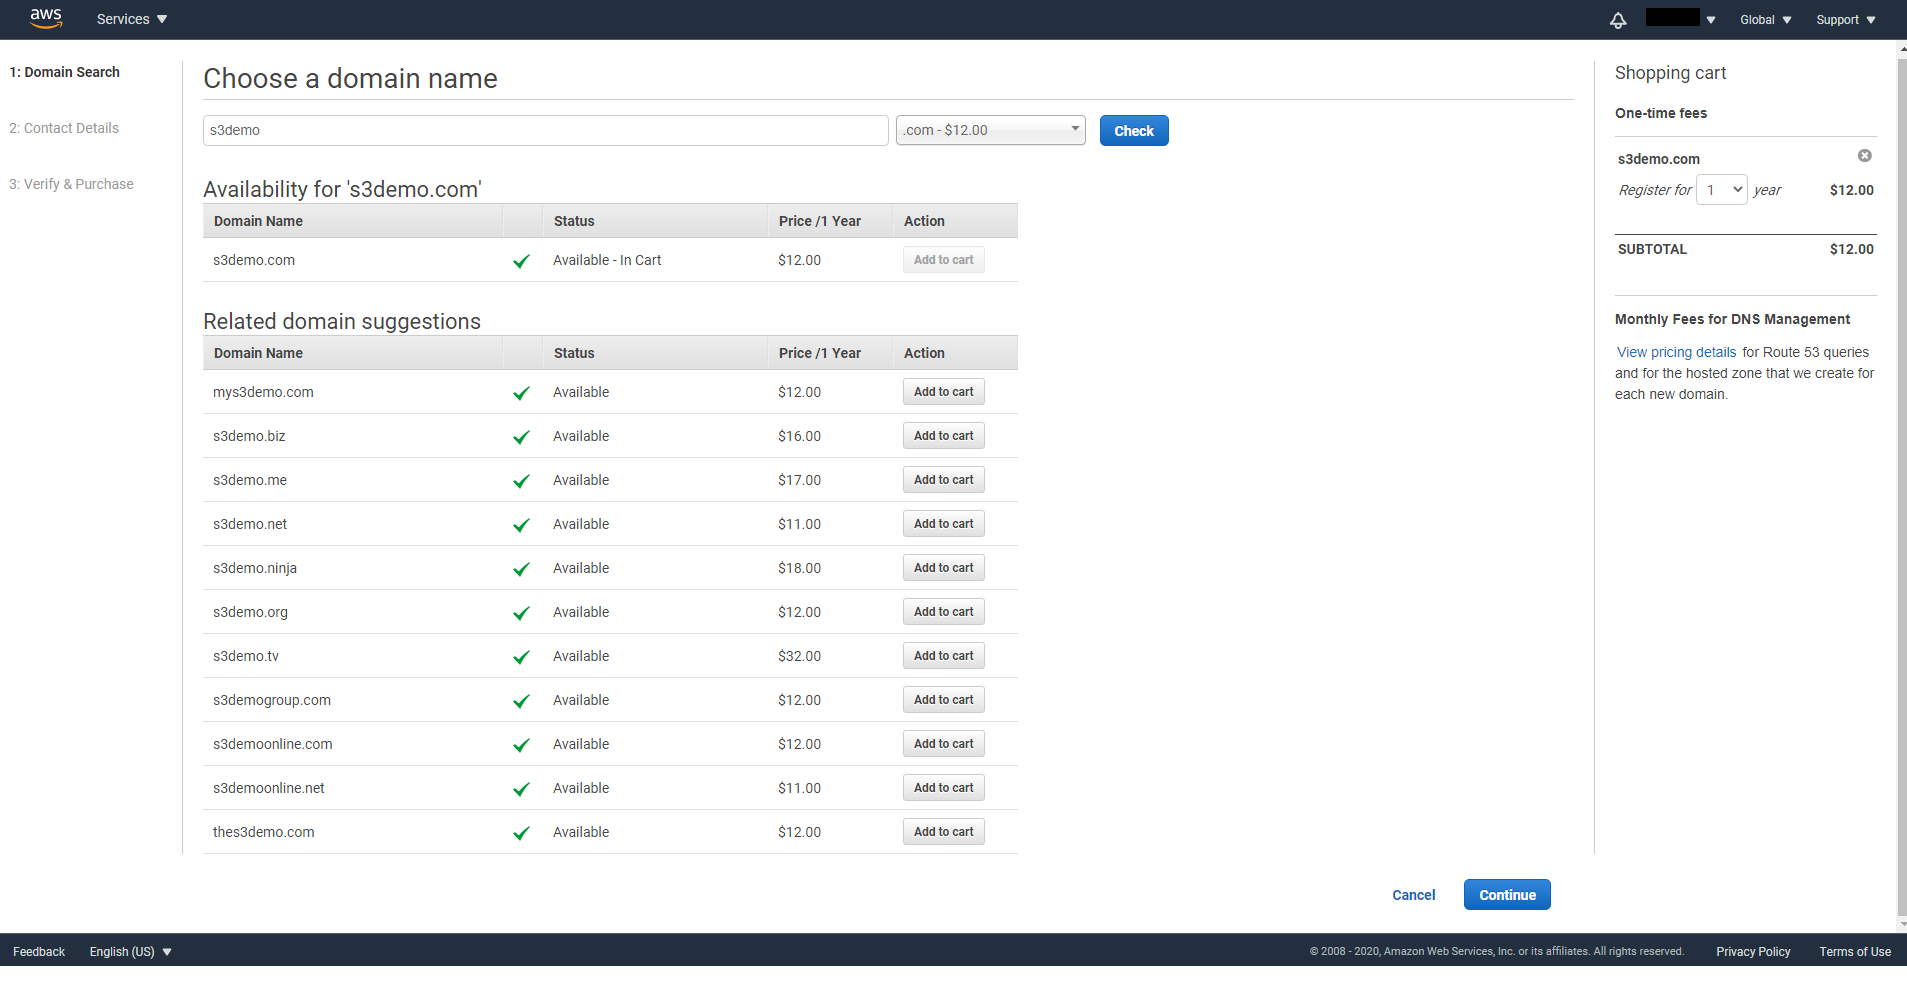
On step 1, enter the domain name you want and click on Check. When you are pleased with your domain name, click on Add to cart then click on Continue
On Step 2, fill in contact information.
On Step 3, verify your information and click on Purchase
Once your purchase is processed, you will be able to see it in the Hosted zones page.
Add HTTPS support
CloudFront requires HTTPS access, so before we can make changes at the CloudFront console, we need to first create a certificate for our domain name. Normally you will need to purchase a certificate for HTTPS, luckily AWS provides free HTTPS certificates if your domain is purchased on AWS.
Note. Since CloudFront is not region specific, it can only read certificates created in the N. Virginia region, so make sure you switch to this region before you start creating certificates.
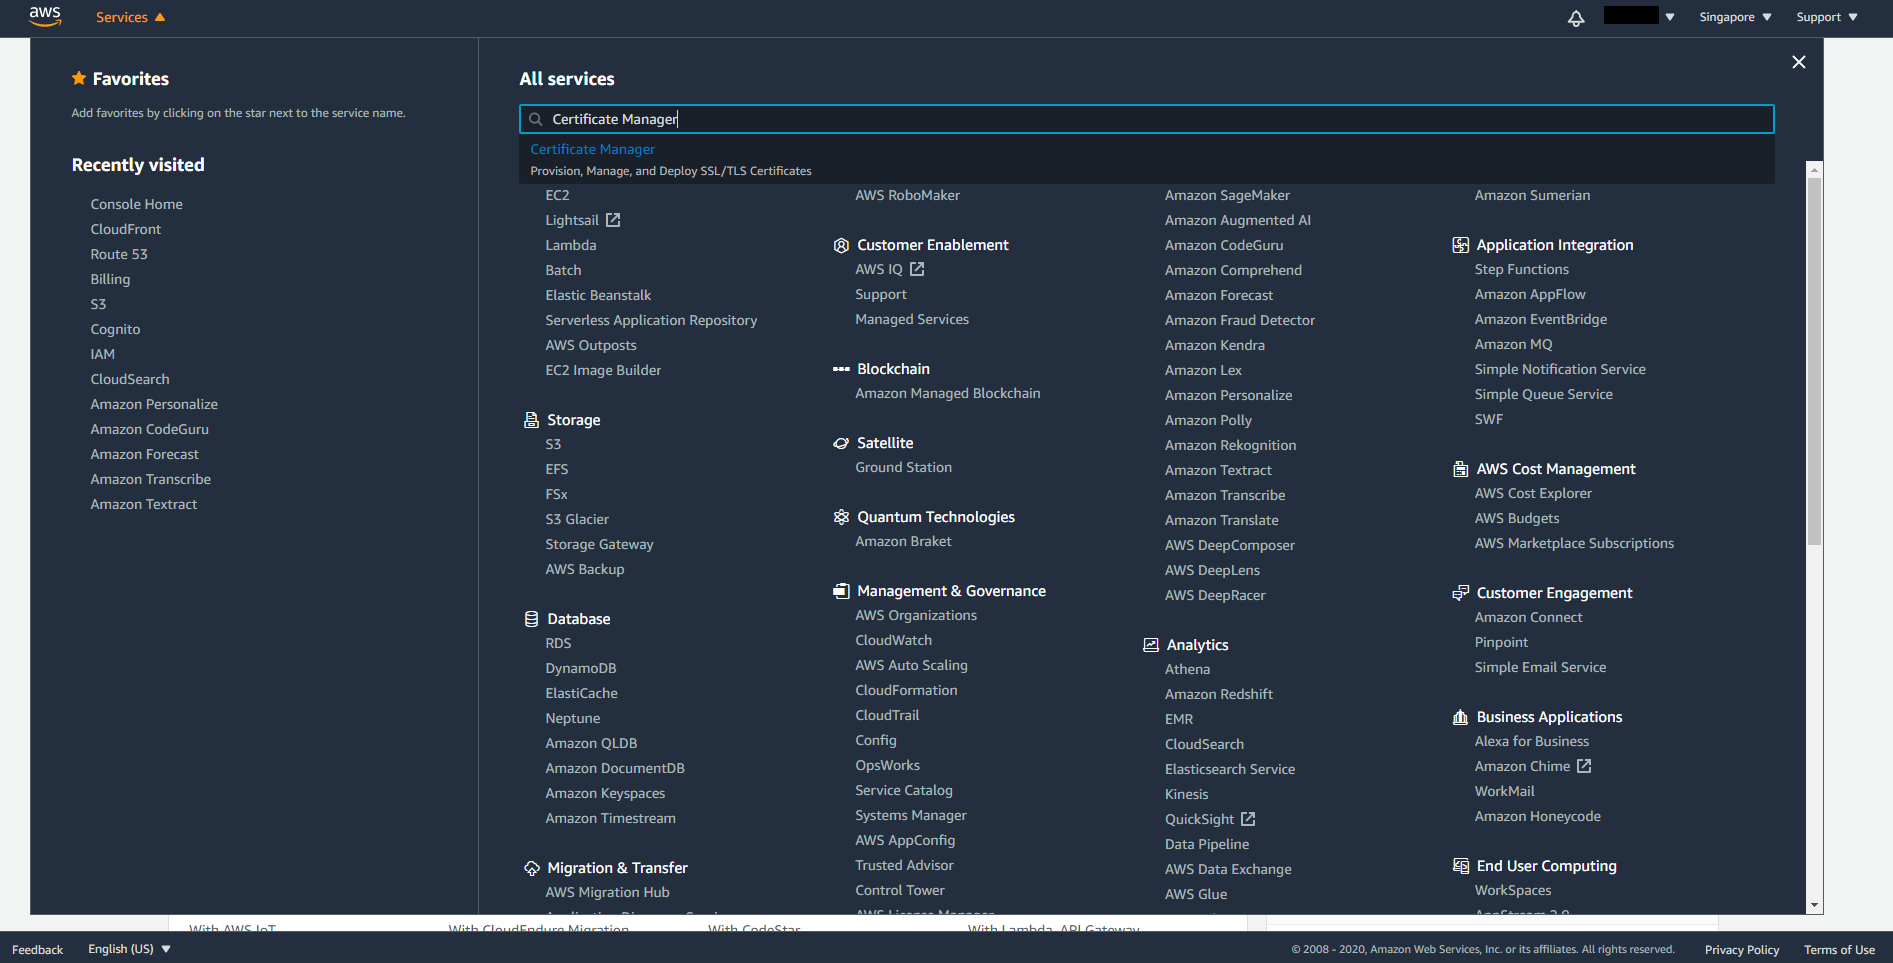
On the top left corner click on Services and search for Certificate Manager.
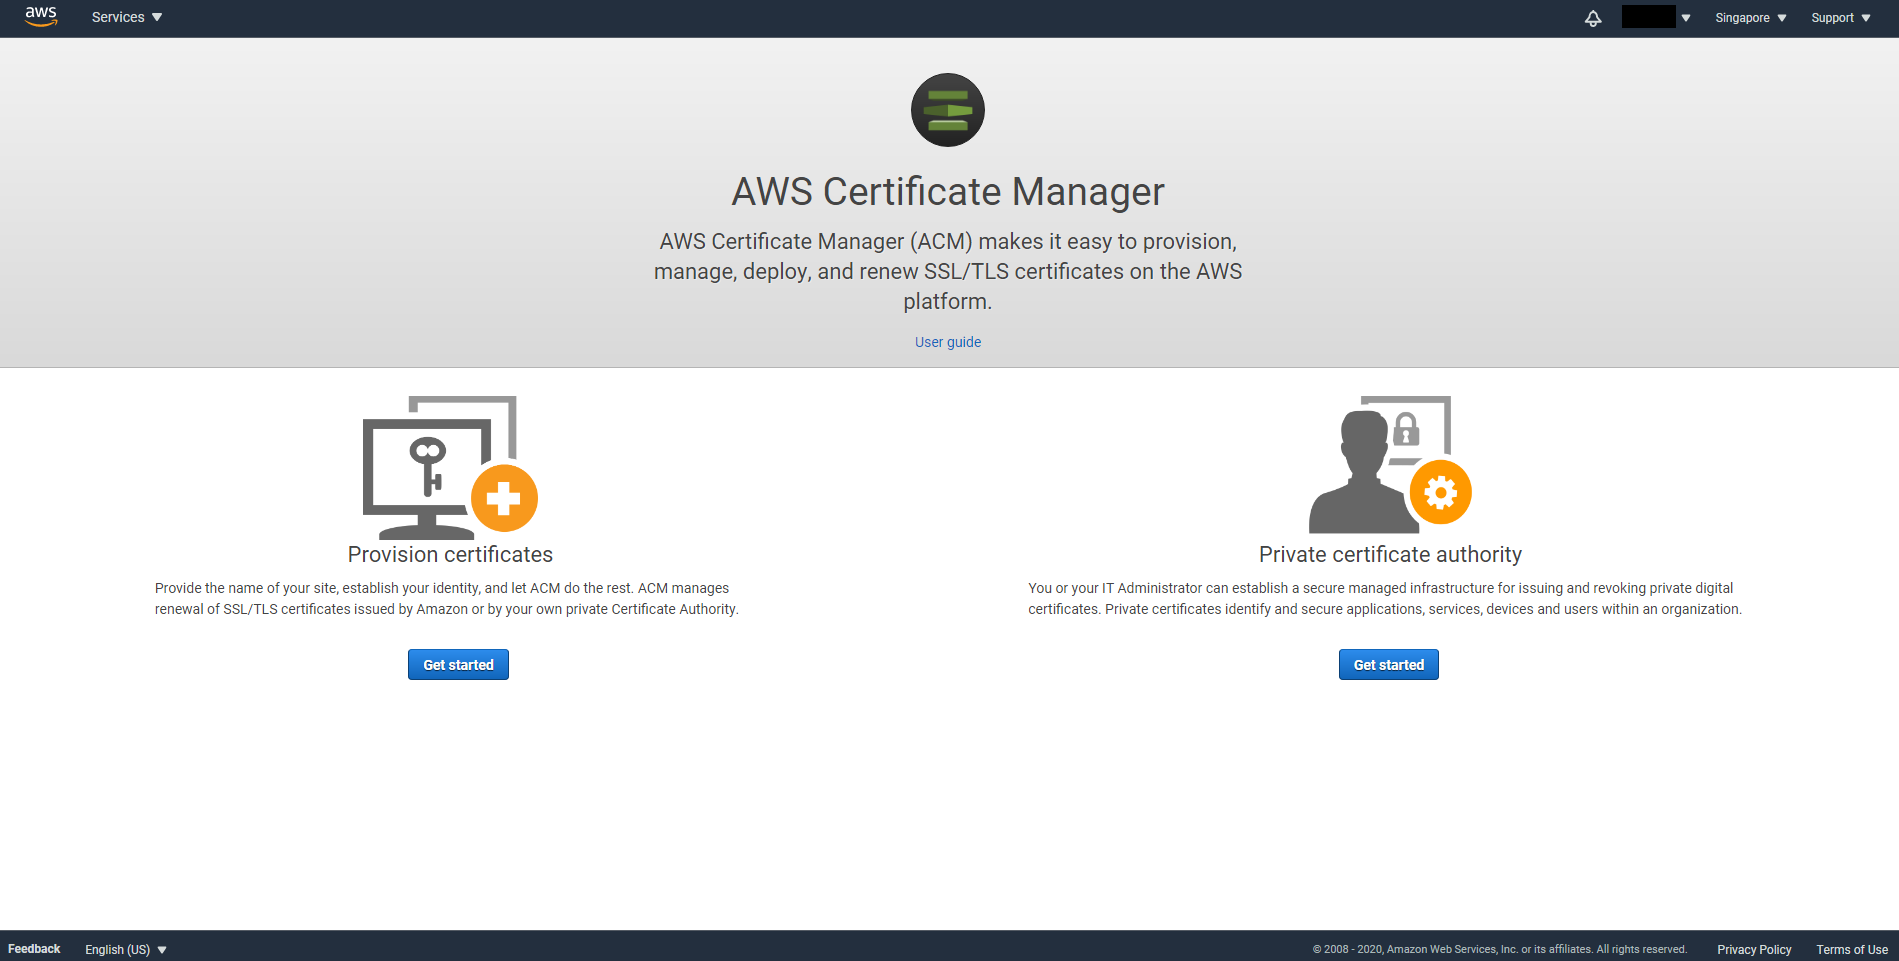
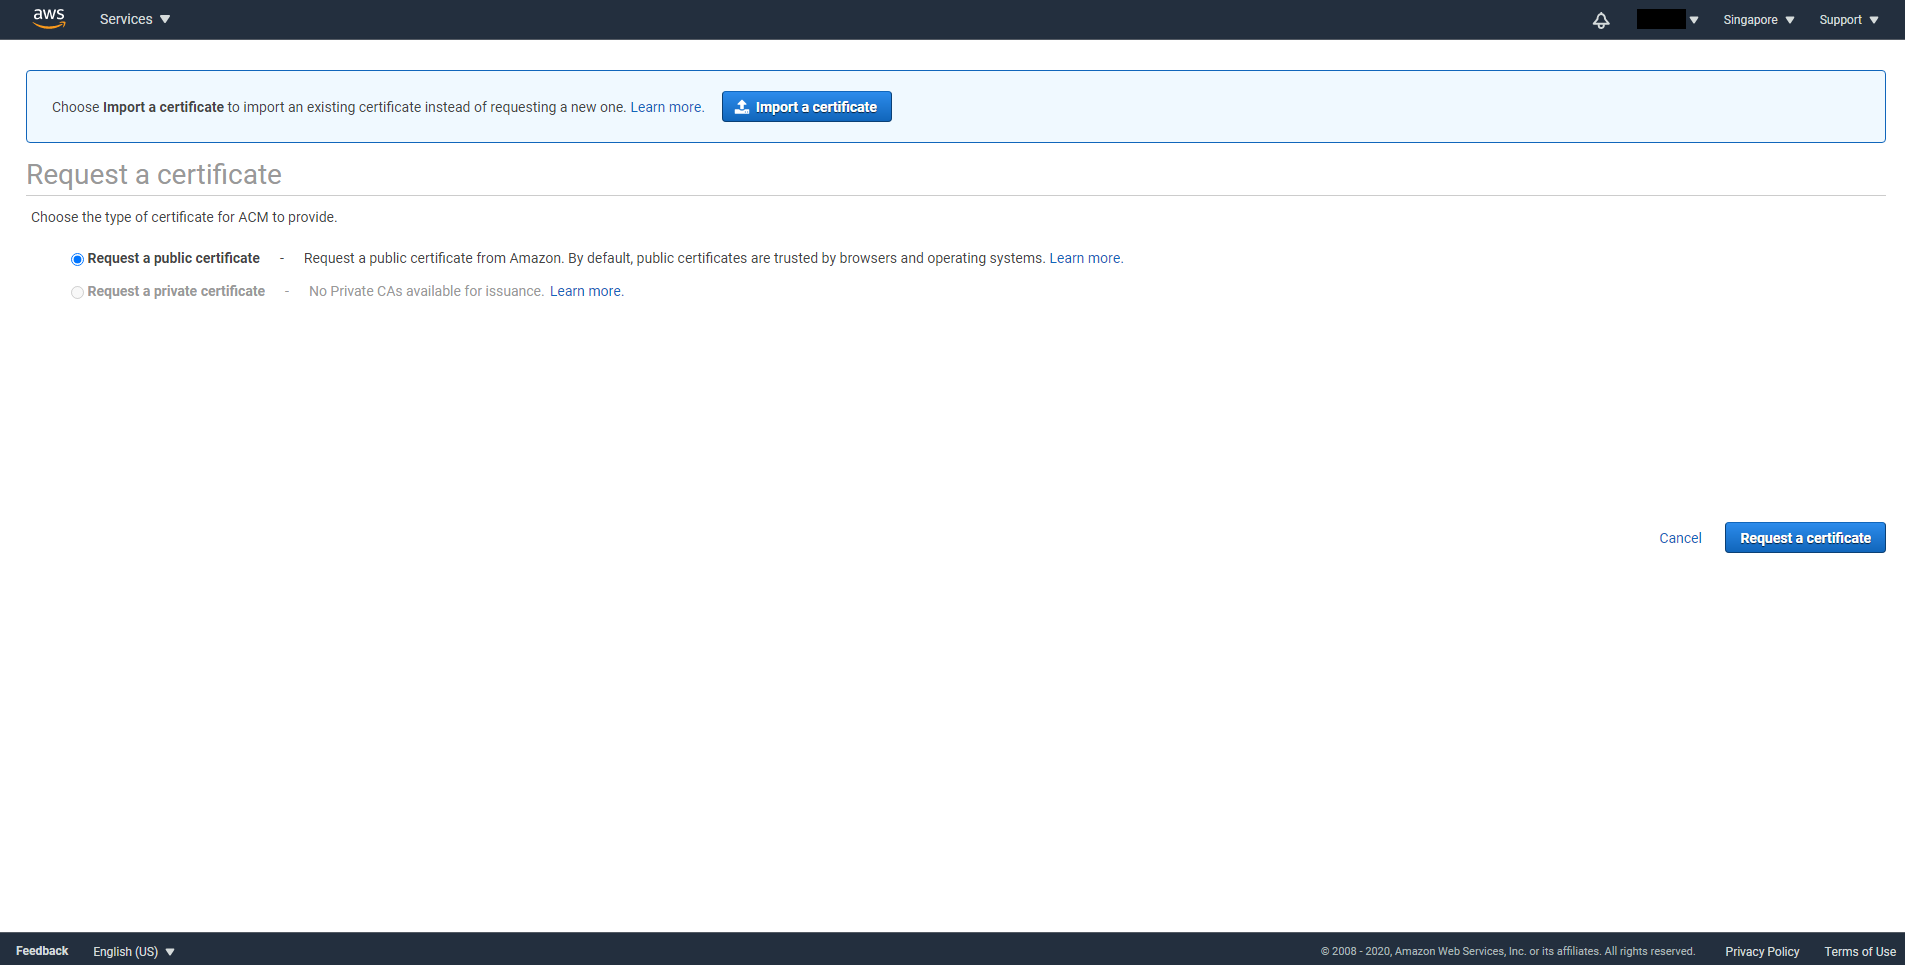
Select Get started from Provision certificates then select Request a public certificate.
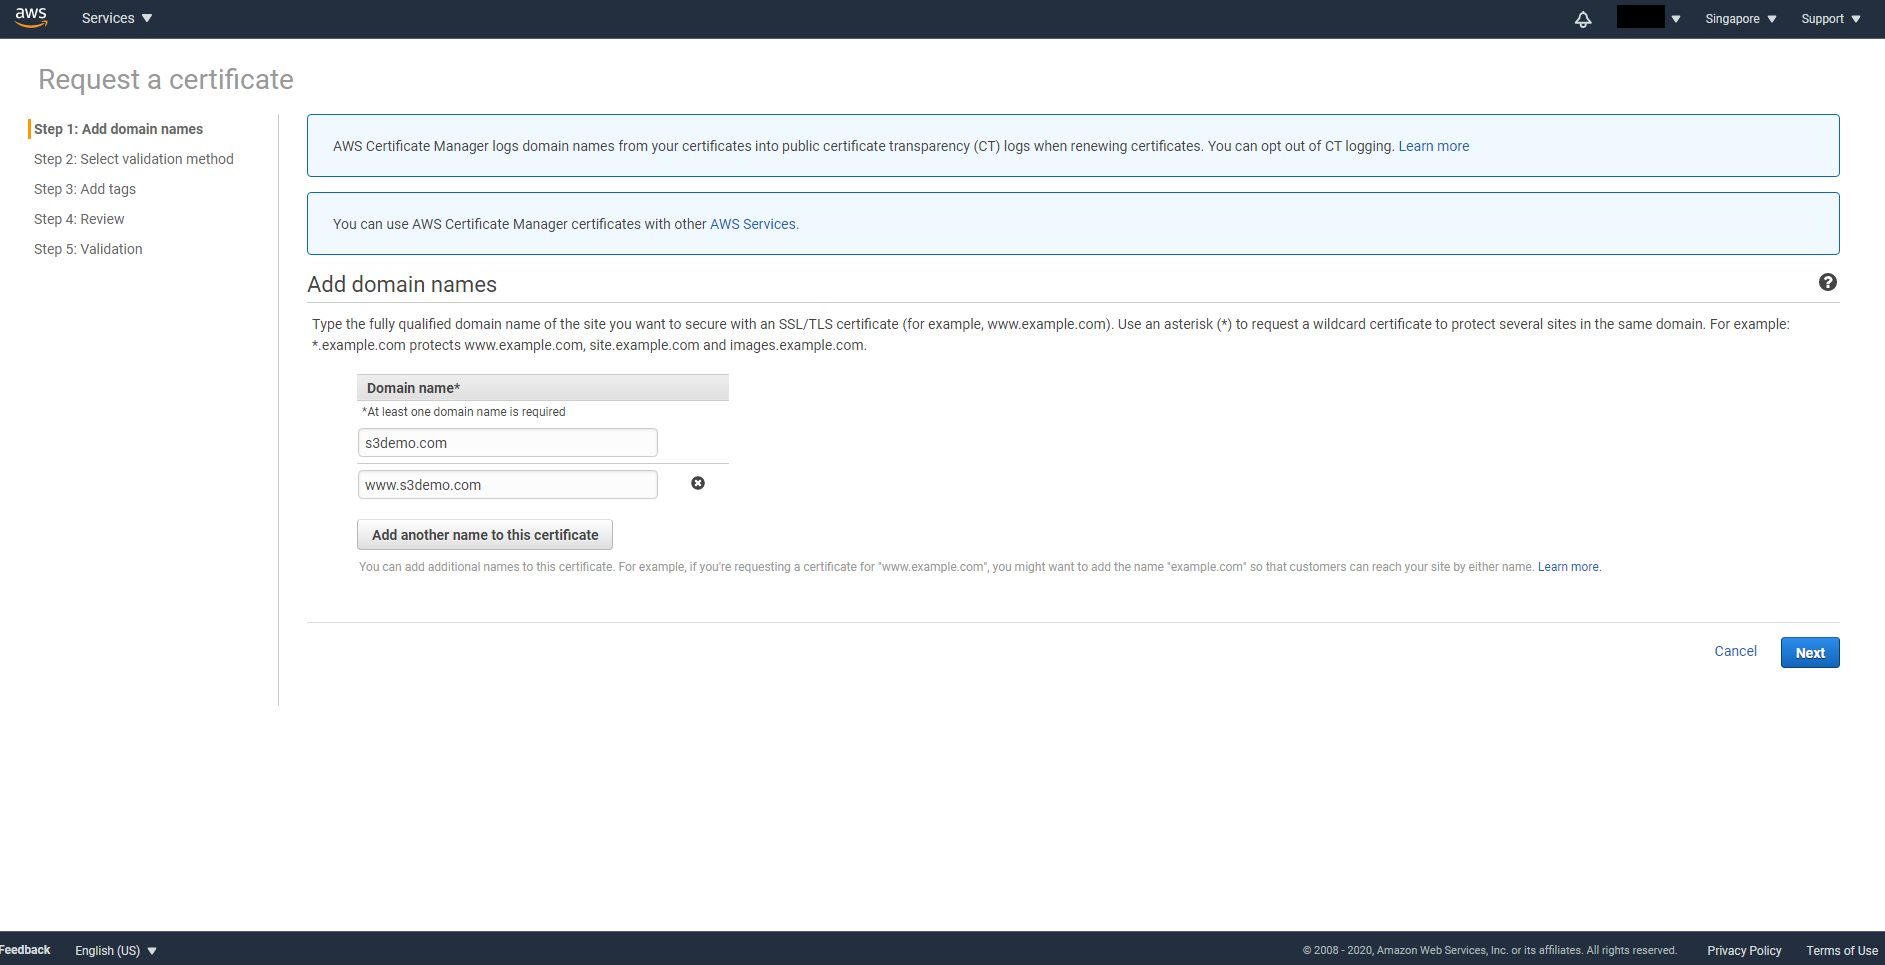
Enter your domain name with and without www then click on Next
Select DNS validation then click on Next
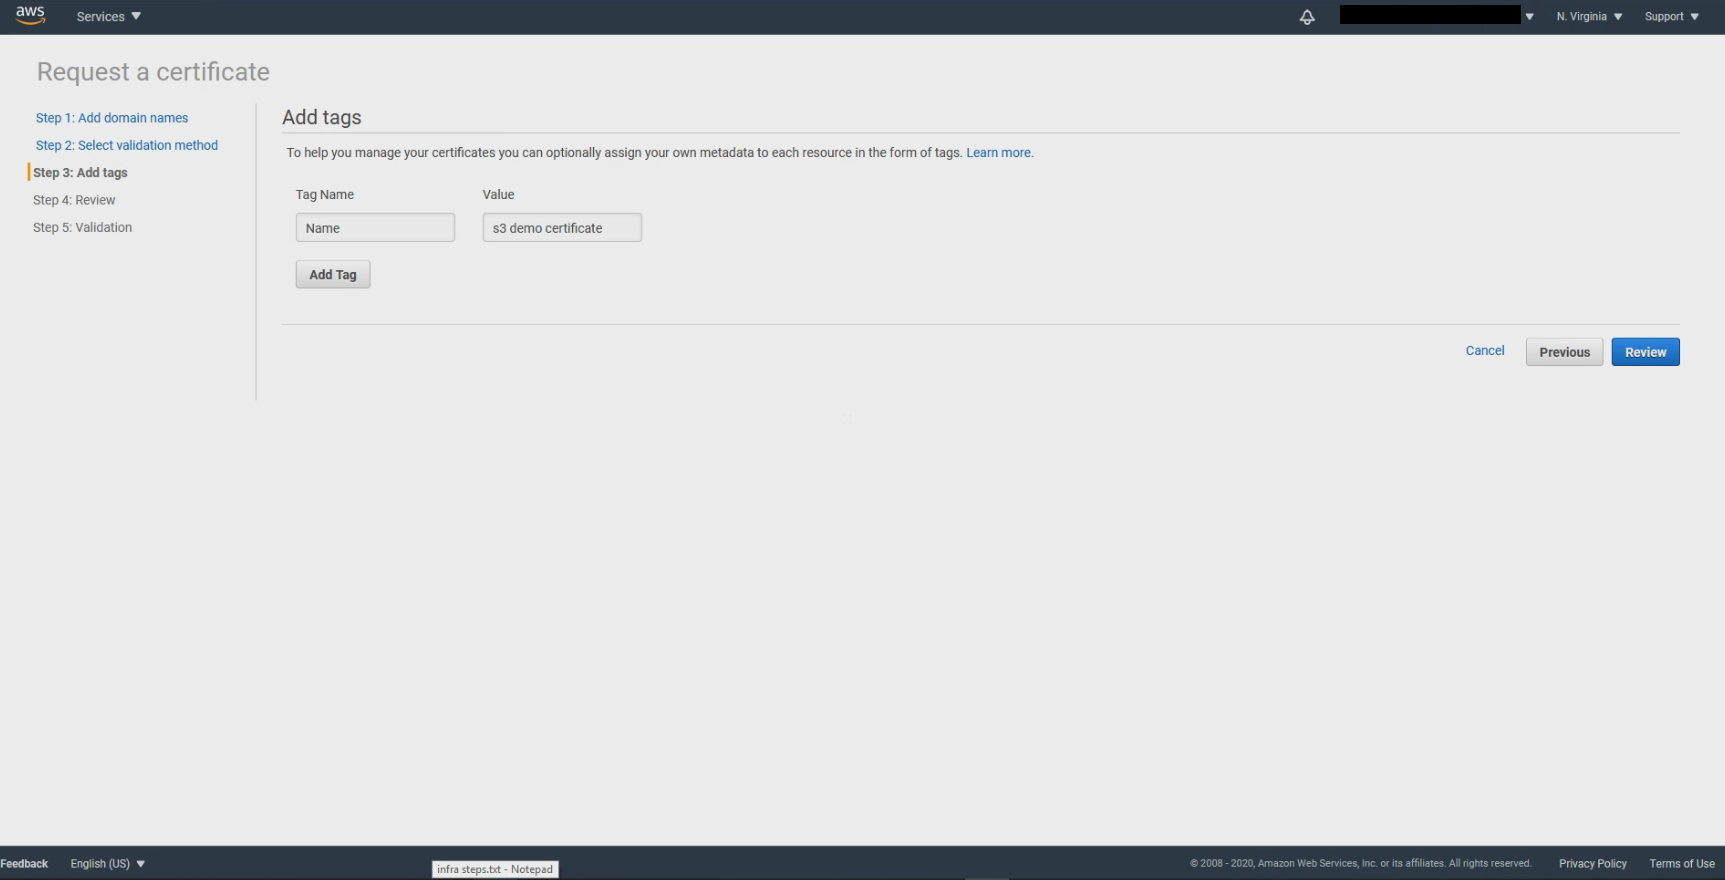
Enter tag then click Review
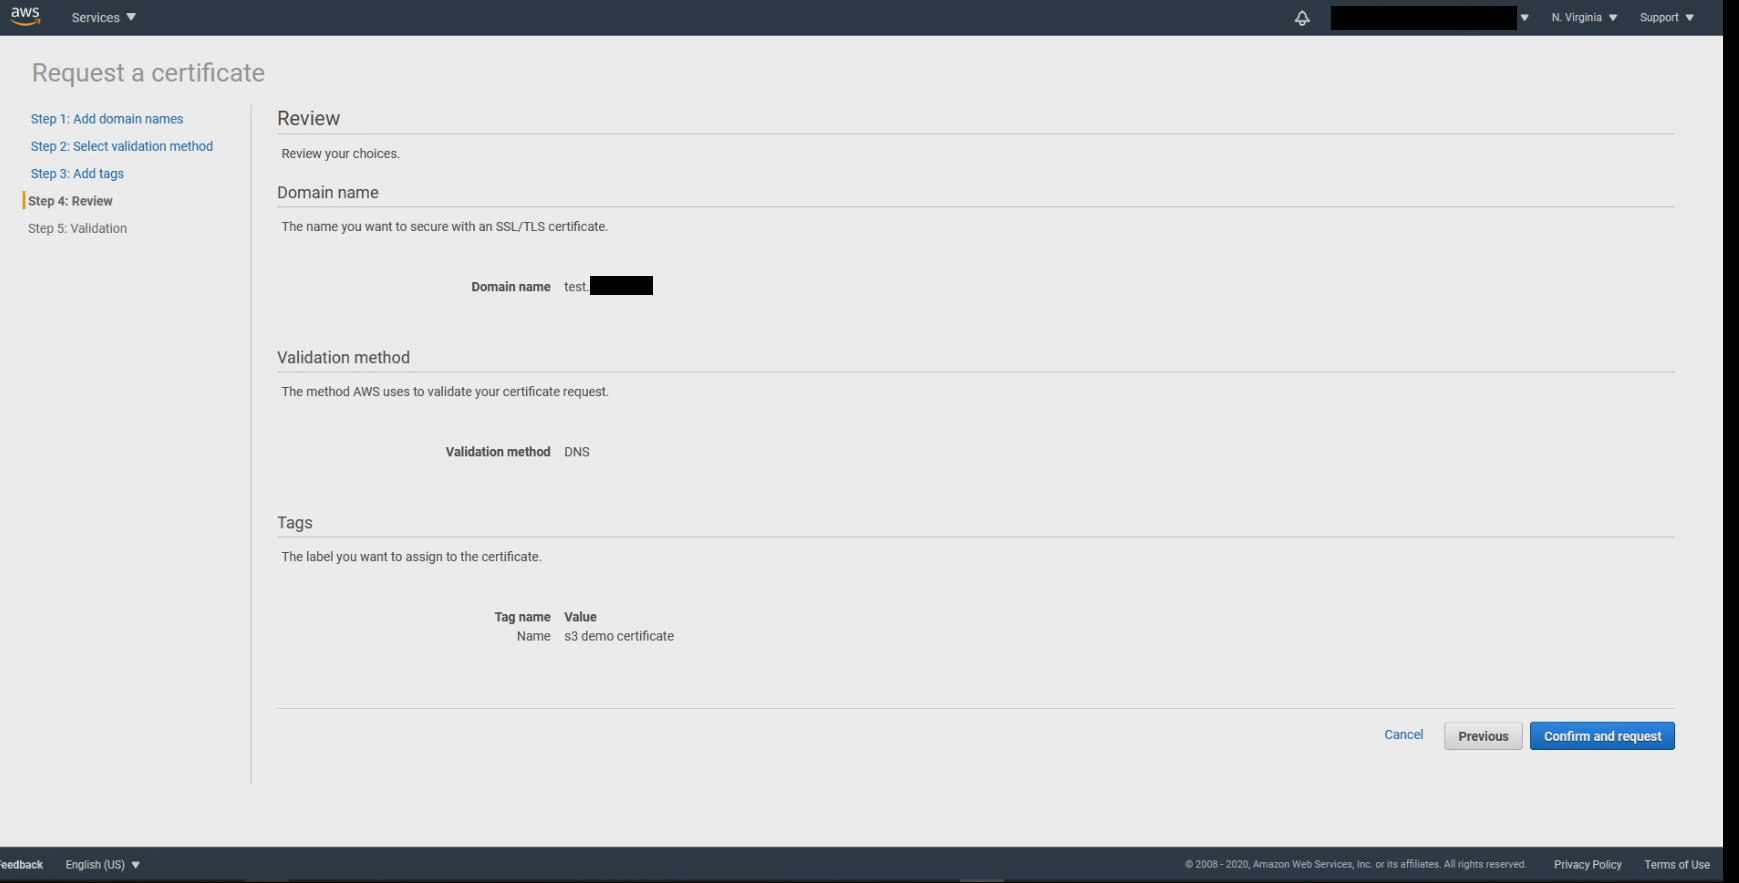
If everything looks correct then click on Confirm and request
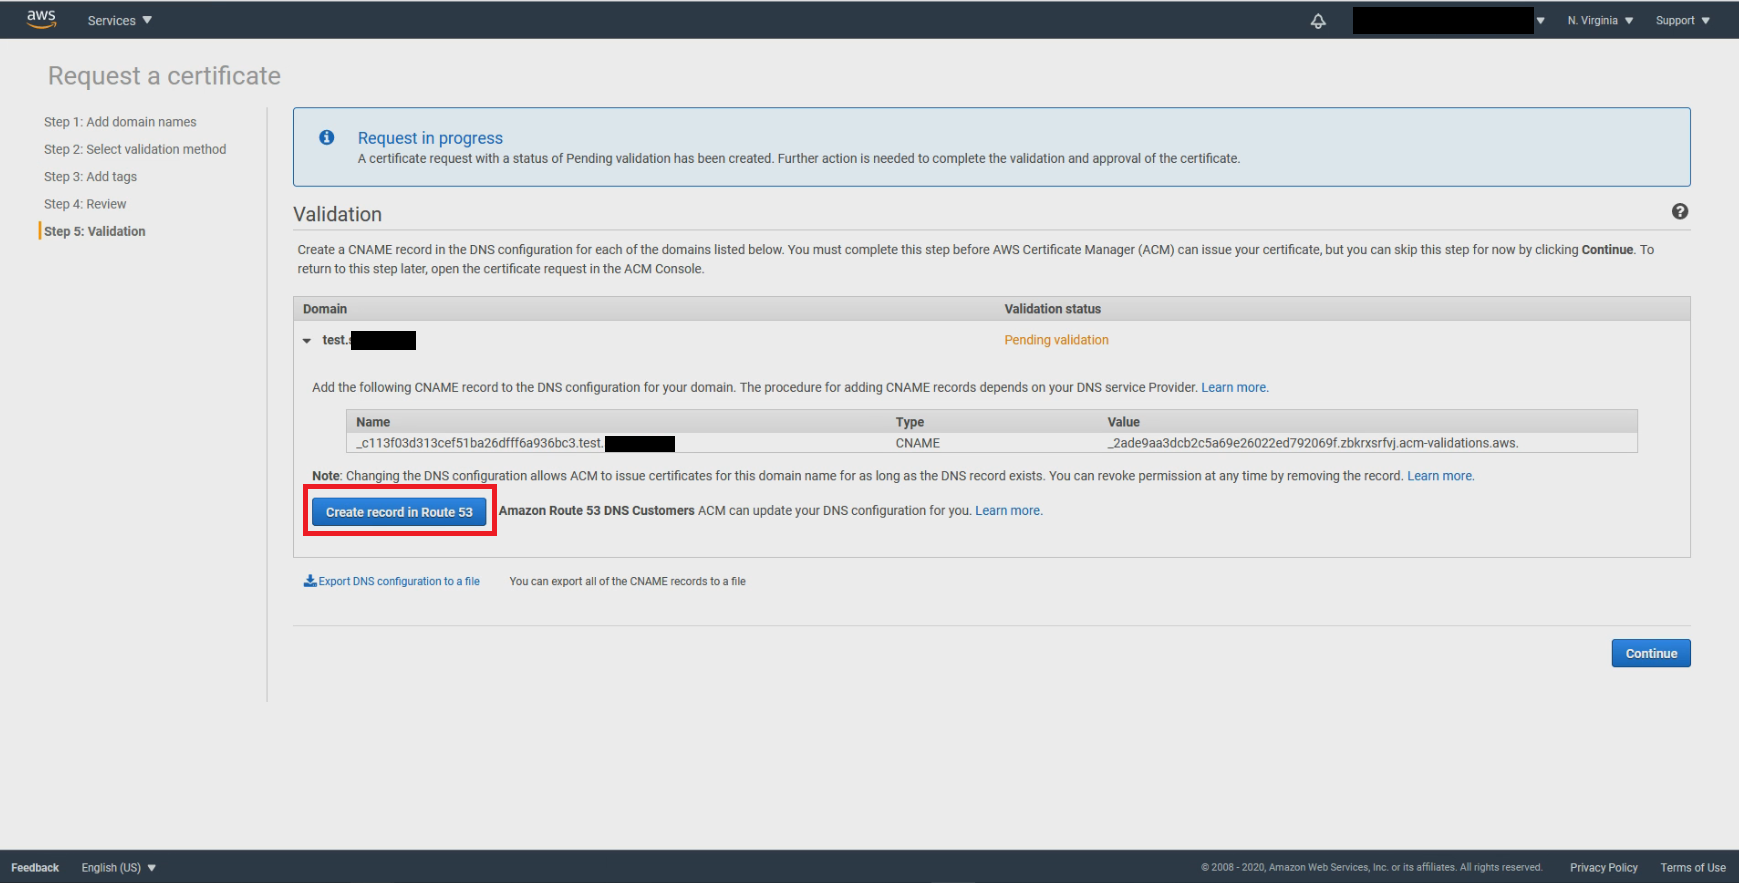
If you have entered the same domain name in Step 1 as in your route 53, you should see a Create record in Route 53 button. Click on the button to automatically create CNAME in Route 53.
Wait for the status of your certificate to become Issued.
Link domain name to CloudFront
Once you have registered the domain on Route 53, you may point the domain to your CloudFront URL. Navigate to Hosted zones of Route 53 and click on the domain name you purchased in the previous section.
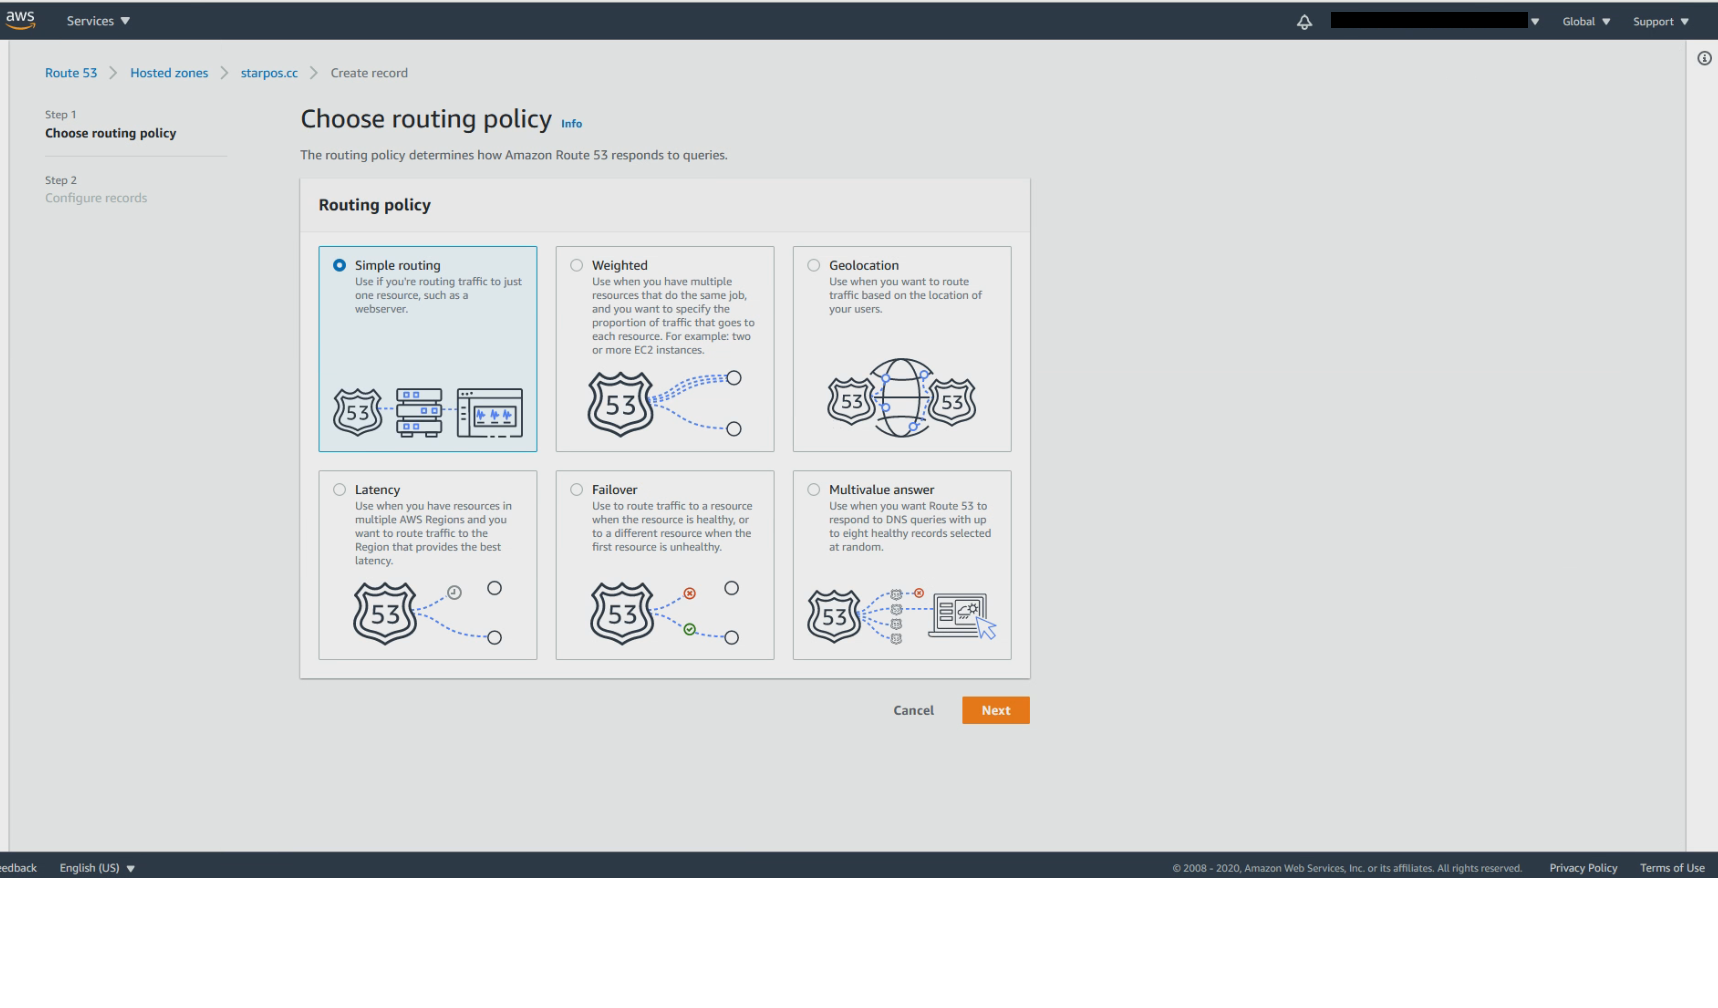
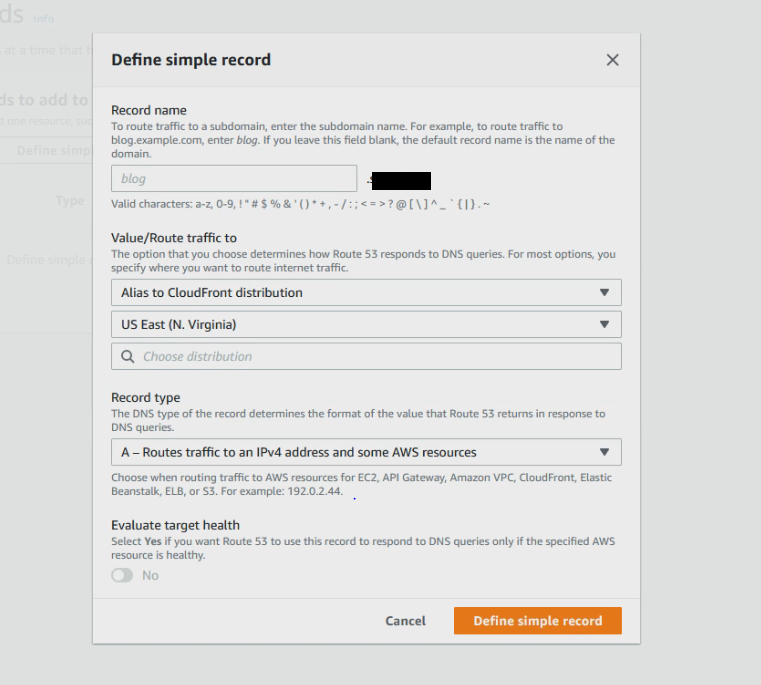
Click on Create record and select Simple routing
Click on Define simple record. For Endpoint, choose Alias to CloudFront distribution and select US East (N. Virginia) for the region field and look for your distribution from the search field. Click on Define simple record to finish creation.
Time to add the domain name and HTTPS certificate to our CloudFront. In order to see the certificate we created in CloudFront we must first logout and login again. (Weird bug by AWS) After you login again, navigate to the CloudFront console and select your distribution ID. On the General tab click on Edit. In the Alternative Domain Names (CNAMEs) enter the domain name you applied with and without www.
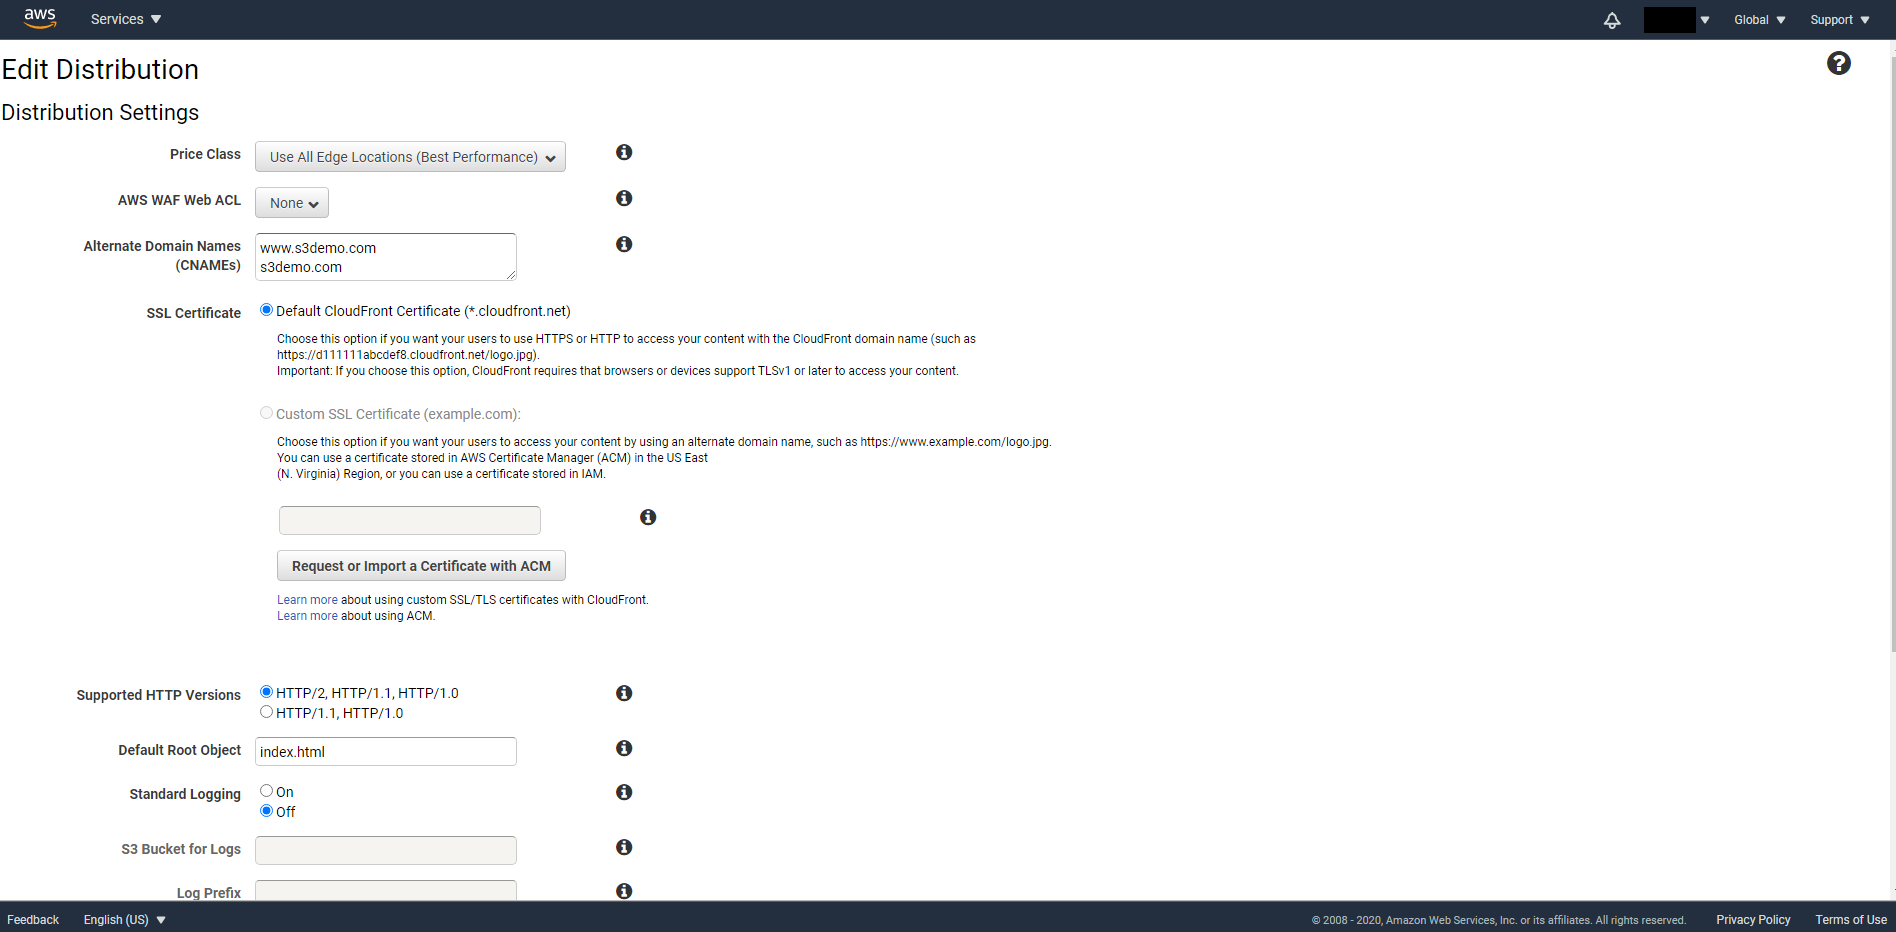
Select Custom SSL Certificate. When you click on the input field, you should be able to see your certificate show up in the dropdown menu. Then scroll to the bottom of the page and click on Yes, Edit
Finally navigate to the Invalidations tab and create an invalidation again. You should now be able to access your website with HTTPS and custom domain!
Summary
In this tutorial we finished the two remaining tasks from the last tutorial – Add HTTPS support and custom domain name. In addition, we have also added CDN support to make our website faster and more secure. In the next tutorial we will take the security to the next level by adding a firewall layer before our CloudFront and by doing so, we will be able to protect our application against DDOS attack.