
Introduction
In the previous tutorial of In depth guide to SEO – HTML tags that can improve your SEO, we’ve covered the different meanings and purposes of each HTML tag. In addition, we have covered some common mistakes that people make when embedding images on their page. In this tutorial, we will demonstrate how you can apply these rules to your website using WordPress if you are a non technical website builder.
All in One SEO Pack Plugin
One of the reasons that WordPress is so popular is that it has so many plugins that can simplify things for you. While some plugins are paid and offer more features, we will stick with free plugins in this section. When it comes to SEO, we recommend the All in One SEO Pack plugin. It allows you to set global SEO settings for your website in its general settings page, and allows you to set page/post specific SEO inside each page/post.
Global SEO Settings
Once you have installed the All in One SEO Pack plugin, go to
Plugins -> Installed Plugins -> All In One SEO Pack -> SEO Settings
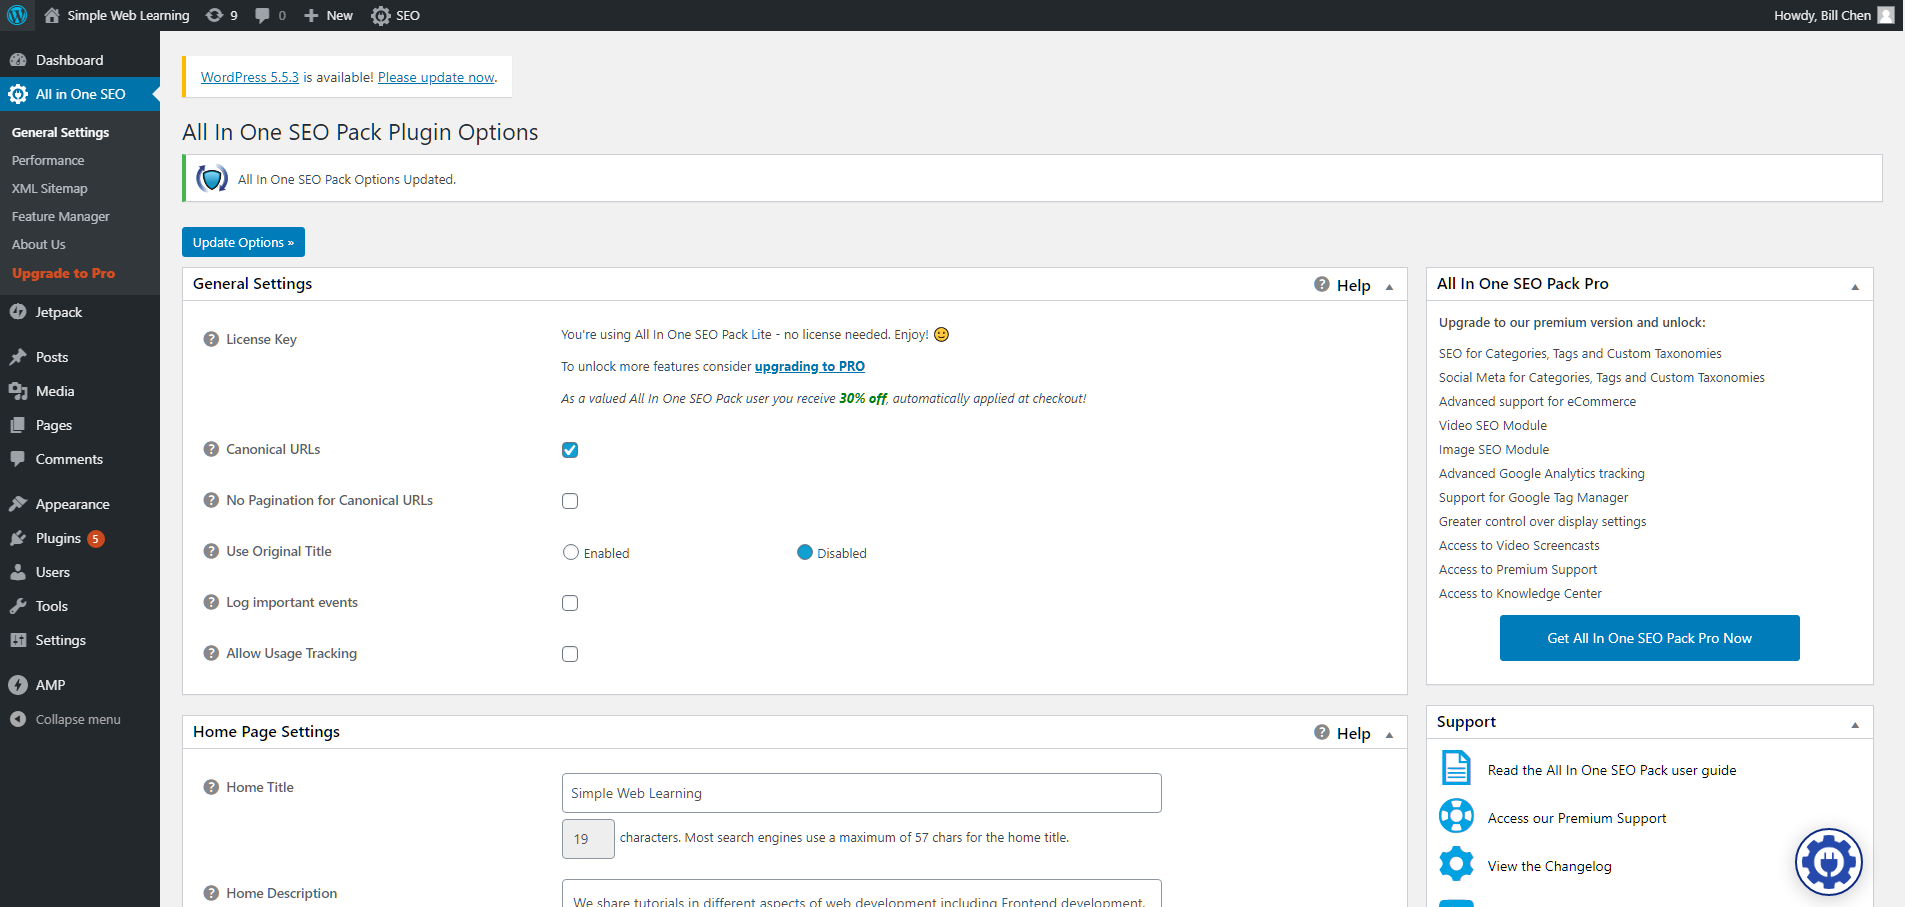
This is the setting page where you can set SEO settings that will apply to your entire WordPress website. The most important settings that you should fill out would be the Home Page Settings.
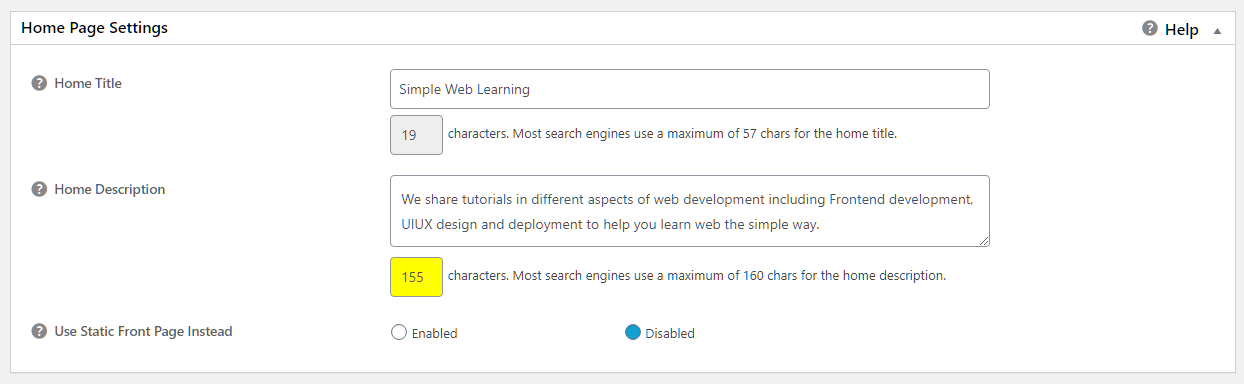
The Home Title and Home Description would be the title and description that users will see on Google Search result when they search for your website.
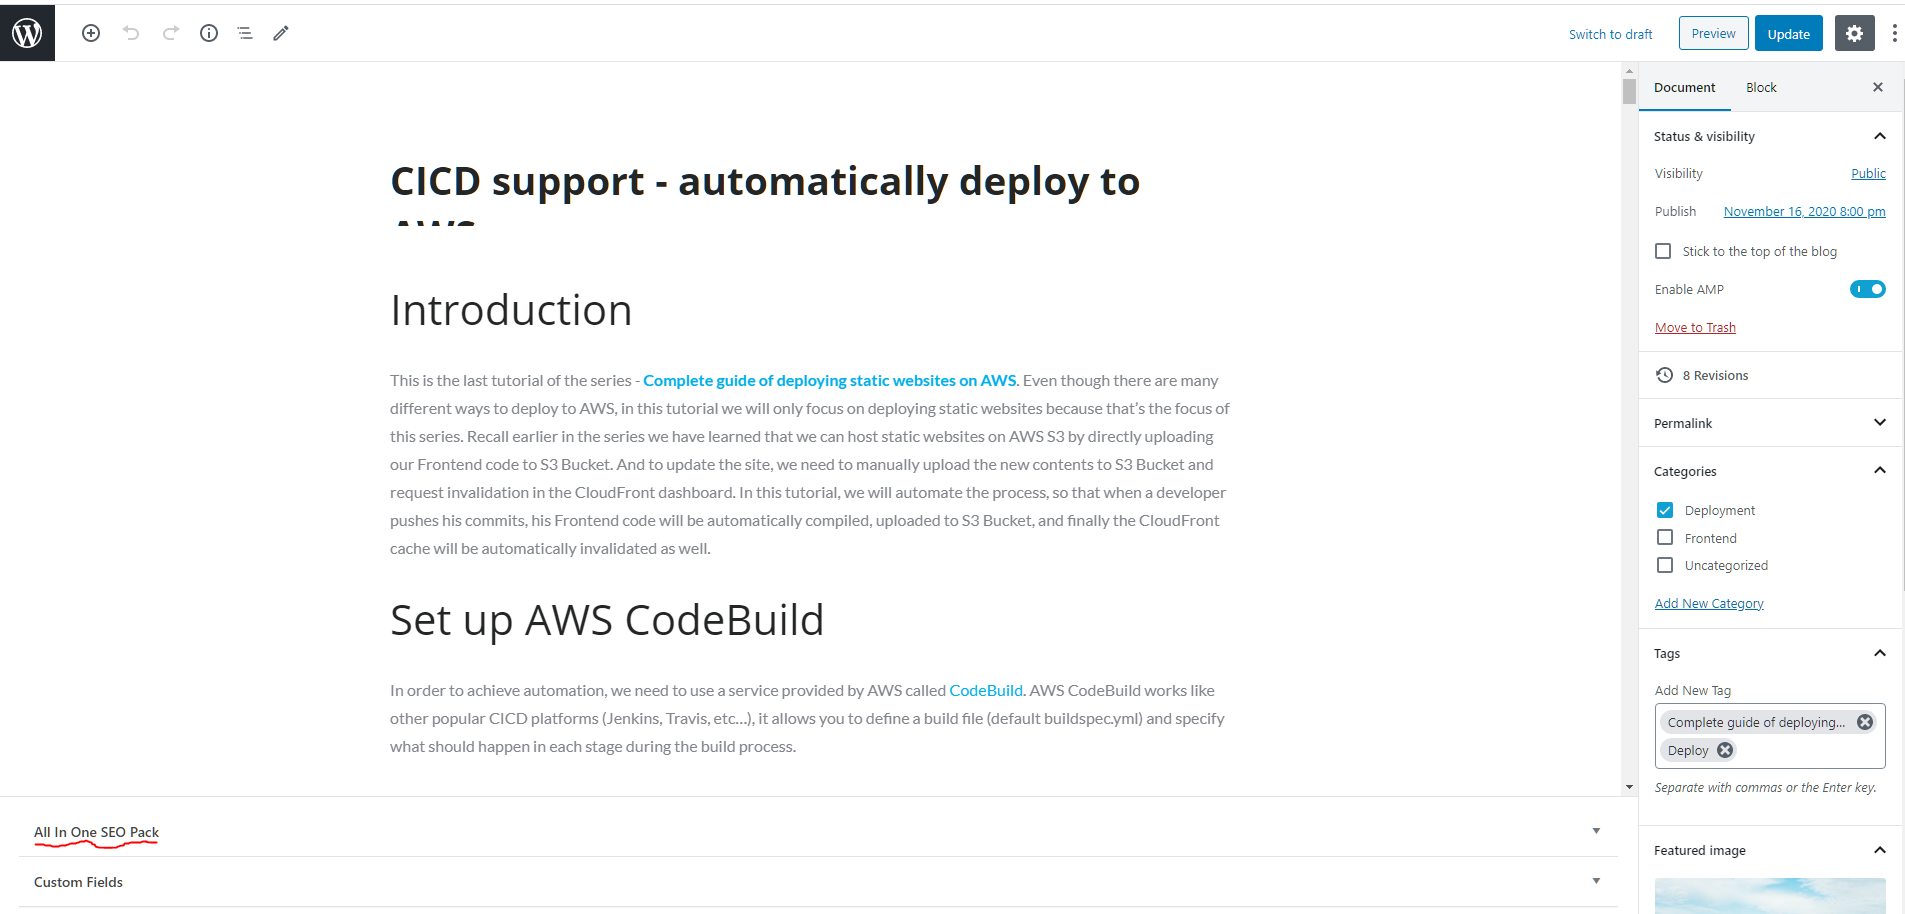
Post/Page specific setting
When you are writing a post or a page, the post/page itself will have its own HTML page. Therefore don’t forget to modify the SEO settings to best match the post. At the bottom of the creation page, you will see the setting section for the All In One Pack.
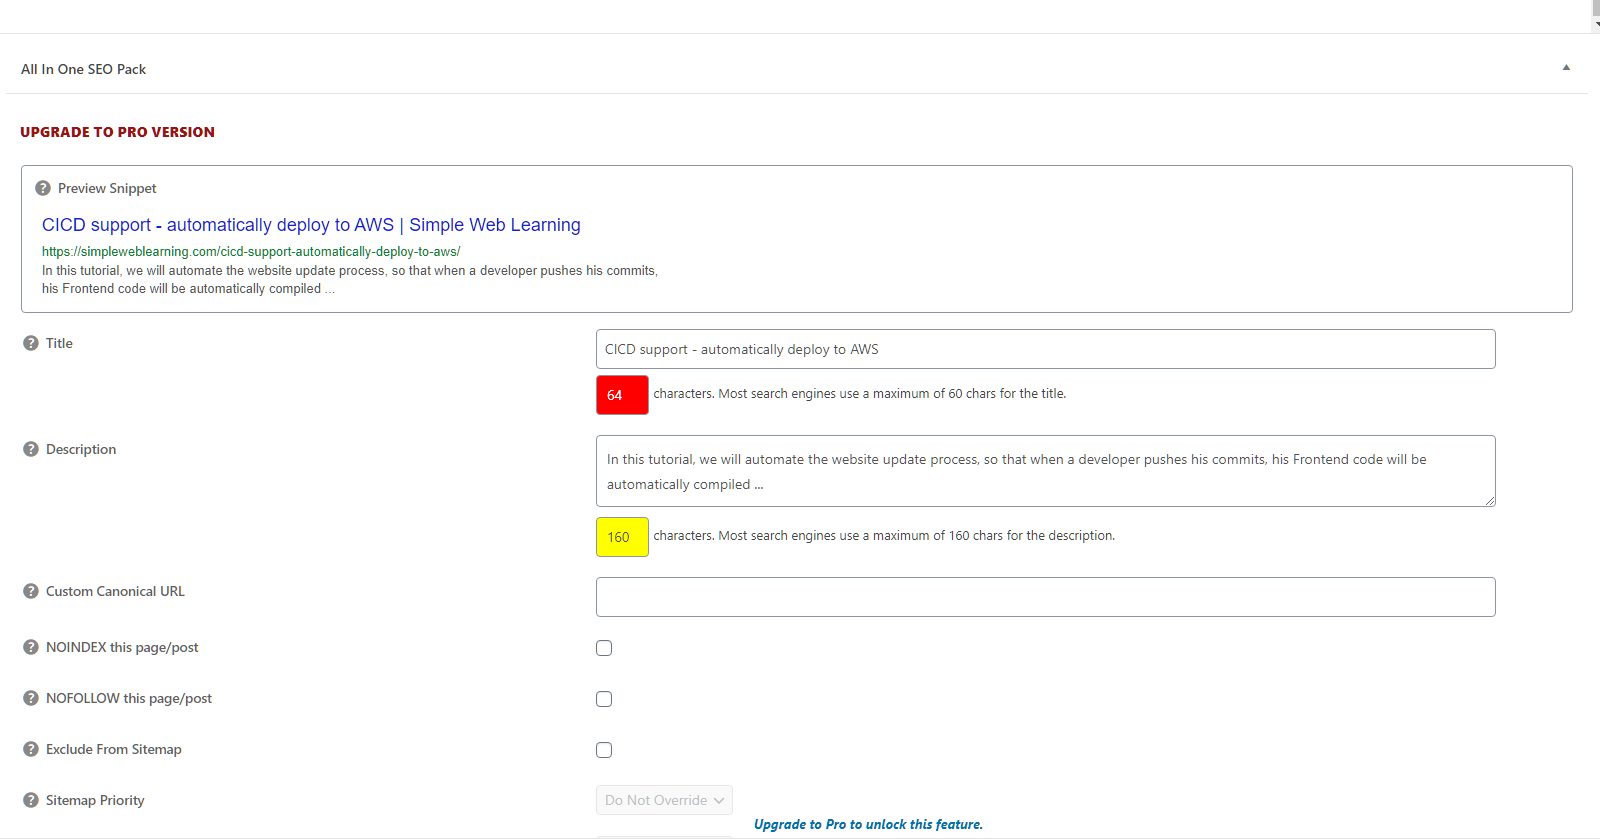
Set the Title and Description that best represent this post/page. The plugin will also show a preview of how your post/page will appear in Google search result.
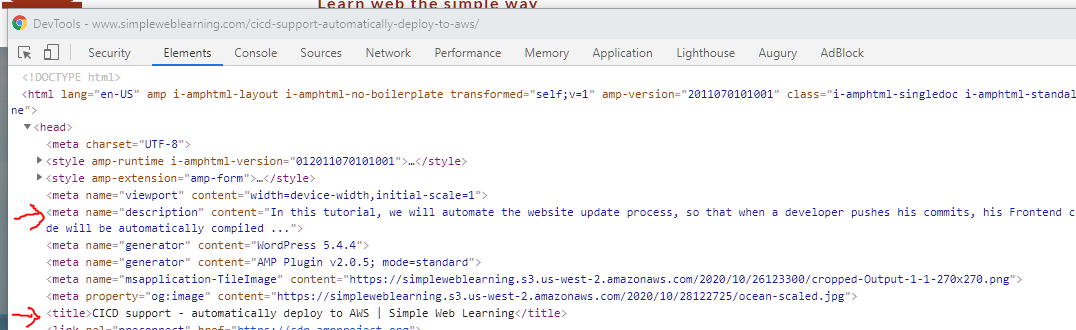
After you publish your post/page, you can verify the settings indeed work by pressing the F12 key to bring up the developer console. In the Elements tab, you will be able to see the description meta tag and the title tag are added for you automatically.
Maintain page hierarchy
Good page hierarchy will help search engines better understand your page structure and this is no different when you host your page in WordPress. Before you start typing any text, you should always ask yourself how search engines should interpret what you are about type. Should it be a section title or a regular paragraph, then choose your text type accordingly. In WordPress you can modify the text type by clicking or selecting the text block then choose the type you want directly from the menu.
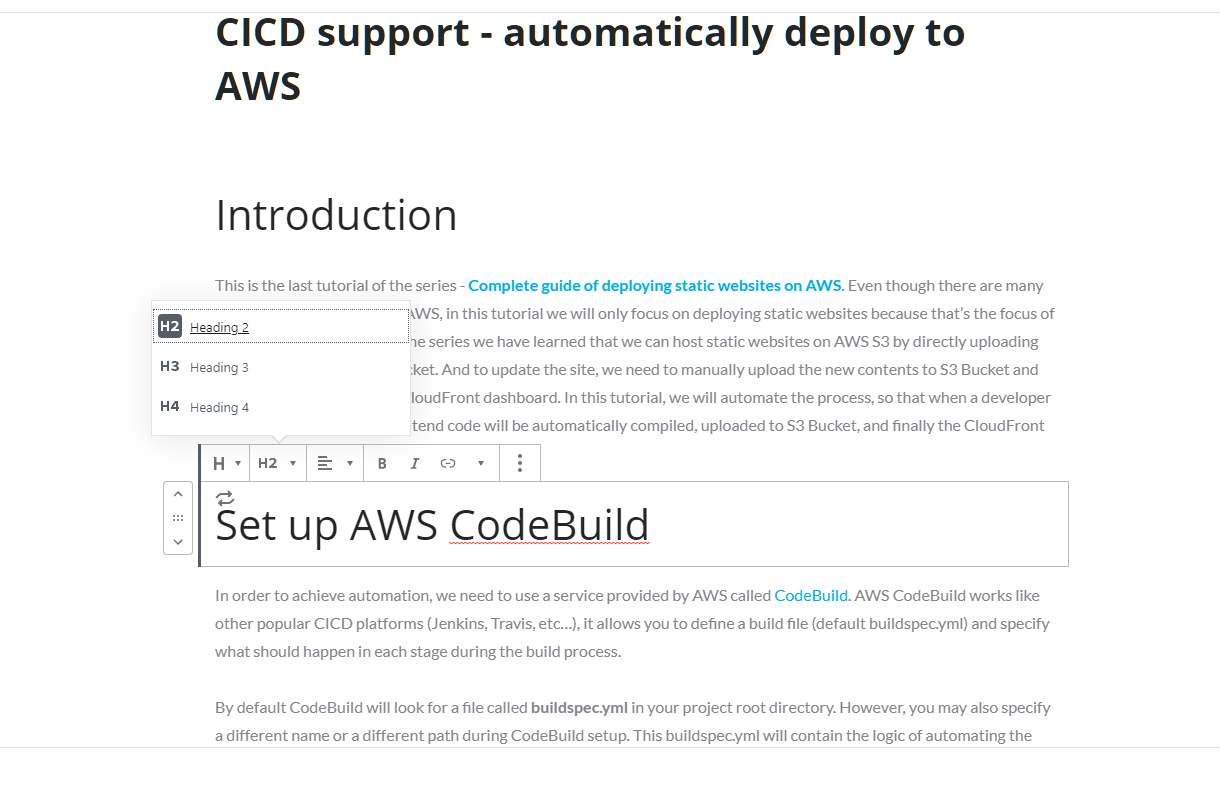
In the image above I’m setting H2 as the tag element for each section title.
Page links
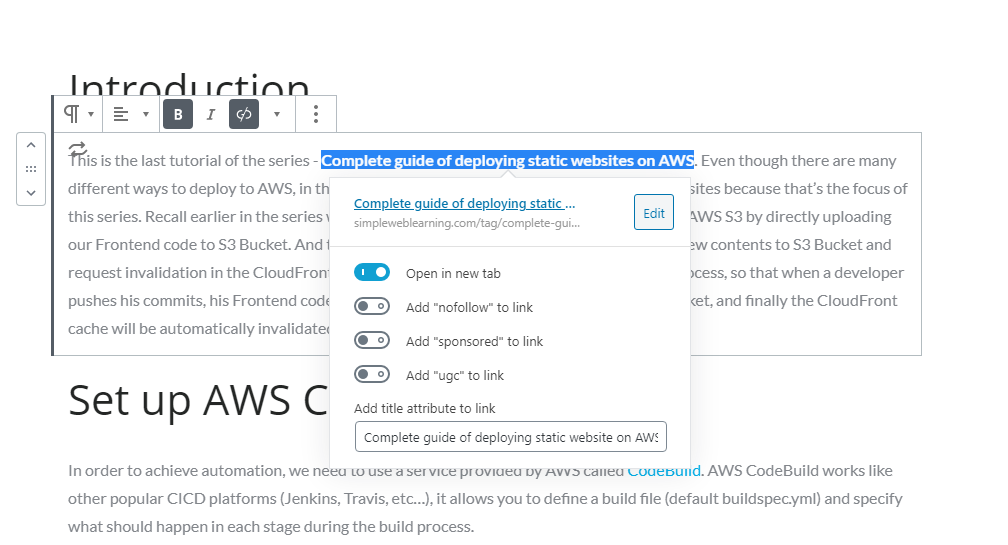
If you need to include links on your post, don’t forget to add the title attribute to the link. You can do so by selecting the link and then in the window that appears, you will find an input box that labels Add title attribute to link.
Images
For images, we will need to set the alt attribute, so search engines will know what this image is about. After you have inserted an image to your page, select the image you want to modify. From the panel on the right, you will see Image settings where you can set Alt text (alternative text) for the image. It is also recommended to set captions below the image, so users can better relate the image to your content.

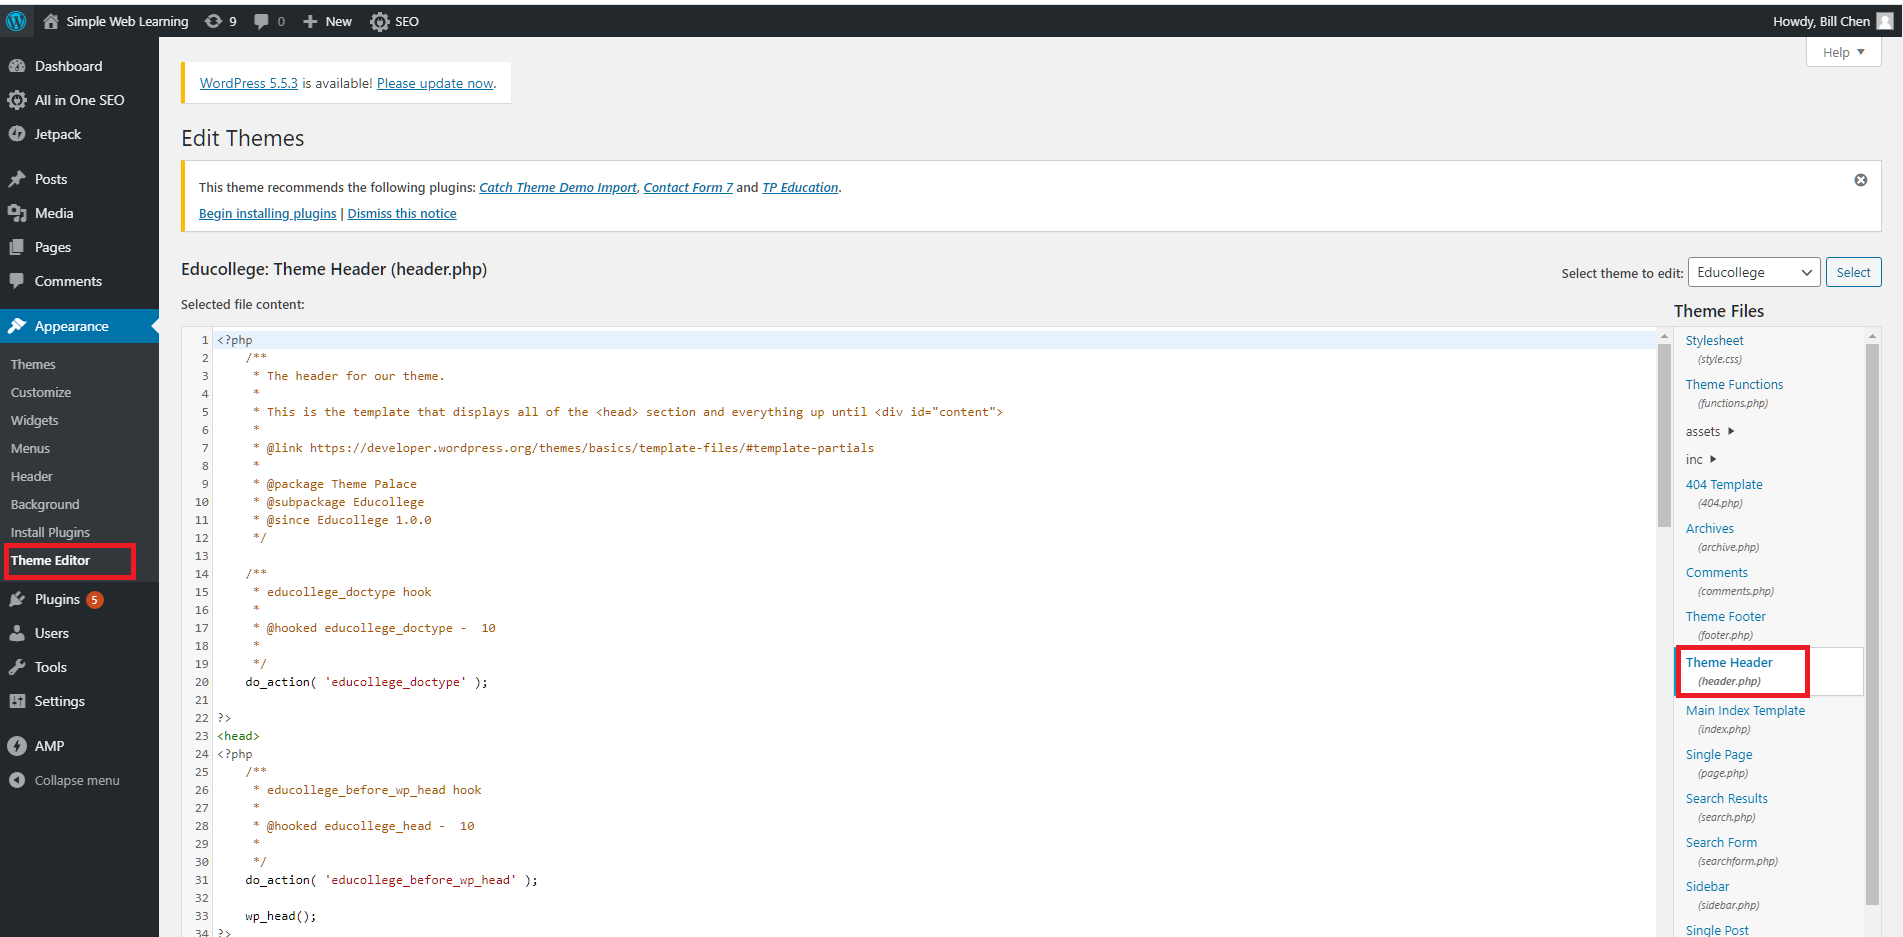
Prepare Facebook preview image
When people share your page to Facebook, Facebook will prepare a preview image based on the og:image meta tag on your page. In order to have different open graphic images for each post, we need to do some minimum code modification in WordPress. For the panel on the left, go to Appearance -> Theme Editor then select Theme Header (header.php) on the right.
Add the following code snippet after the <head> tag.
<?php if(is_single()){ ?>

<meta property="og:image" content="https://simpleweblearning.s3.us-west-2.amazonaws.com<?php $values = get_post_custom_values('fbimage',$post->ID); echo $values[0]; ?>"/>

<link rel="image_src" href="https://simpleweblearning.s3.us-west-2.amazonaws.com<?php $values = get_post_custom_values('fbimage',$post->ID); echo $values[0]; ?>" / >

<?php } else { ?>
<meta property="og:image" content="https://simpleweblearning.com/wp-content/themes/educollege/assets/uploads/header-image.jpg">
<link rel="image_src" href="https://simpleweblearning.com/wp-content/themes/educollege/assets/uploads/header-image.jpg"/>
<?php }
?>
Then back to your post/page editing page, on the bottom of the page at the Custom Fields section, Add Custom Field called fbimage and enter the path of the image you want to set as page preview. (You will only need to add the custom field once, in the future, you will see this field show up directly.)

After your page is published or in the preview page, you will be able to see a new meta tag added to your page.
<meta property=”og:image” content=”apple.jpg”>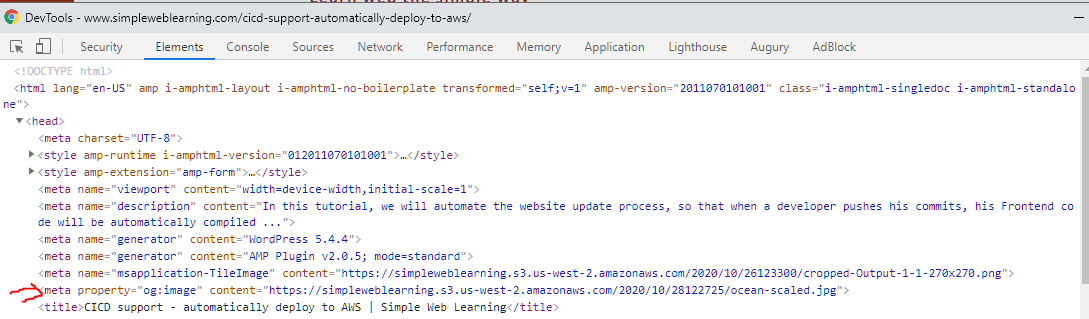
In this future when you post a new post/page, don’t forget to modify this field accordingly.
Prepare Sitemap
When search engines crawl your site, they will need to read the sitemap on your website in order to understand what pages are there in your website. While it is not hard to prepare one manually, the All In One SEO plugin can automatically generate one for us. Furthermore, we can schedule how often it should update the sitemap, so search engines will always pick up the latest content from our website.
From the panel on the left, go to All in One SEO -> XML Sitemap.

Choose how often you would like the plugin to update your sitemap and set Post Types. Here I’m only selecting Posts as my Posts types because this is a blog website. Then select all taxonomies you would like to include in your sitemap.
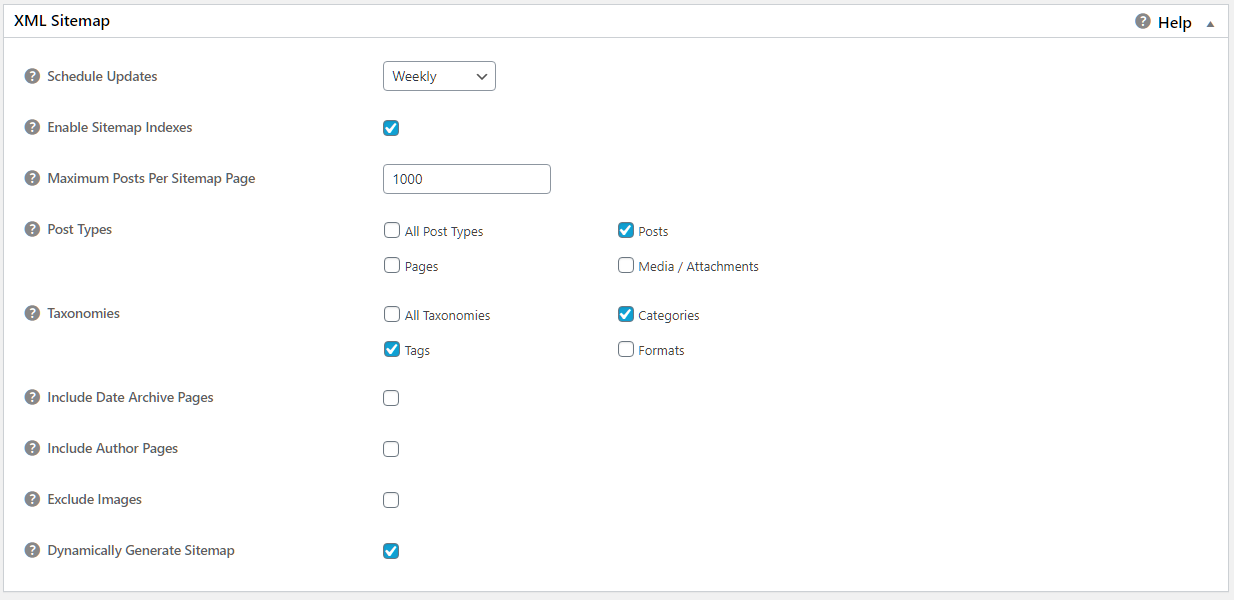
When you are done, click on Update Sitemap on the top or bottom of the setting page.
Summary
There are many more settings and plugins you may explore and it’s quite impossible to cover them all in this tutorial, but we have covered some basics that should be enough to get you started. In the next tutorial of In depth guide to SEO, we will introduce some free tools to help you examine your SEO settings.